
26 September, 2014
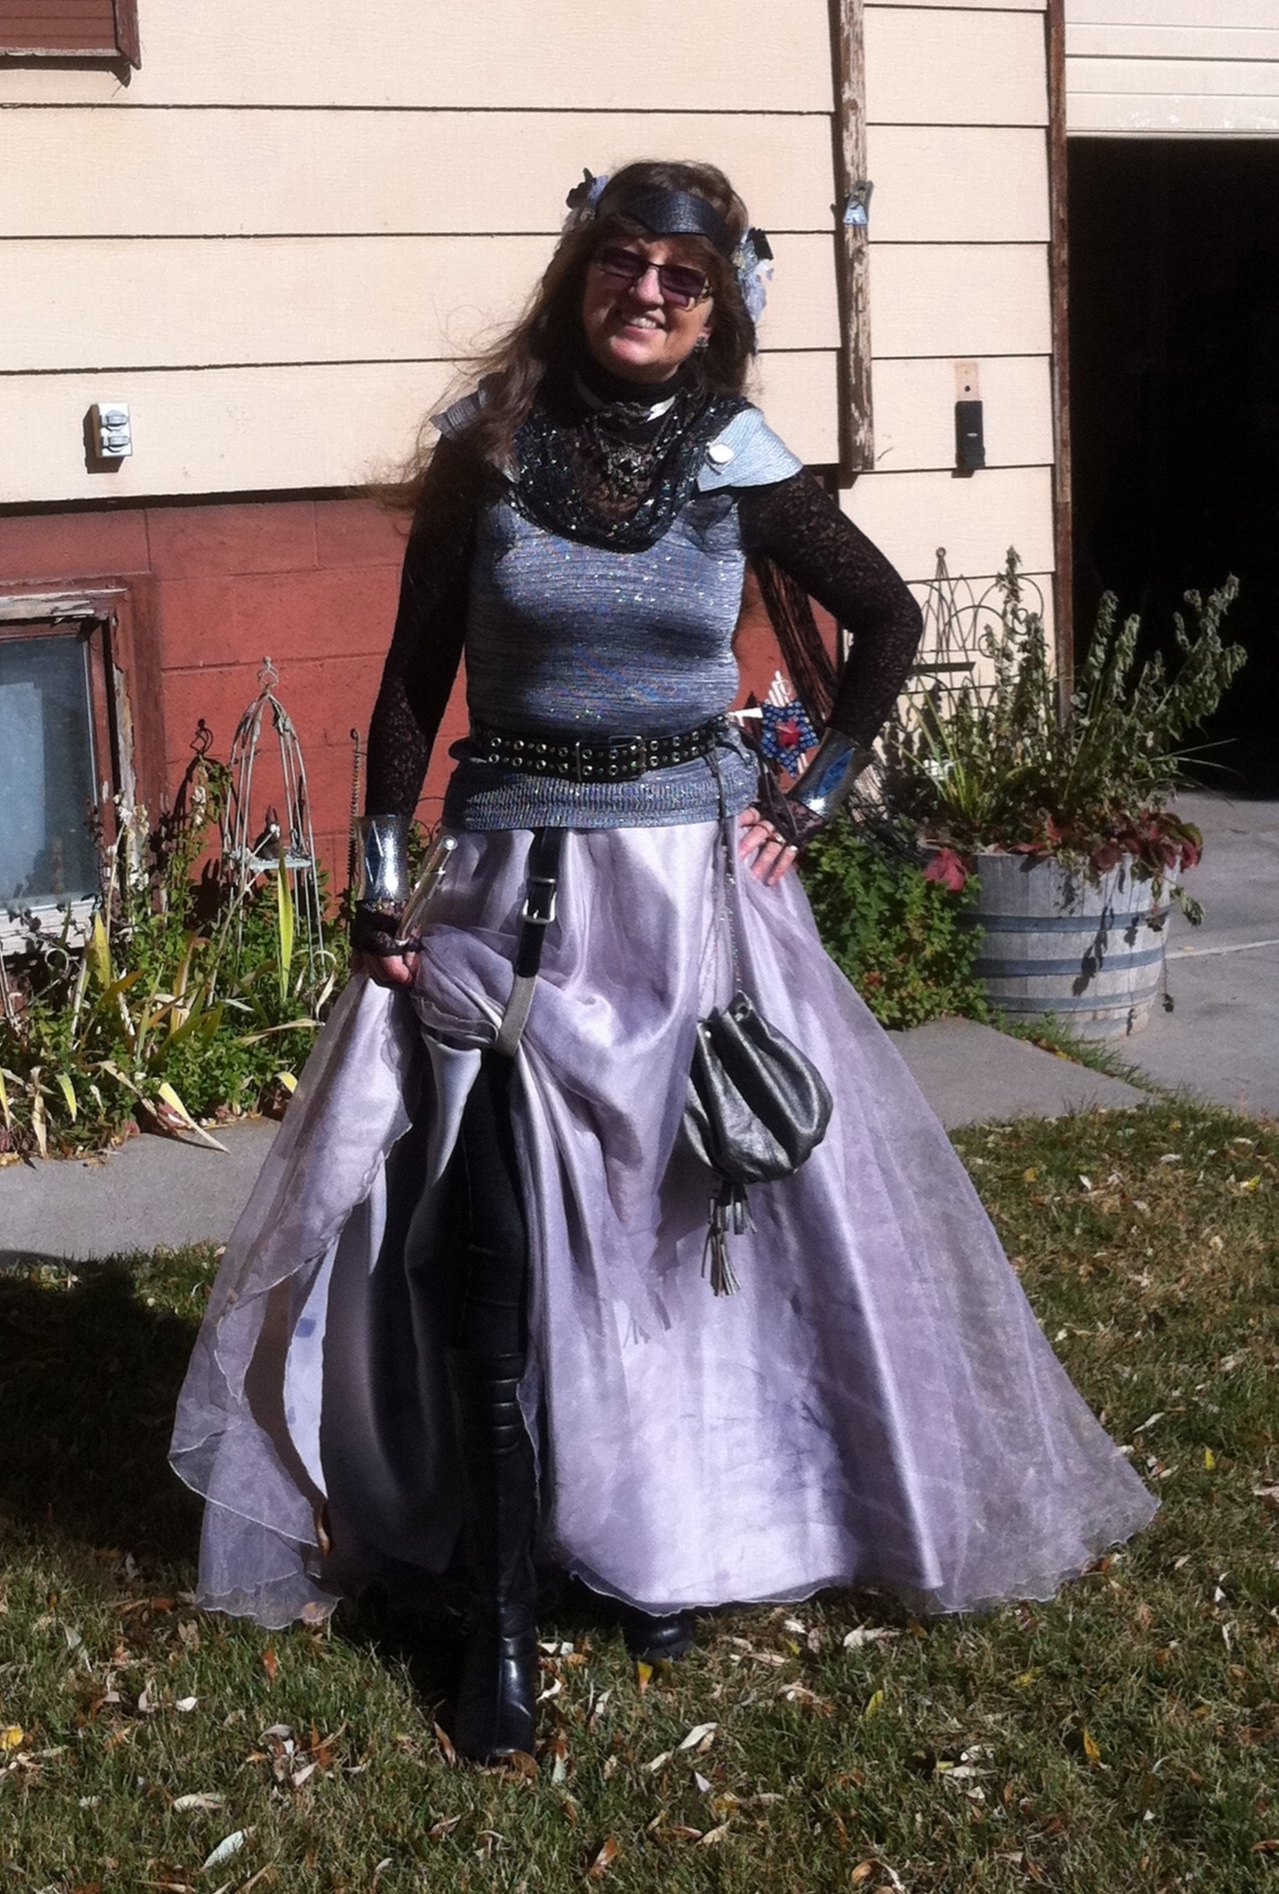
Valkyrie Costume
In Norse mythology, a valkyrie is one of a host of female figures who choose those who may die in battle and those who may live. Selecting among half of those who die in battle, the valkyries bring their chosen to the afterlife hall of the slain, Valhalla, ruled over by the god Odin. Valkyries also appear as lovers of heroes and other mortals, where they are sometimes described as the daughters of royalty, sometimes accompanied by ravens, and sometimes connected to swans or horses. (read more at wikipedia.org/wiki/Valkyrie)
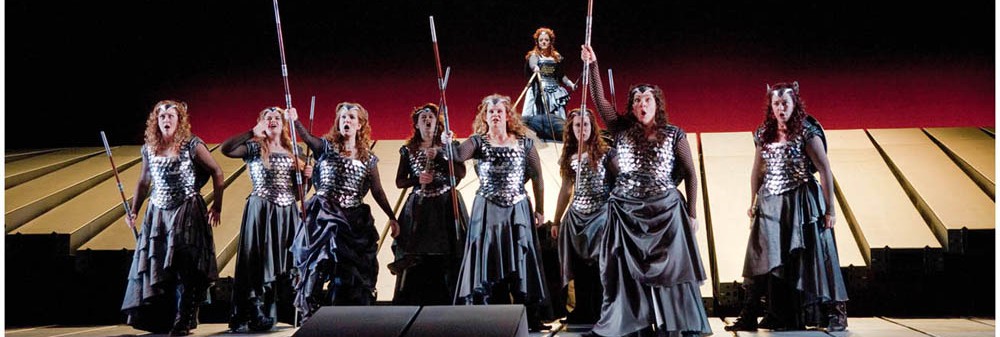
The Ride of the Valkyries is the popular term for the beginning of Act III of Die Walküre, the second of the four operas by Richard Wagner that constitute Der Ring des Nibelungen. You have probably heard it many times on TV or in the movies. Bugs Bunny and Elmer Fudd even covered Ride of the Valkyries... listen on YouTube... now tell me, you were singing "Kill The Wabbit, Kill The Wabbit, Kill The Wabbit ...." weren't you!
(read more at wikipedia.org/wiki/Ride_of_the_Valkyries)
The Met in HD presented the Die Walküre in summer 2011. After watching that performance at Walk Festival Hall I was inspired for my next costume. The skirt from the Gray Lady costume I made the prior year would work perfectly and I spent the summer/fall going through my closets, jewelry boxes, craft supplies, and shopped yard sales and second hand stores for things that I could re-purpose for the costume.
My Idea Board:
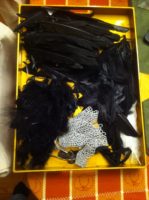
For the black feathers in this project I found a set of black angel wings at a Halloween store that were cheaper than buying a bag of feathers. One of the first things I did to start making the headdress was plucking the feathers from the angel wings. Then I cut the wings off some pretty christmas doves. For another costume I beheaded some dolls, poked their eyes out, and stuck bullet casings into the hole where the eyes were. (See Shrunken Doll Heads) Hmmmmm....
Getting Started
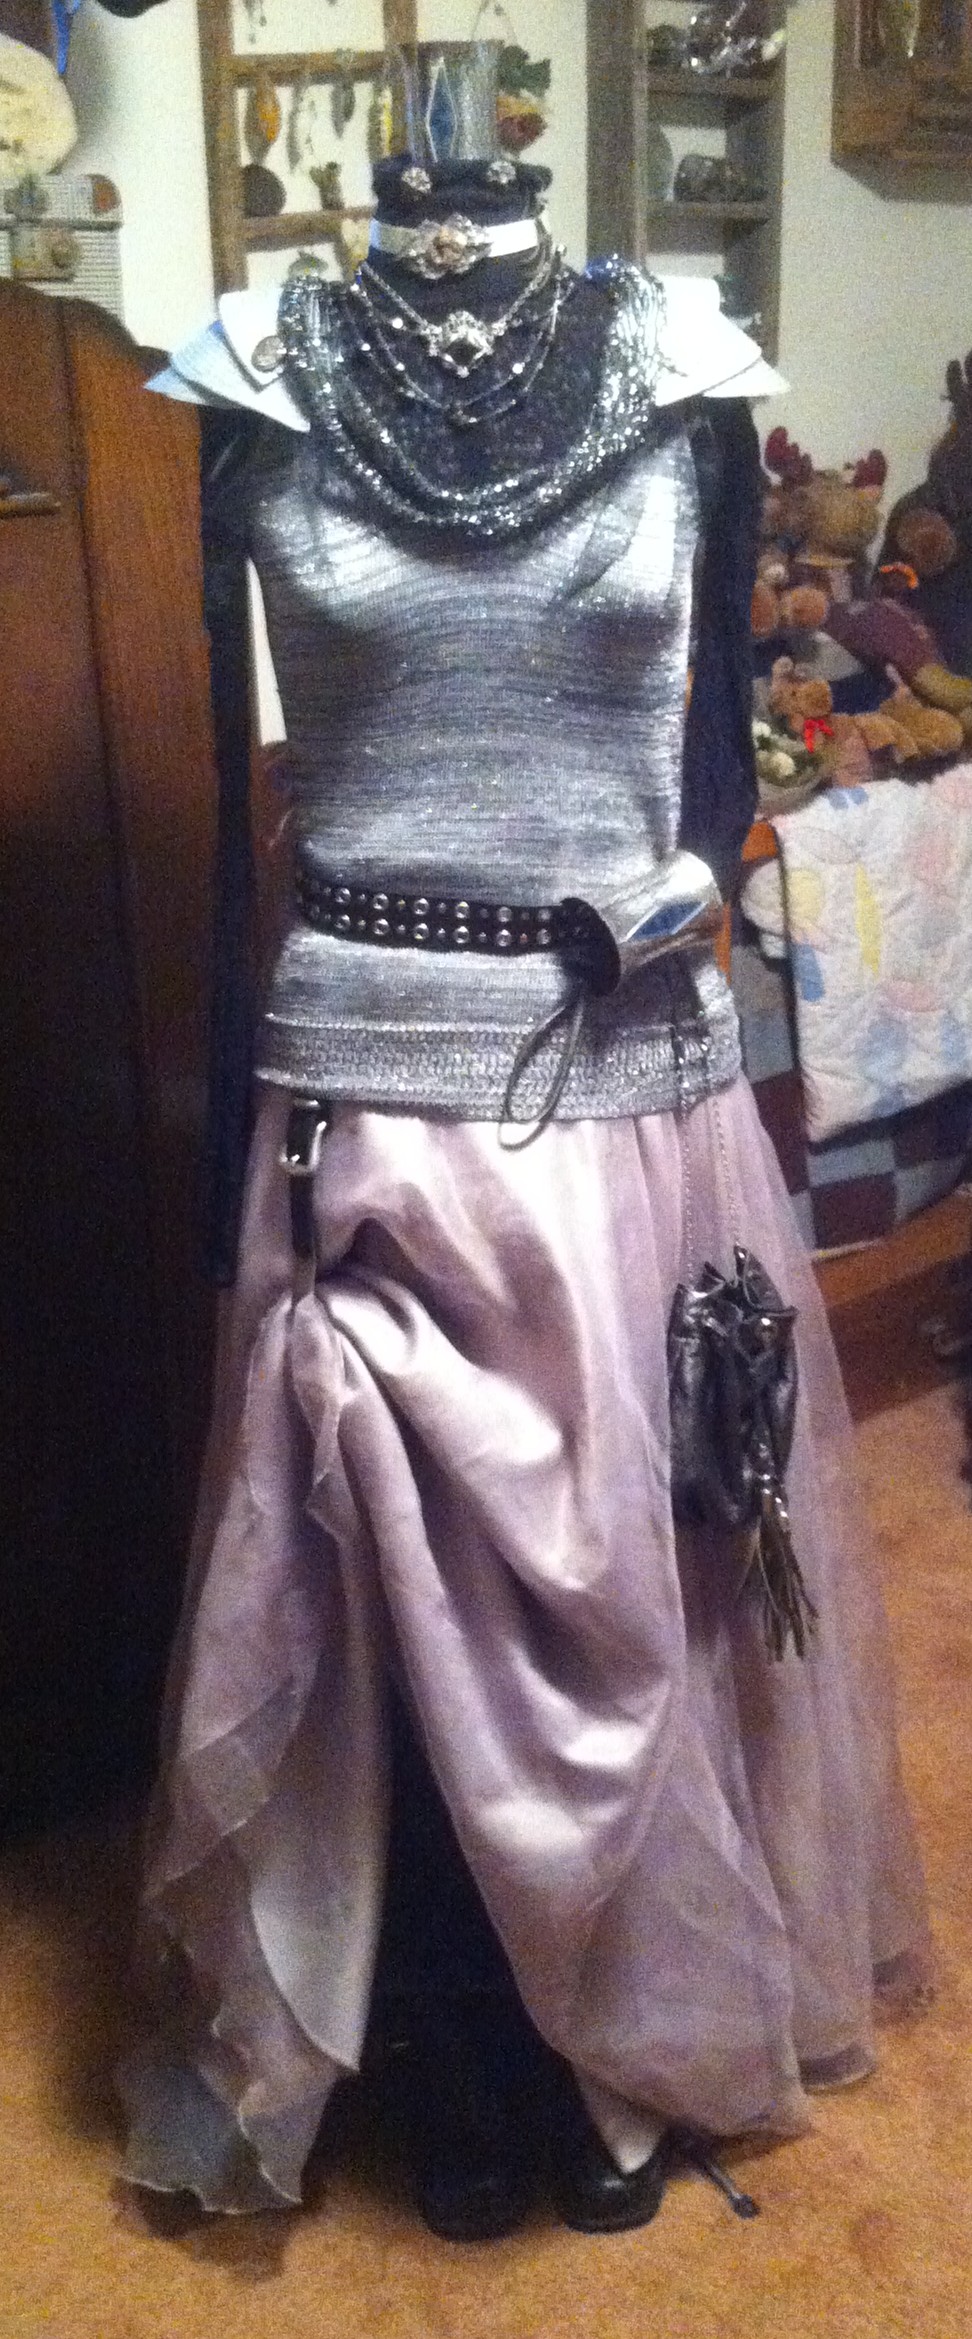
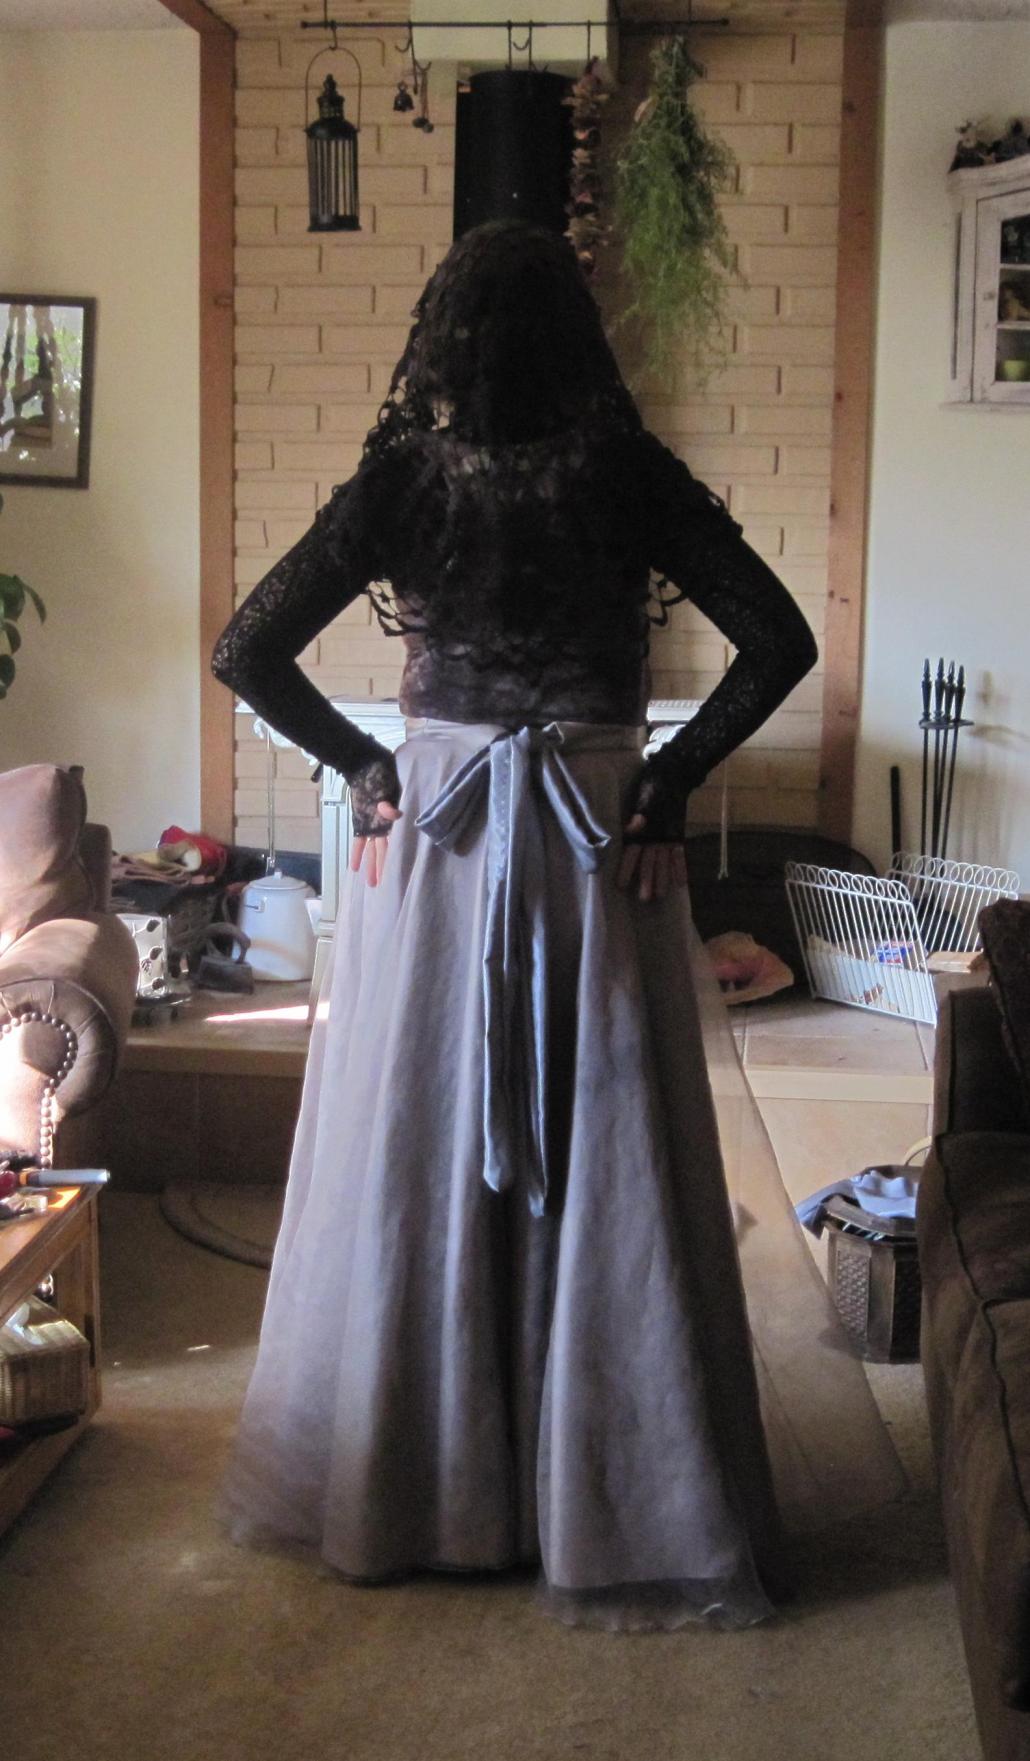
I started with the Gray Lady Skirt and added a tank top from my wardrobe. I used the same black lace turtle neck I used for the Gray Lady costume.
I made some shoulder armor, a head dress, and the rest was accessories.
I used a belt to hike up the skirt to make it look more like a riding dress. Under the skirt is black boots and a pair of black denim colored leggings. The leggings had a metal looking quality and since it is cold where I live they kept me cozy warm.
Accessories are the most important part of any costume
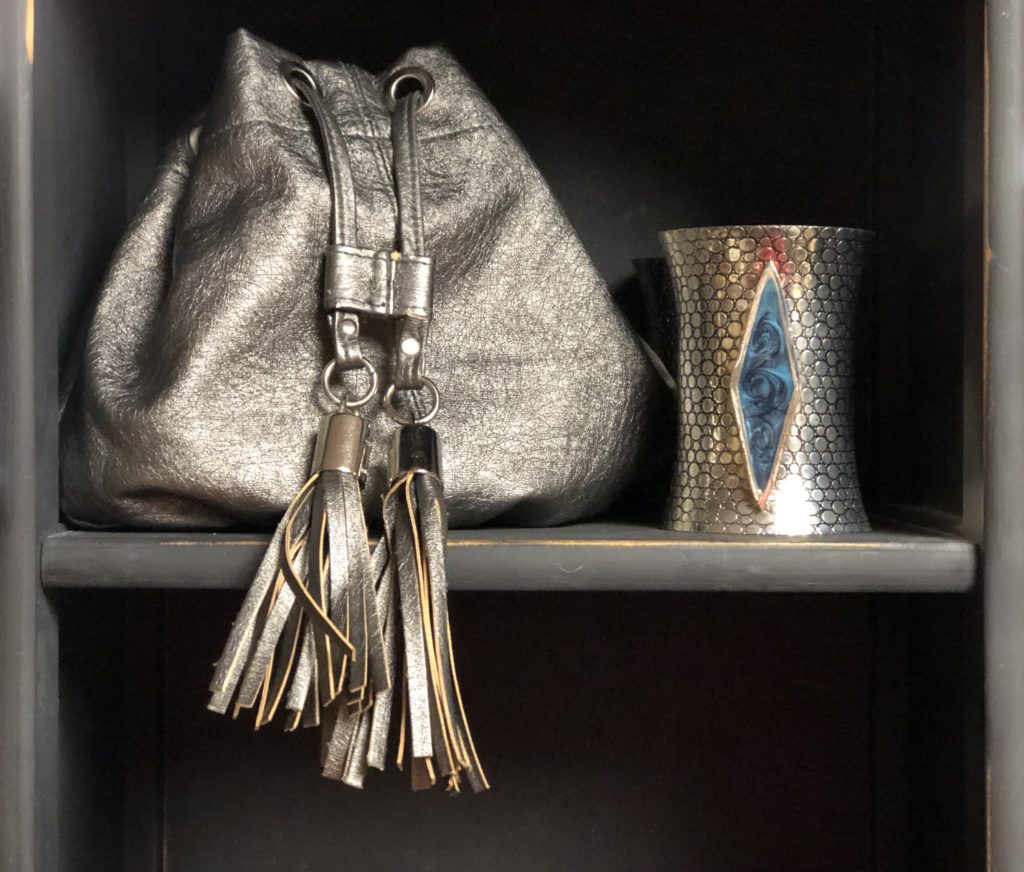
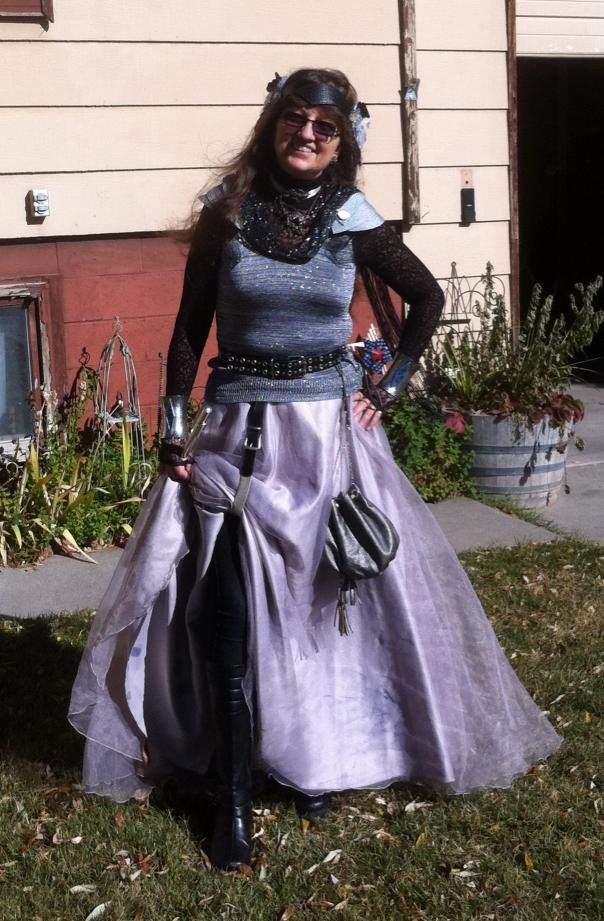
I found some wrist cuffs in a discount jewelry store that fit the costume's look. I made the choker from a vintage silver mesh choker and a broken vintage belt buckle. The silver colored purse is something I found in a clearance bin, I knew it would work with the costume. I added several pieces of jewelry from my vintage collection.
Raiding my wardrobe
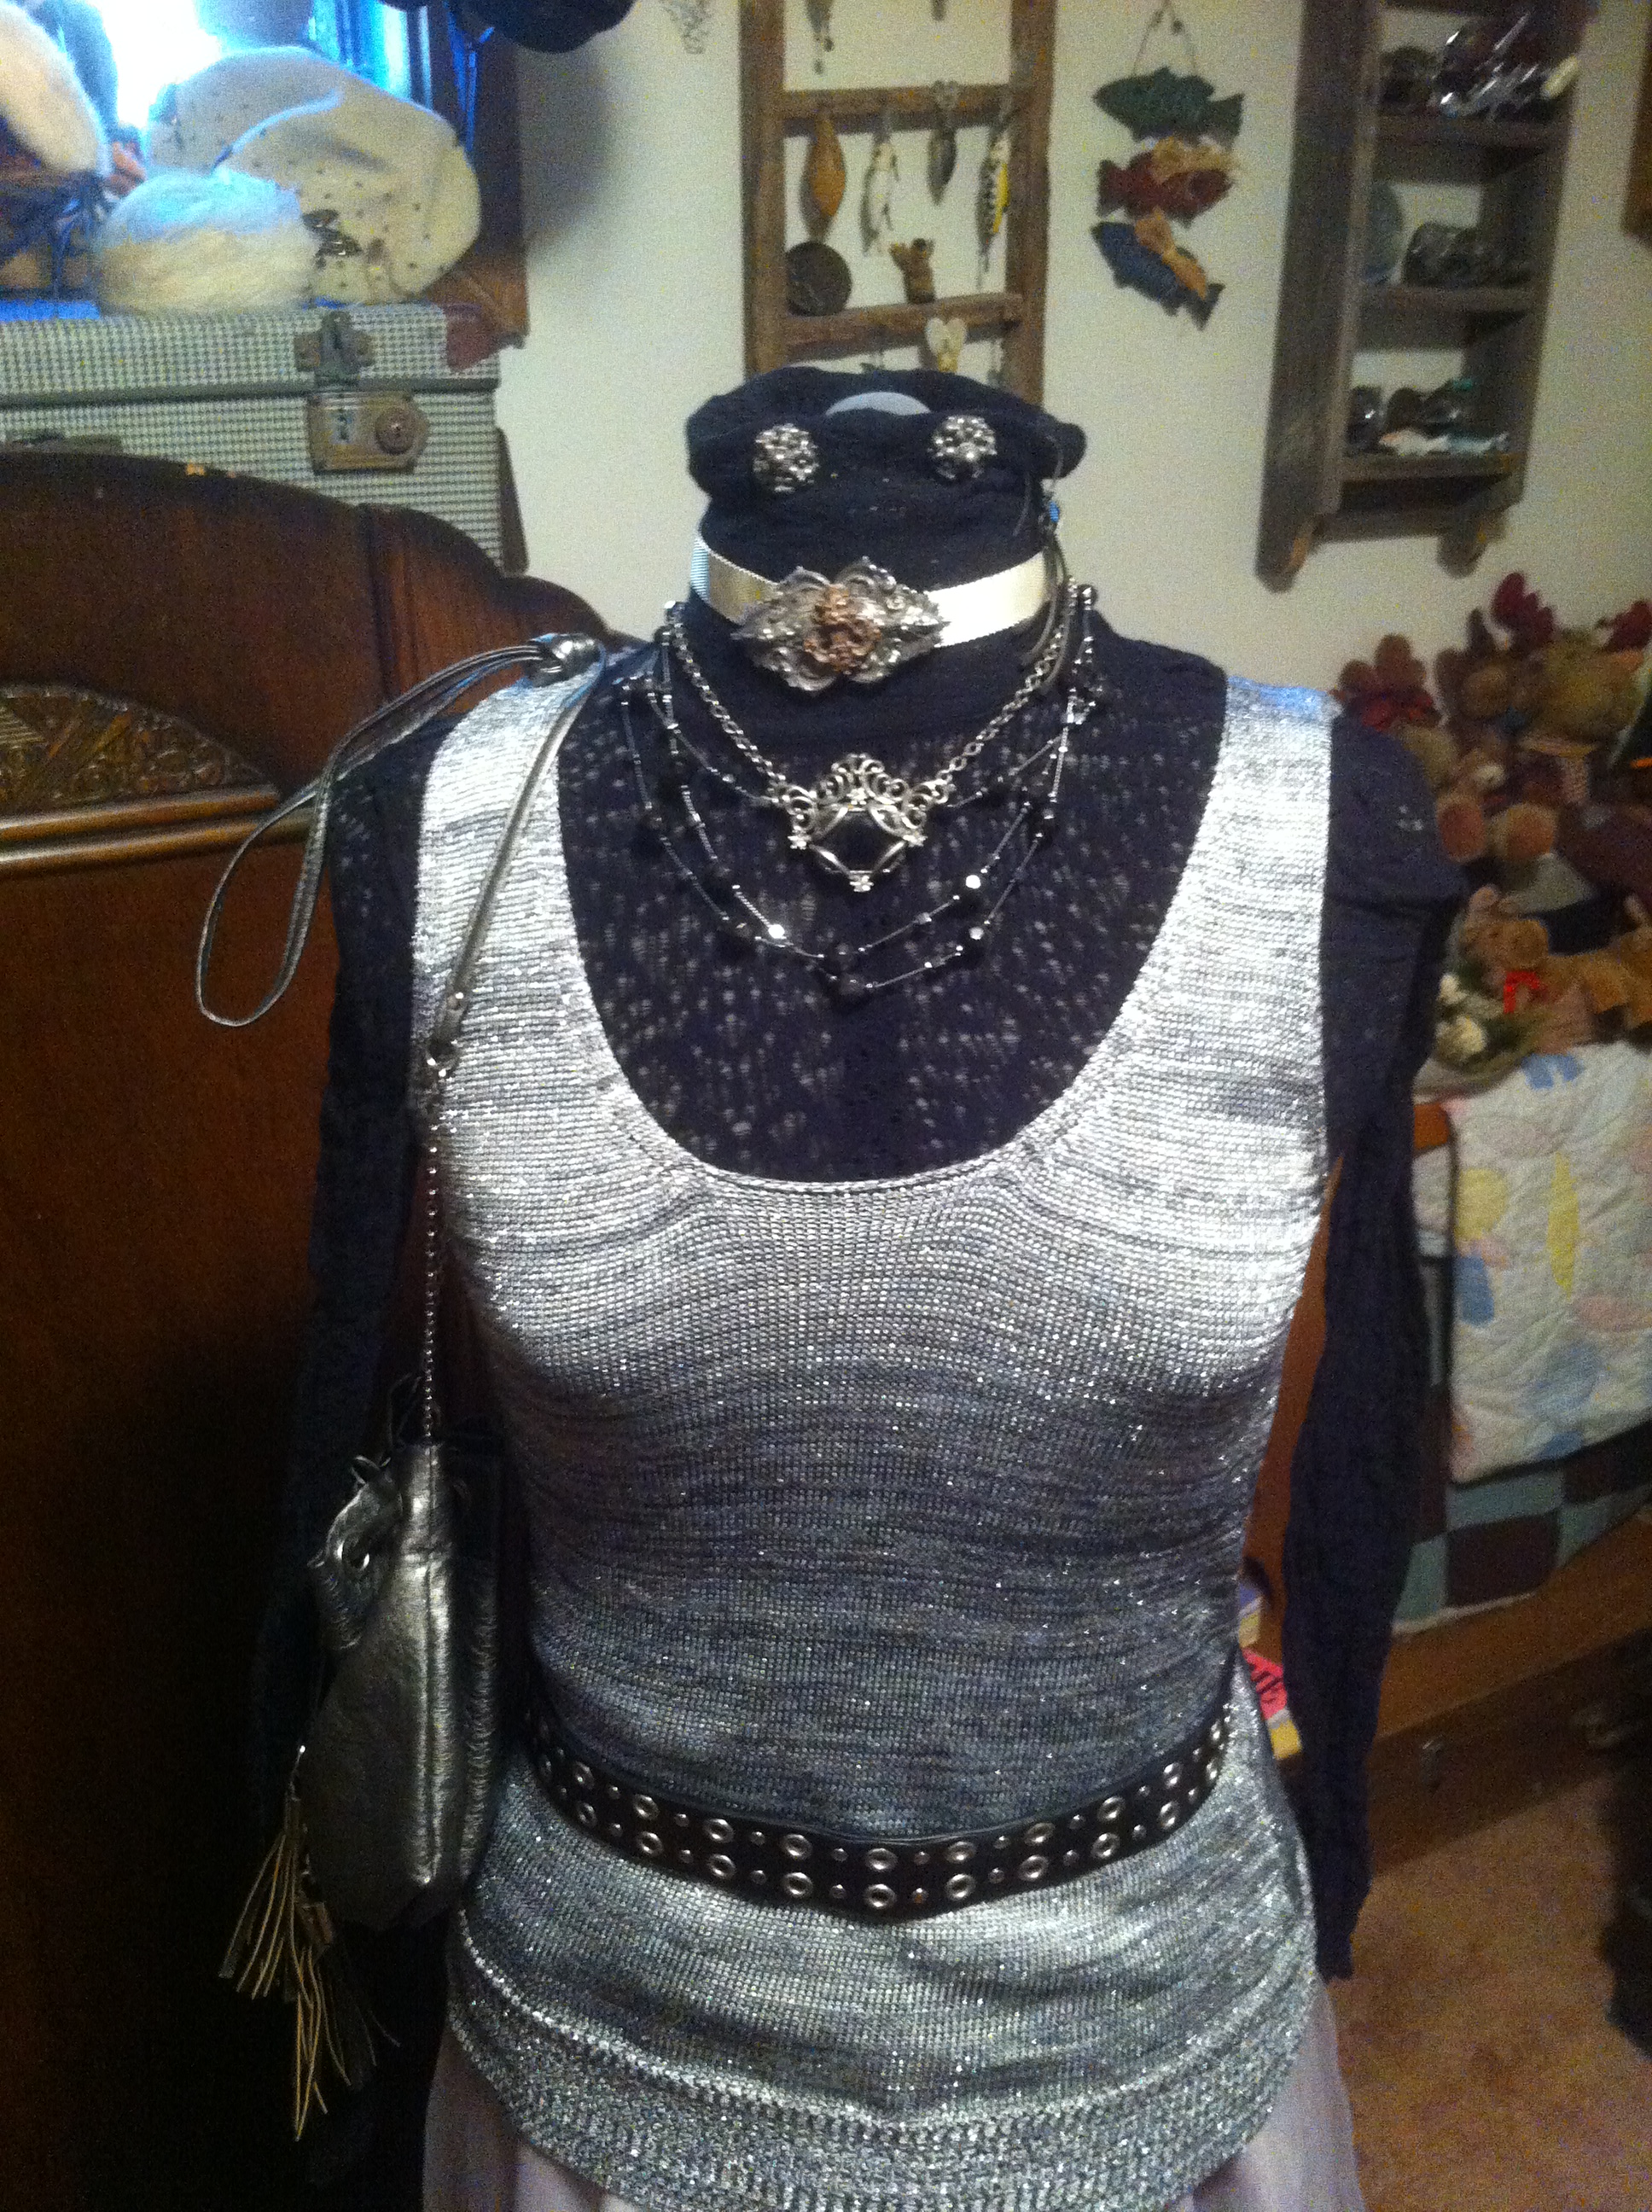
The metallic shirt was one I had in my closet for several years, dangerously close to being out of fashion, it worked perfectly for the armor top. I wrapped it with a belt from a second hand store, and hung the purse from it.
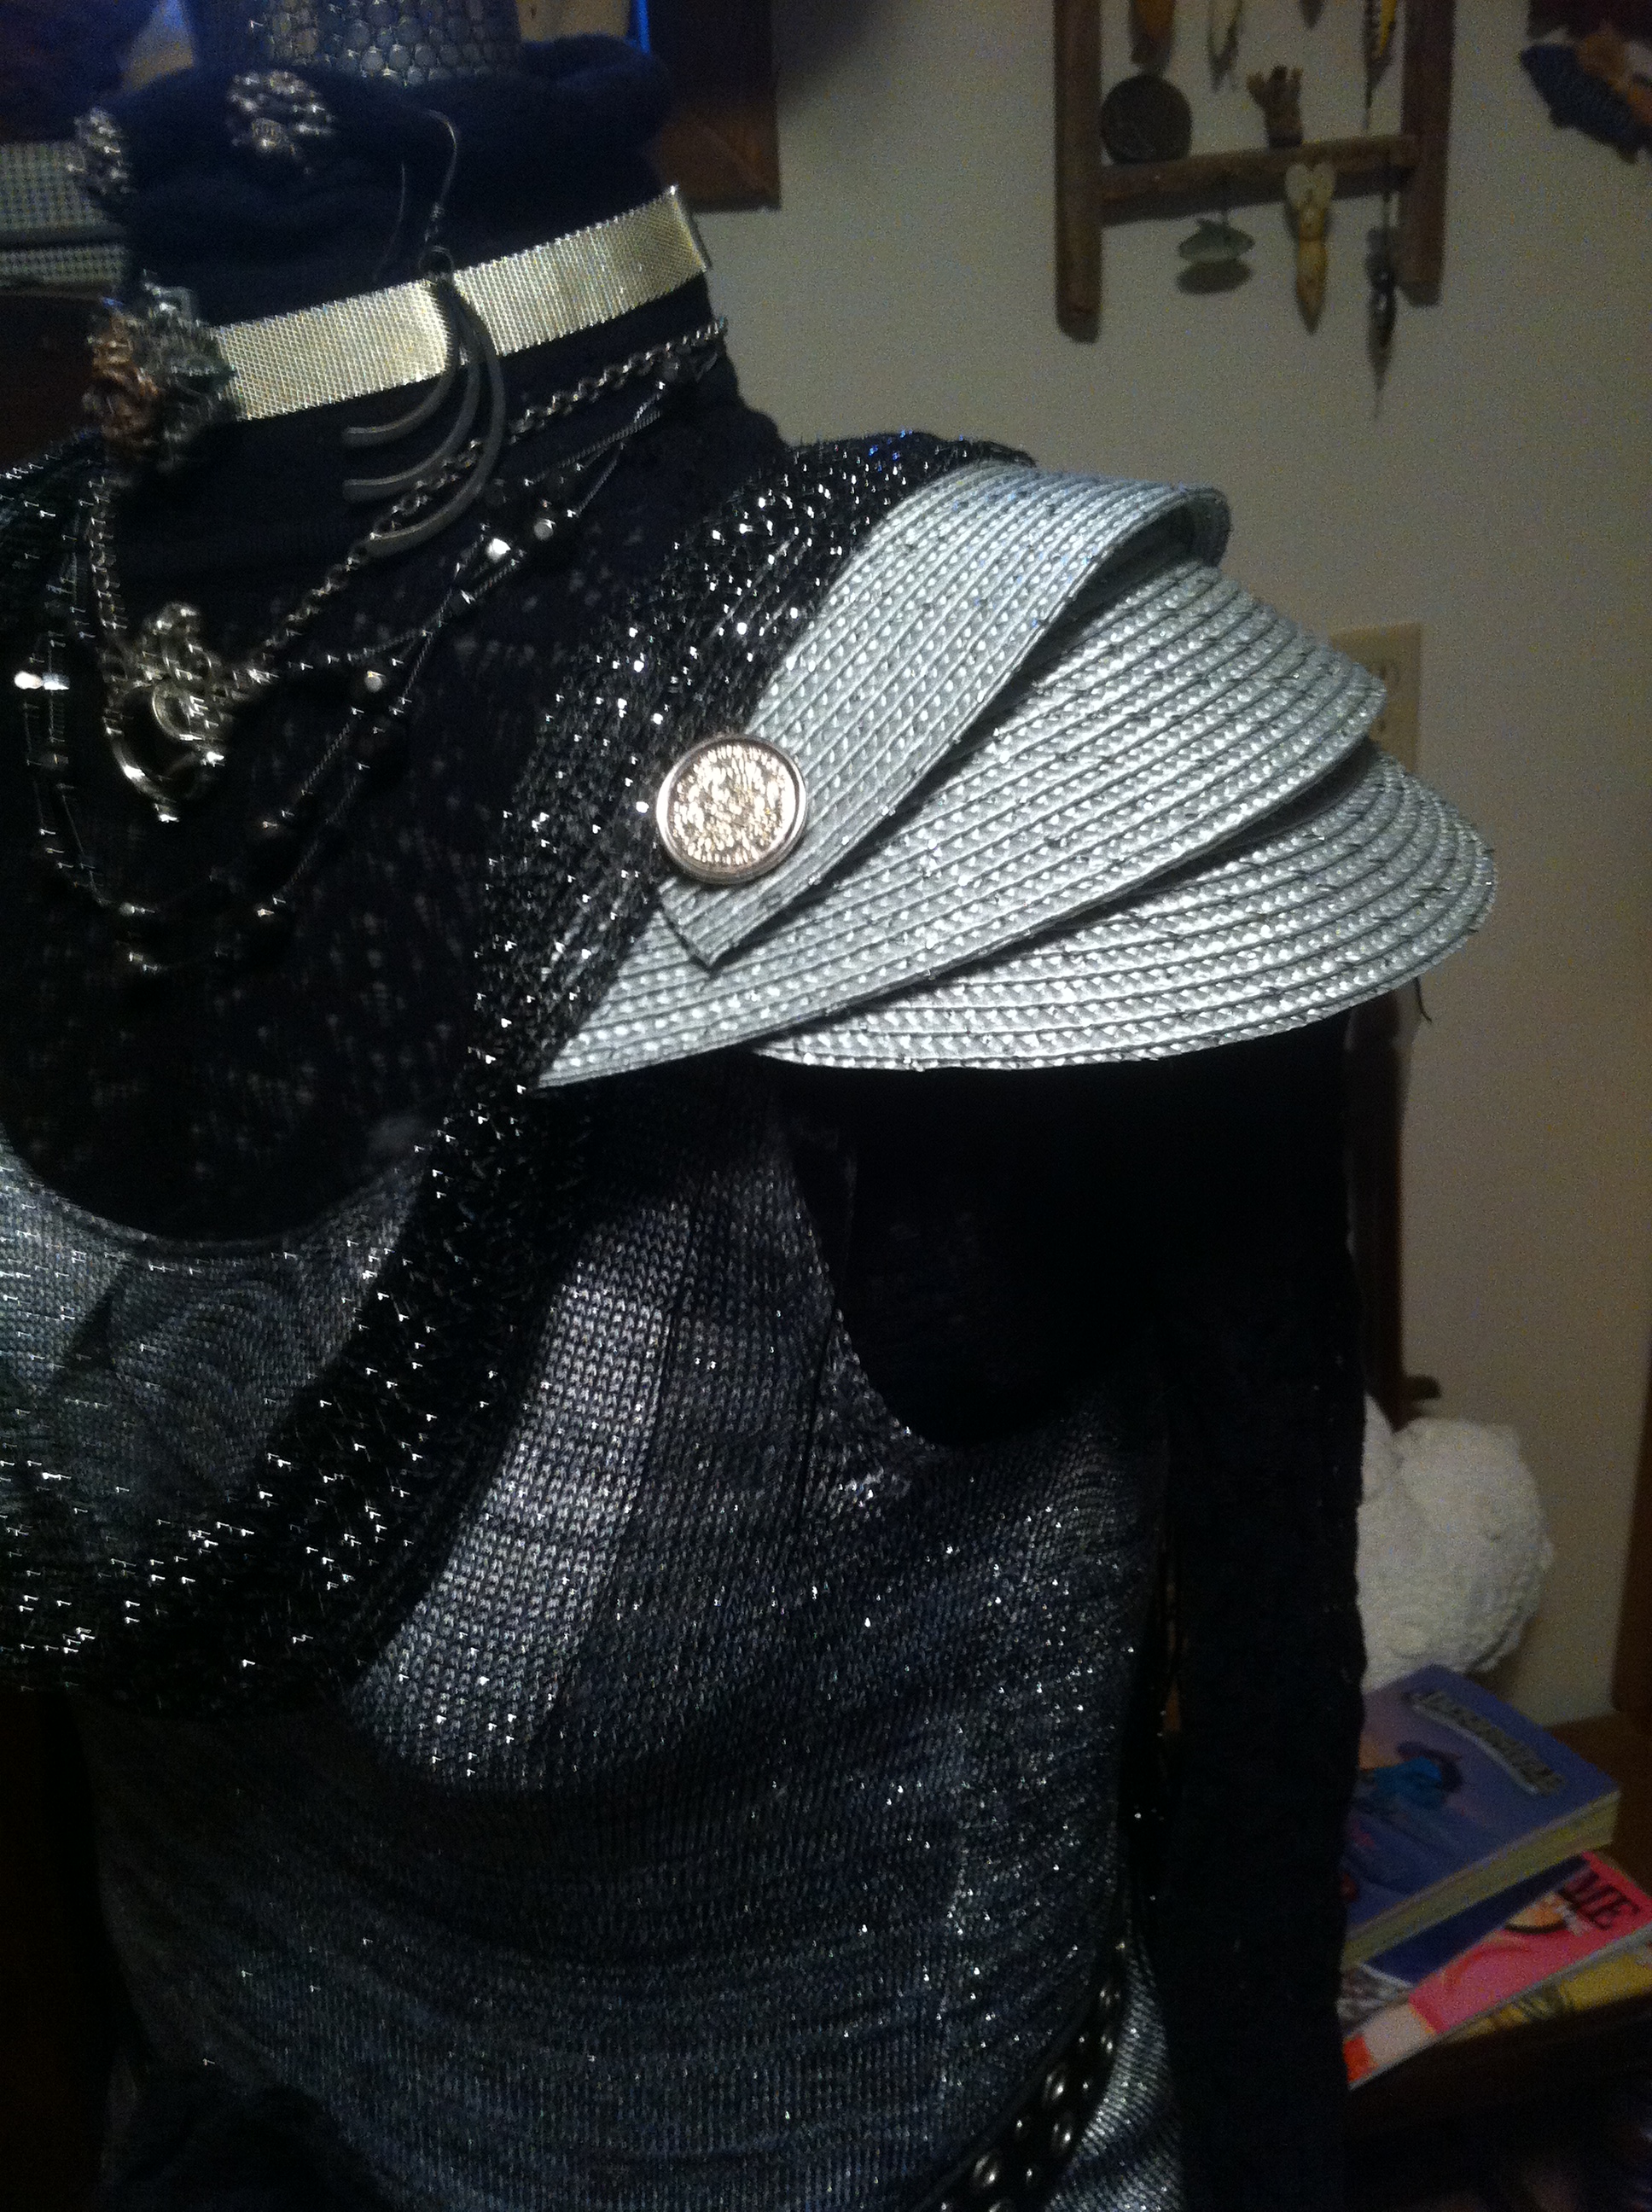
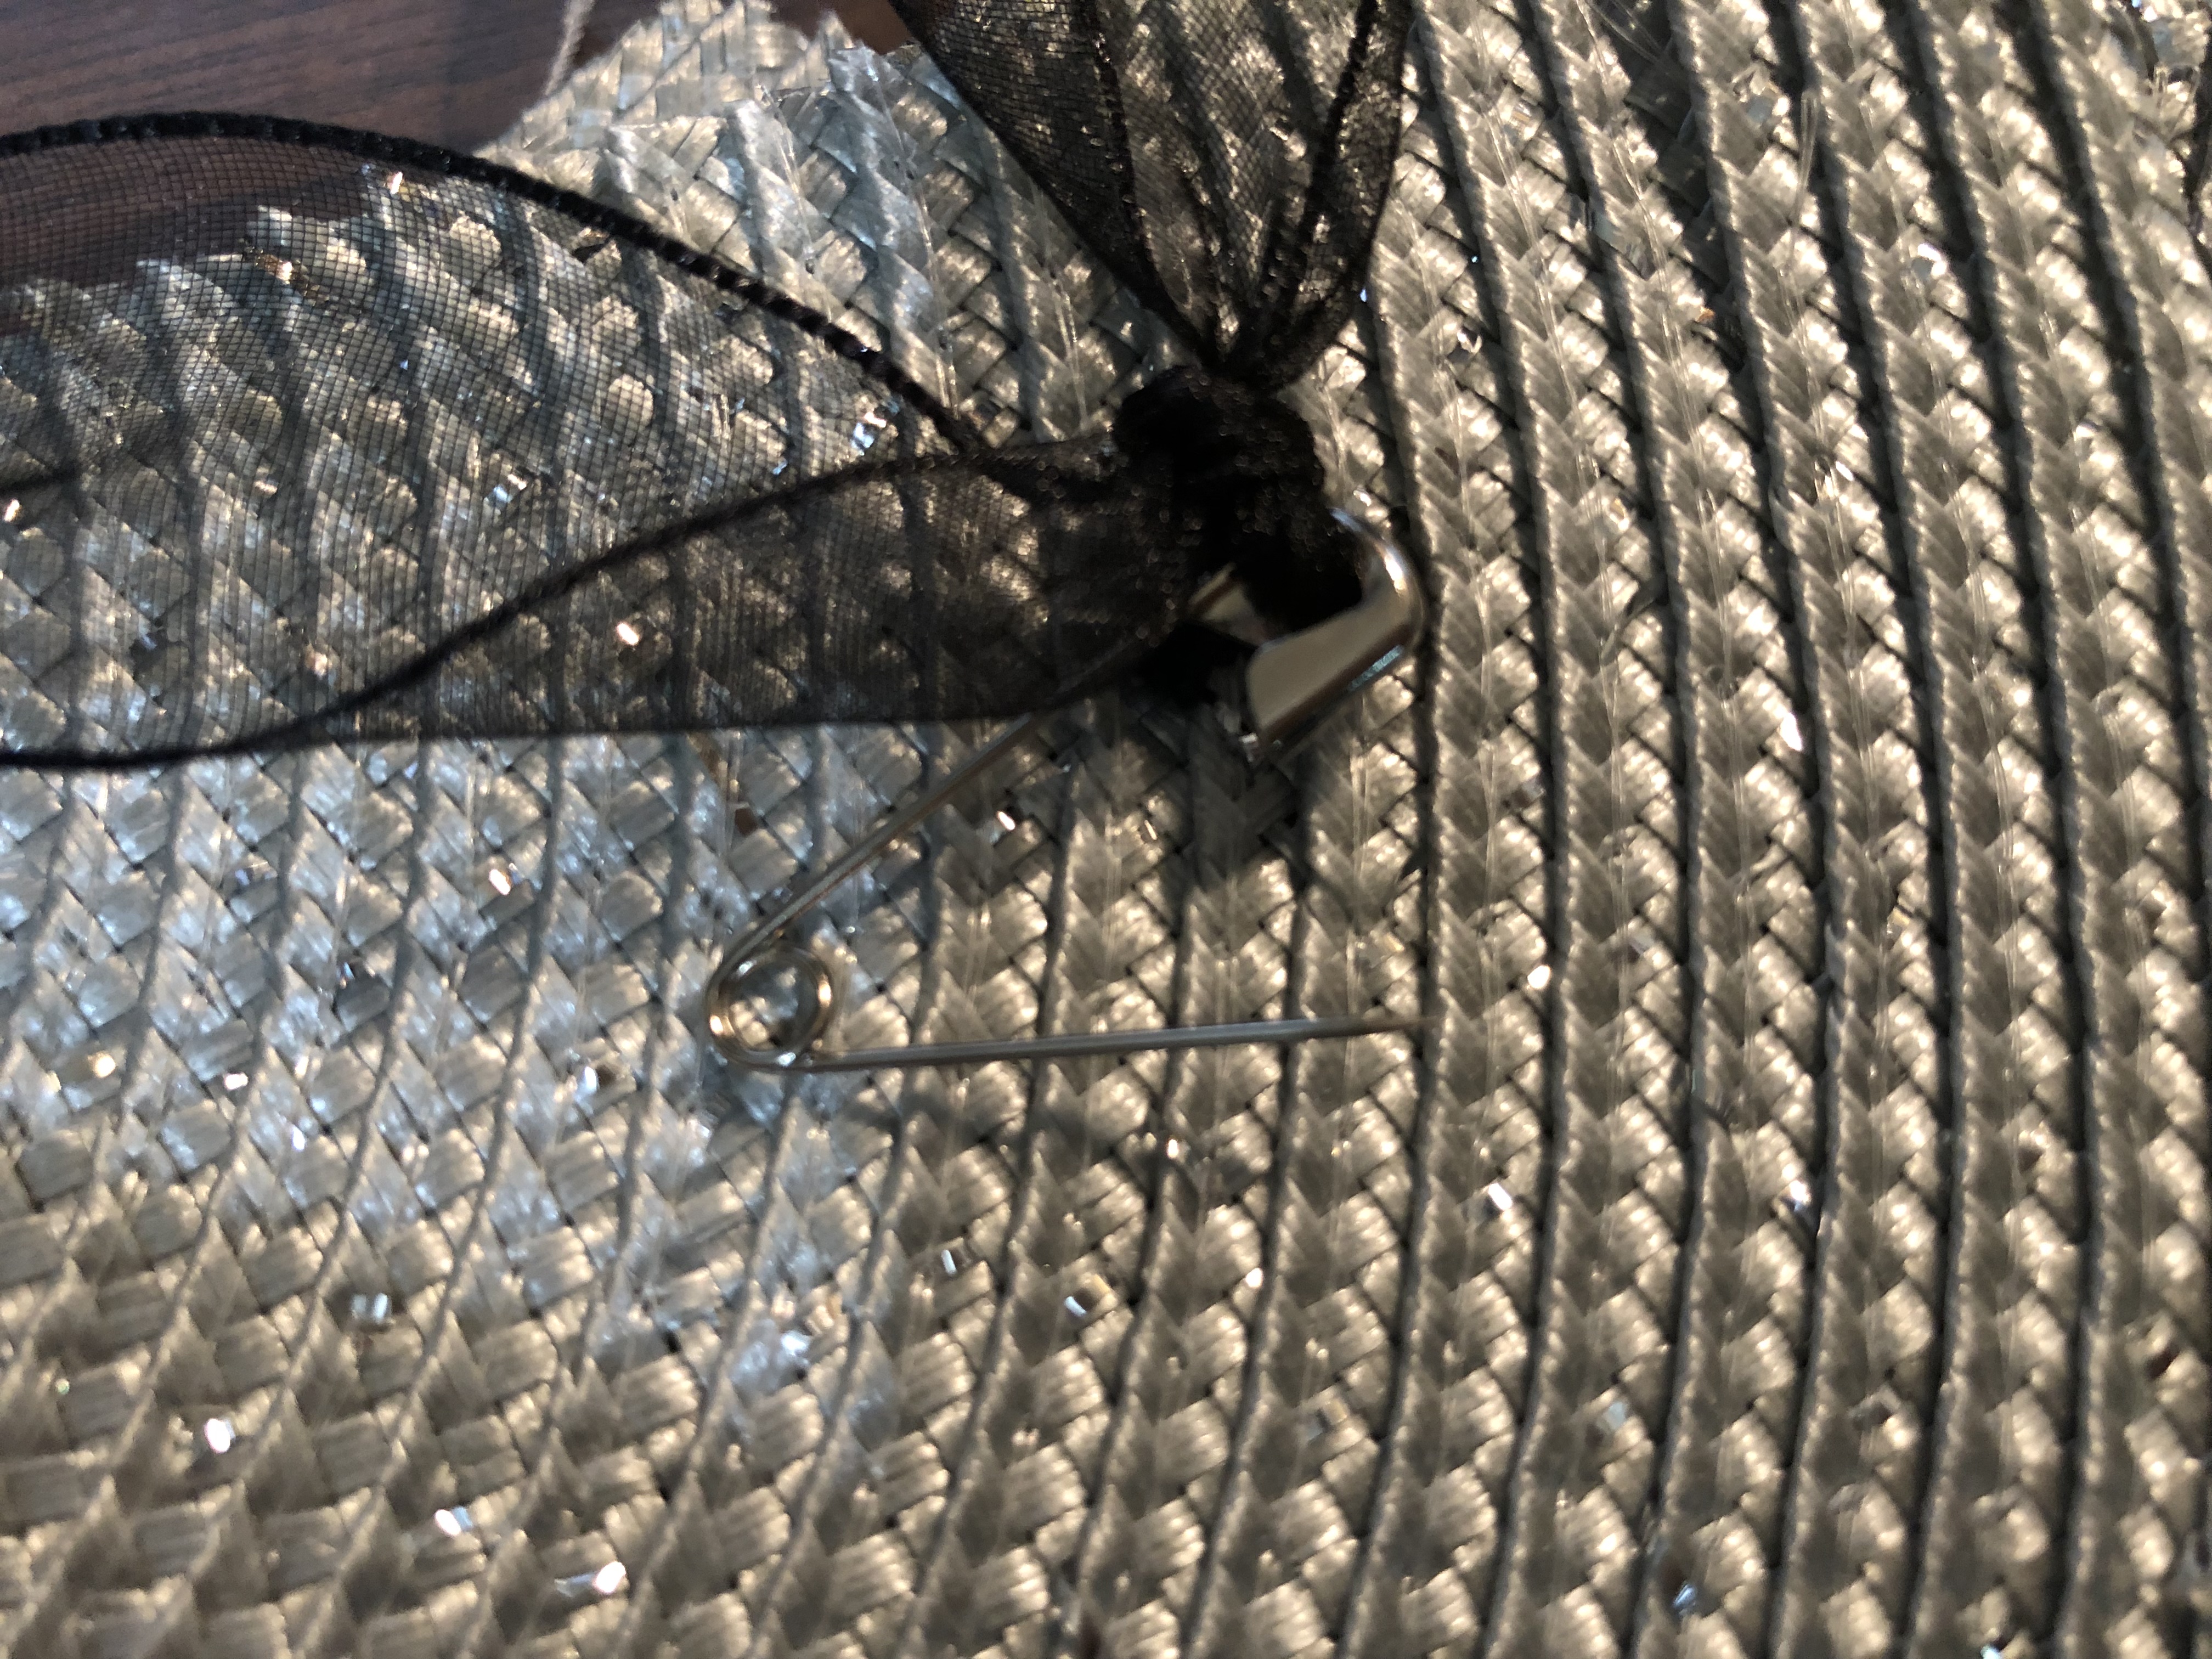
Shoulder Armor
Equipment
- Heavy Duty Scissors
- Heavy Duty Hole Punch
- Binder Clips
- Sharpie
- Drafting Compass (if your place mat does not have lines)
Materials
- 1 Round Place Mat Silver
- 4 Shank Buttons (loop on the back of it instead of holes) Silver Metallic
- 4 10" Pieces 1/2" Ribbon Gray, black, or Silver
- 4 Safety Pins
Instructions
- Cut place mat in half across middle.

- Cut each half into 2 pieces along the curve, halfway from the center. If your mat does not have lines following the circumference, use a drafting compass to lightly mark the back of the mat.
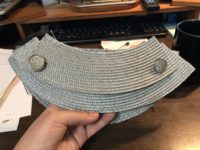
- Cut the outer half into 2 pieces along the curve, halfway from the center. If your mat was 10" the center piece would be 5" and the two outer pieces would be 2.5" each.
- Position (stack) the pieces so the center piece is on the bottom, the outer piece is in the center, and the middle piece is on top.When the shoulder armor is finished you will be able to position the pieces as needed.
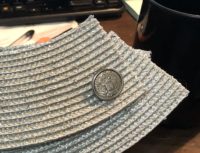
- On each end of the shoulder armor use a sharpie to mark dots where holes will be punched, Making sure not to get too close the the end on the shortest piece or the mat may come unraveled. The holes should be about ½" apart.
- Using a hole punch, punch 2 holes in the ends of each piece, on your marks.
- Loop the ribbon through the button, then each ribbon end through the holes from the top. Tie the ribbon into a knot on the bottom of the piece.

- Tie a safety pin to each end of the piece.
- Before pinning to costume position the pieces by gently pulling the top and bottom pieces.


Notes
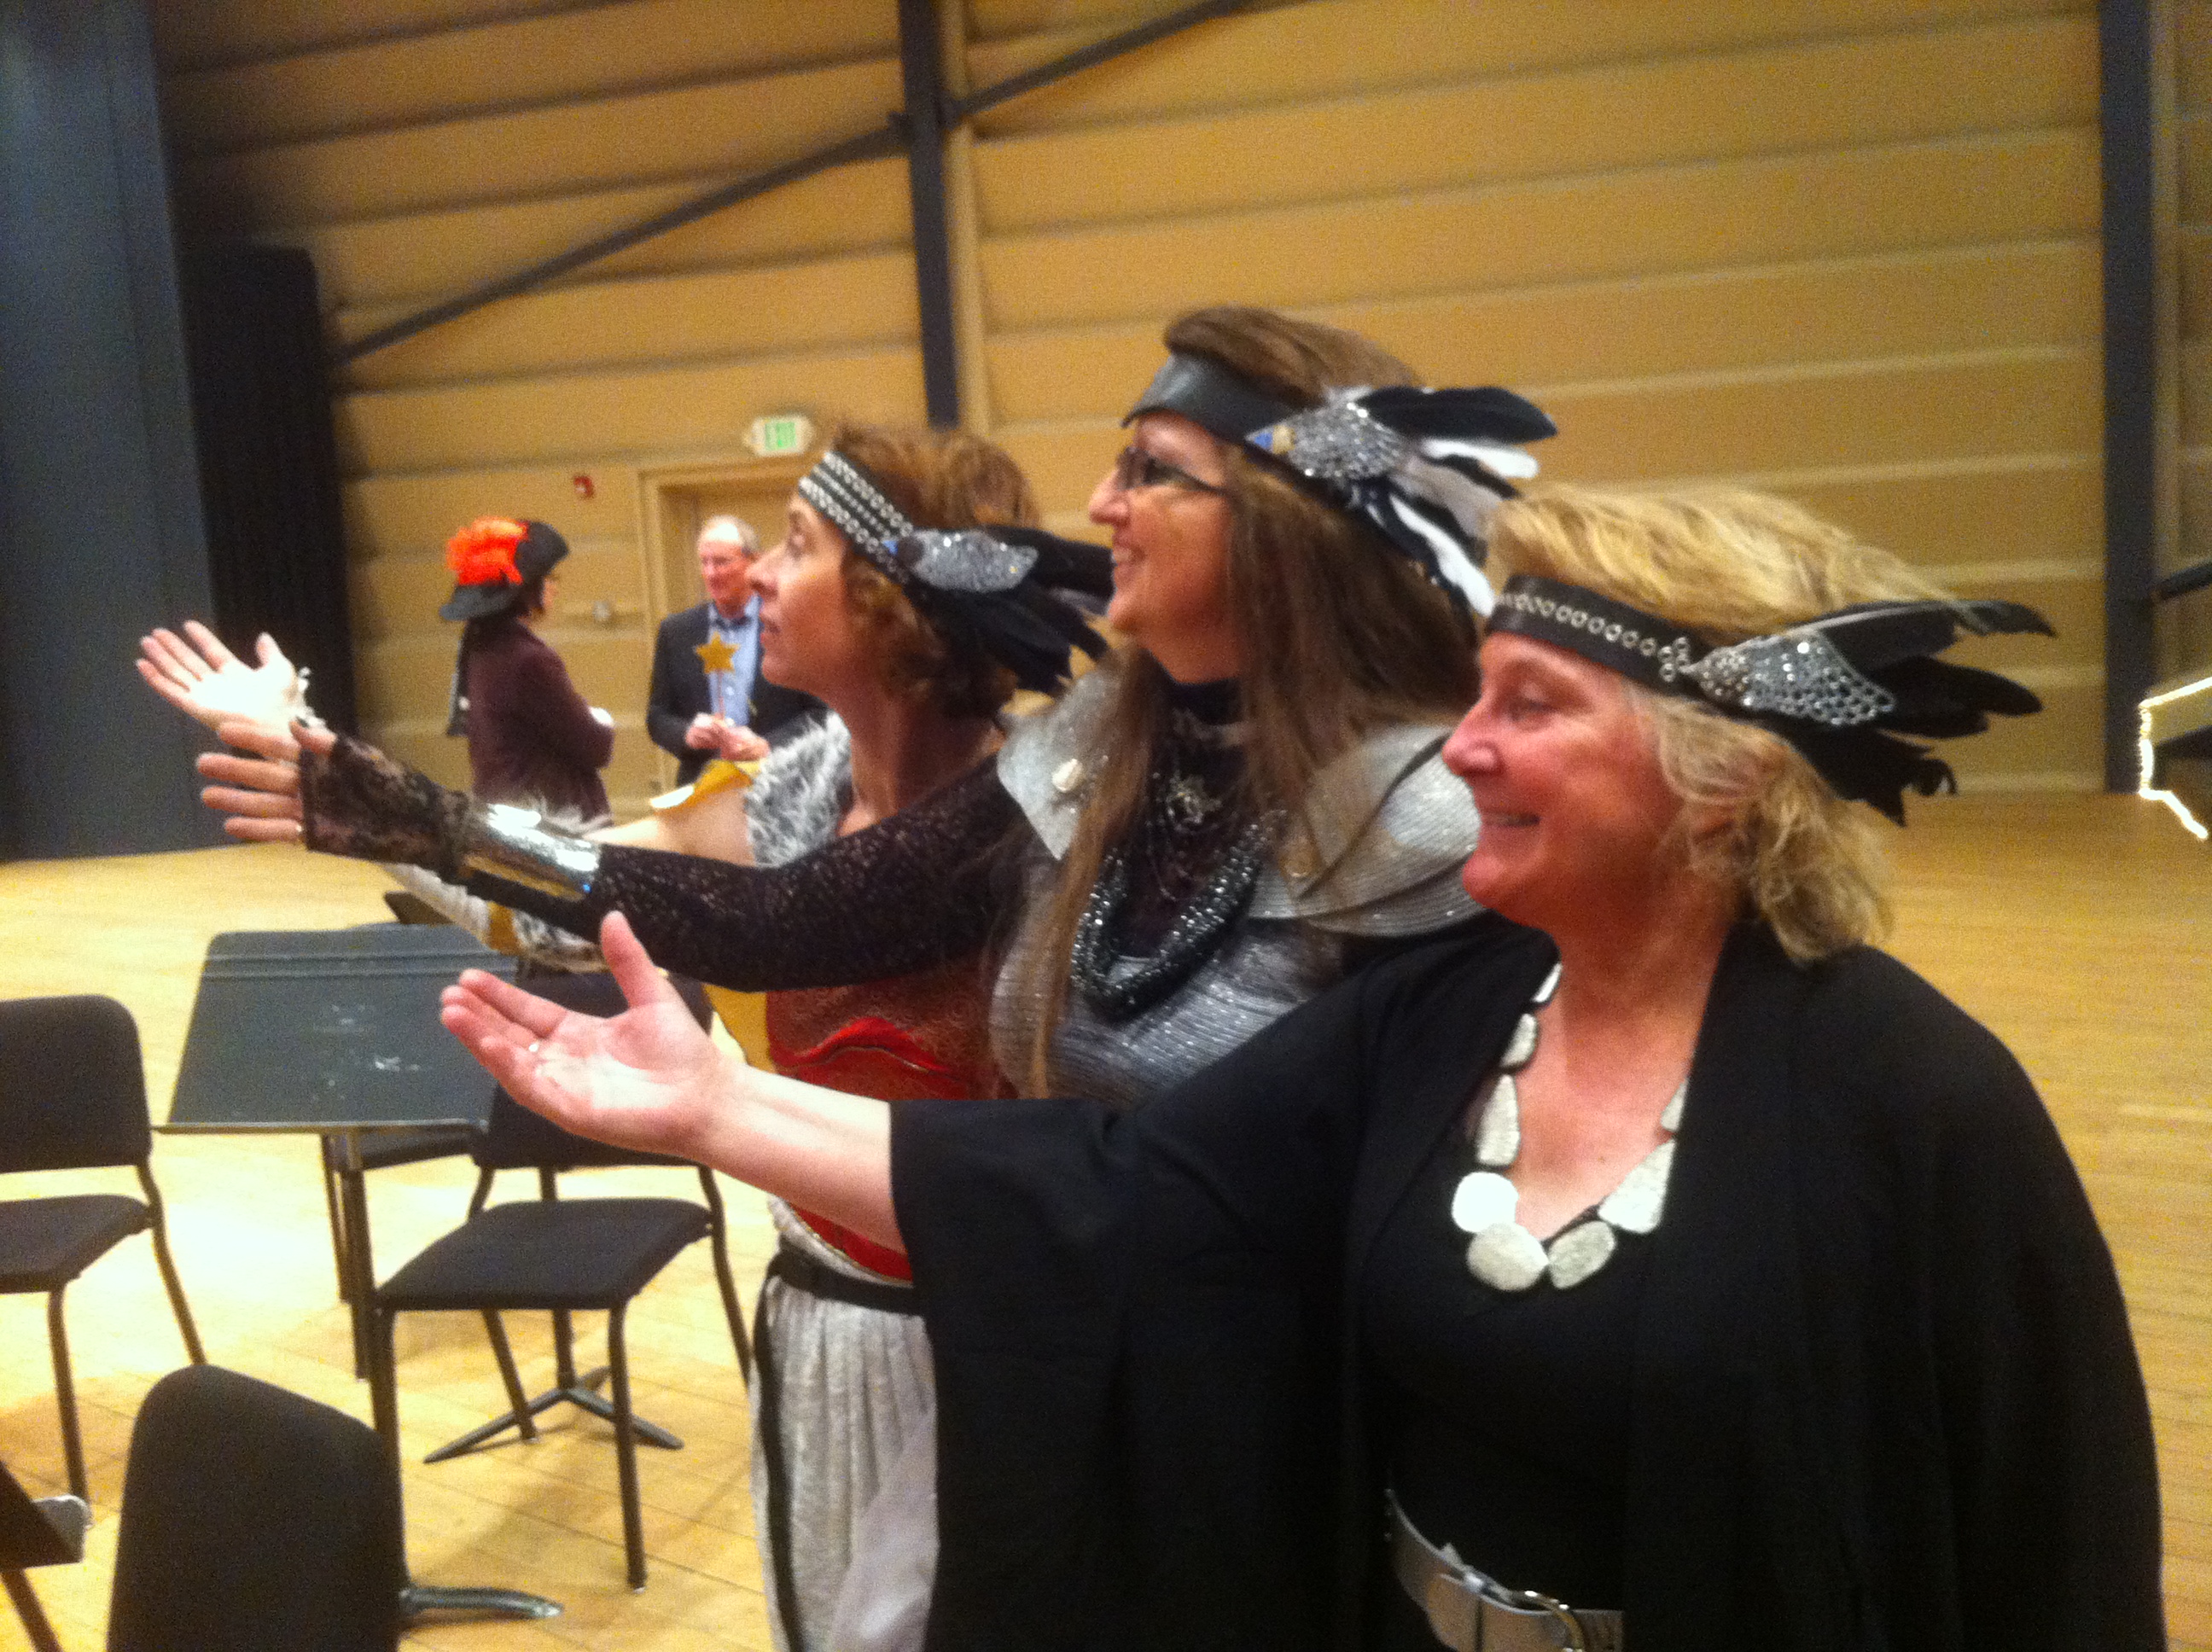
I needed to make 5 headdresses for the flute section.
The headdress required a little research, and was the most time consuming part of the costume. I spent many mornings Googling photos to come up with a conceptual idea that would not be too complicated, or expensive, then went thrifting.

Valkyrie Headdress
Equipment
- Leather hole punch
- Sharpie
- Hot Glue Gun & Glue (or E6000 glue)
Materials
For the Headband
- 1 Belt from Second Hand Store Black
- Large silver color beads
- 2 - 3 Feet Faux leather cord Shoelaces would work
For the Wings
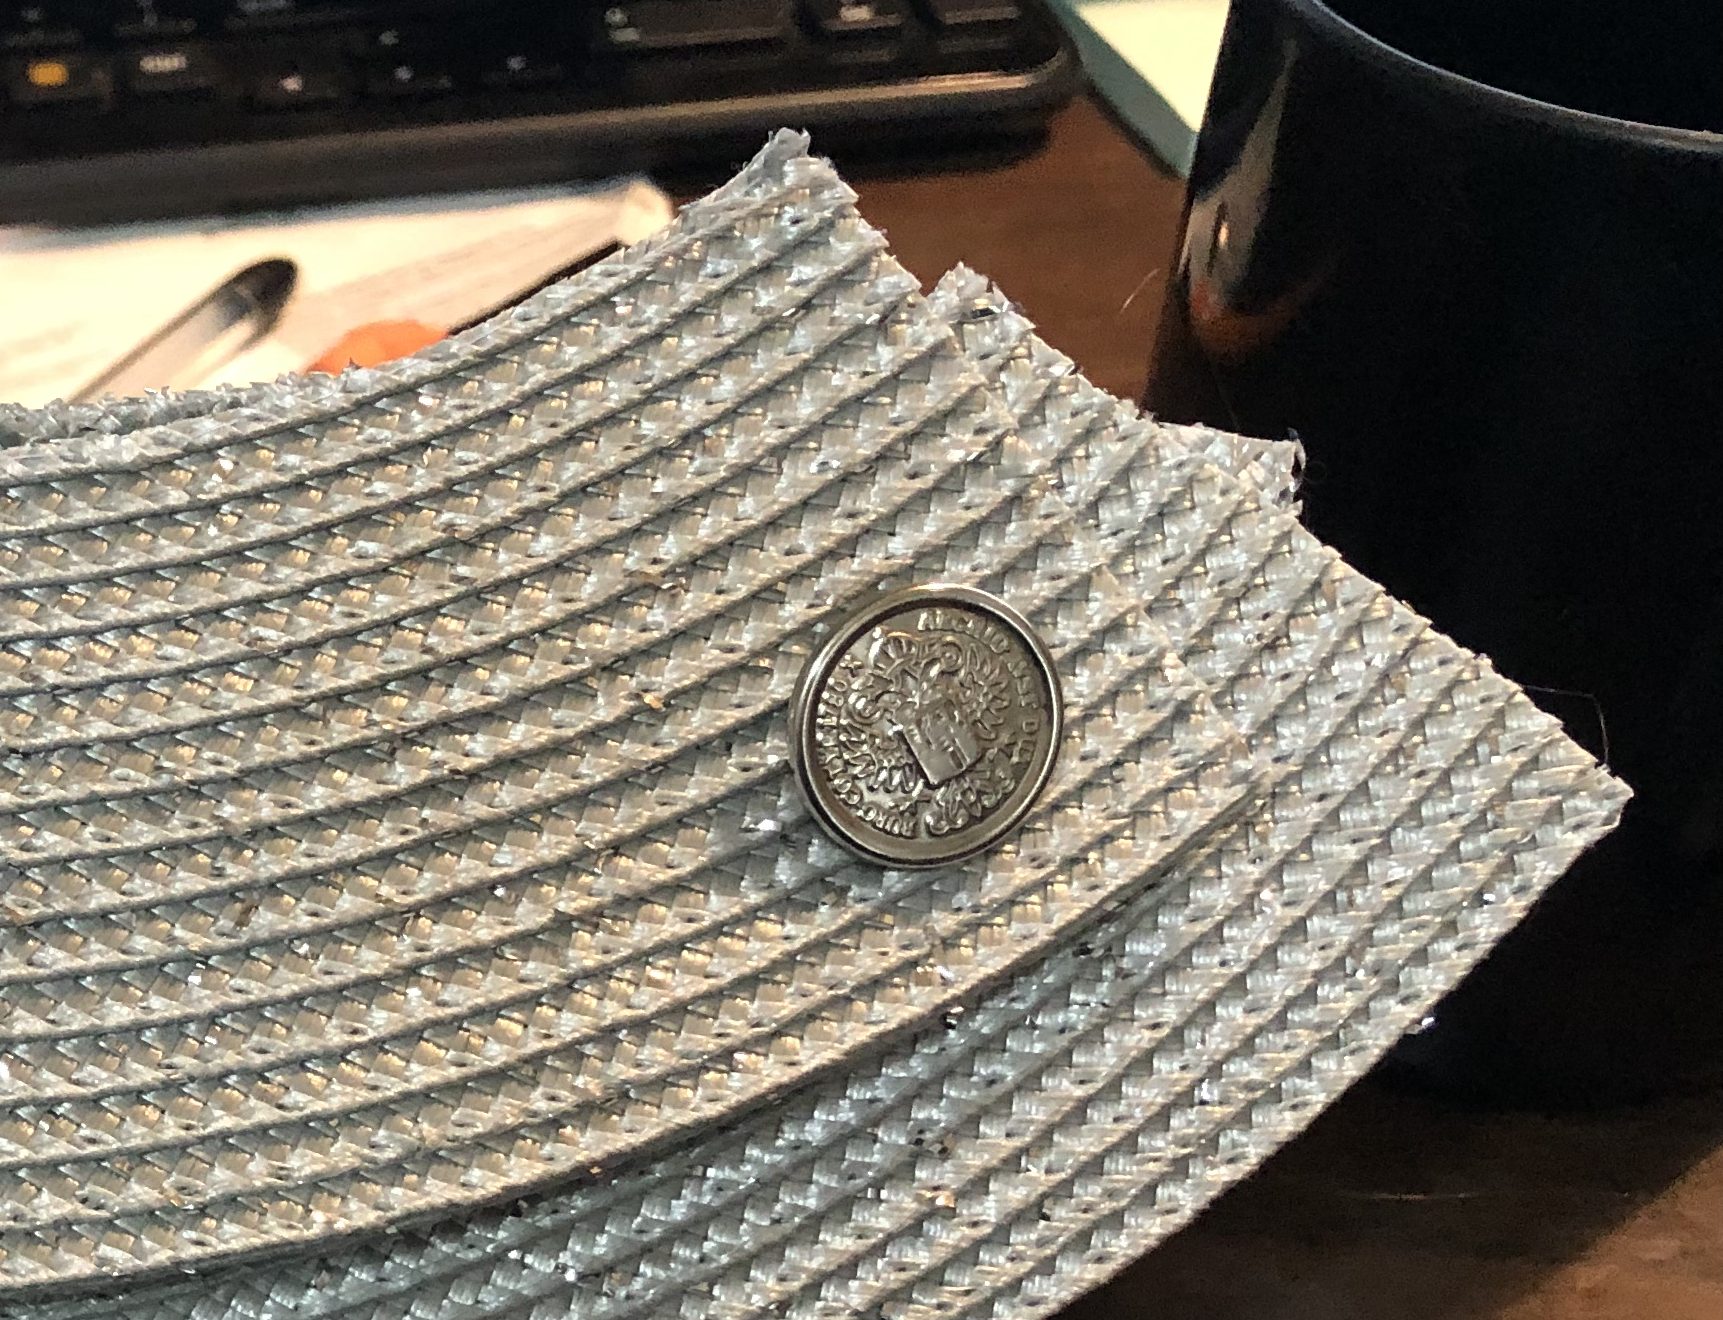
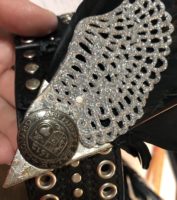
- 2 Silver-tone Western Collar Tips Be sure it has an adjustable shank on the back.
- 1 Medium Bunch Medium White feathers
- 1 Large Bunch Large Black feathers
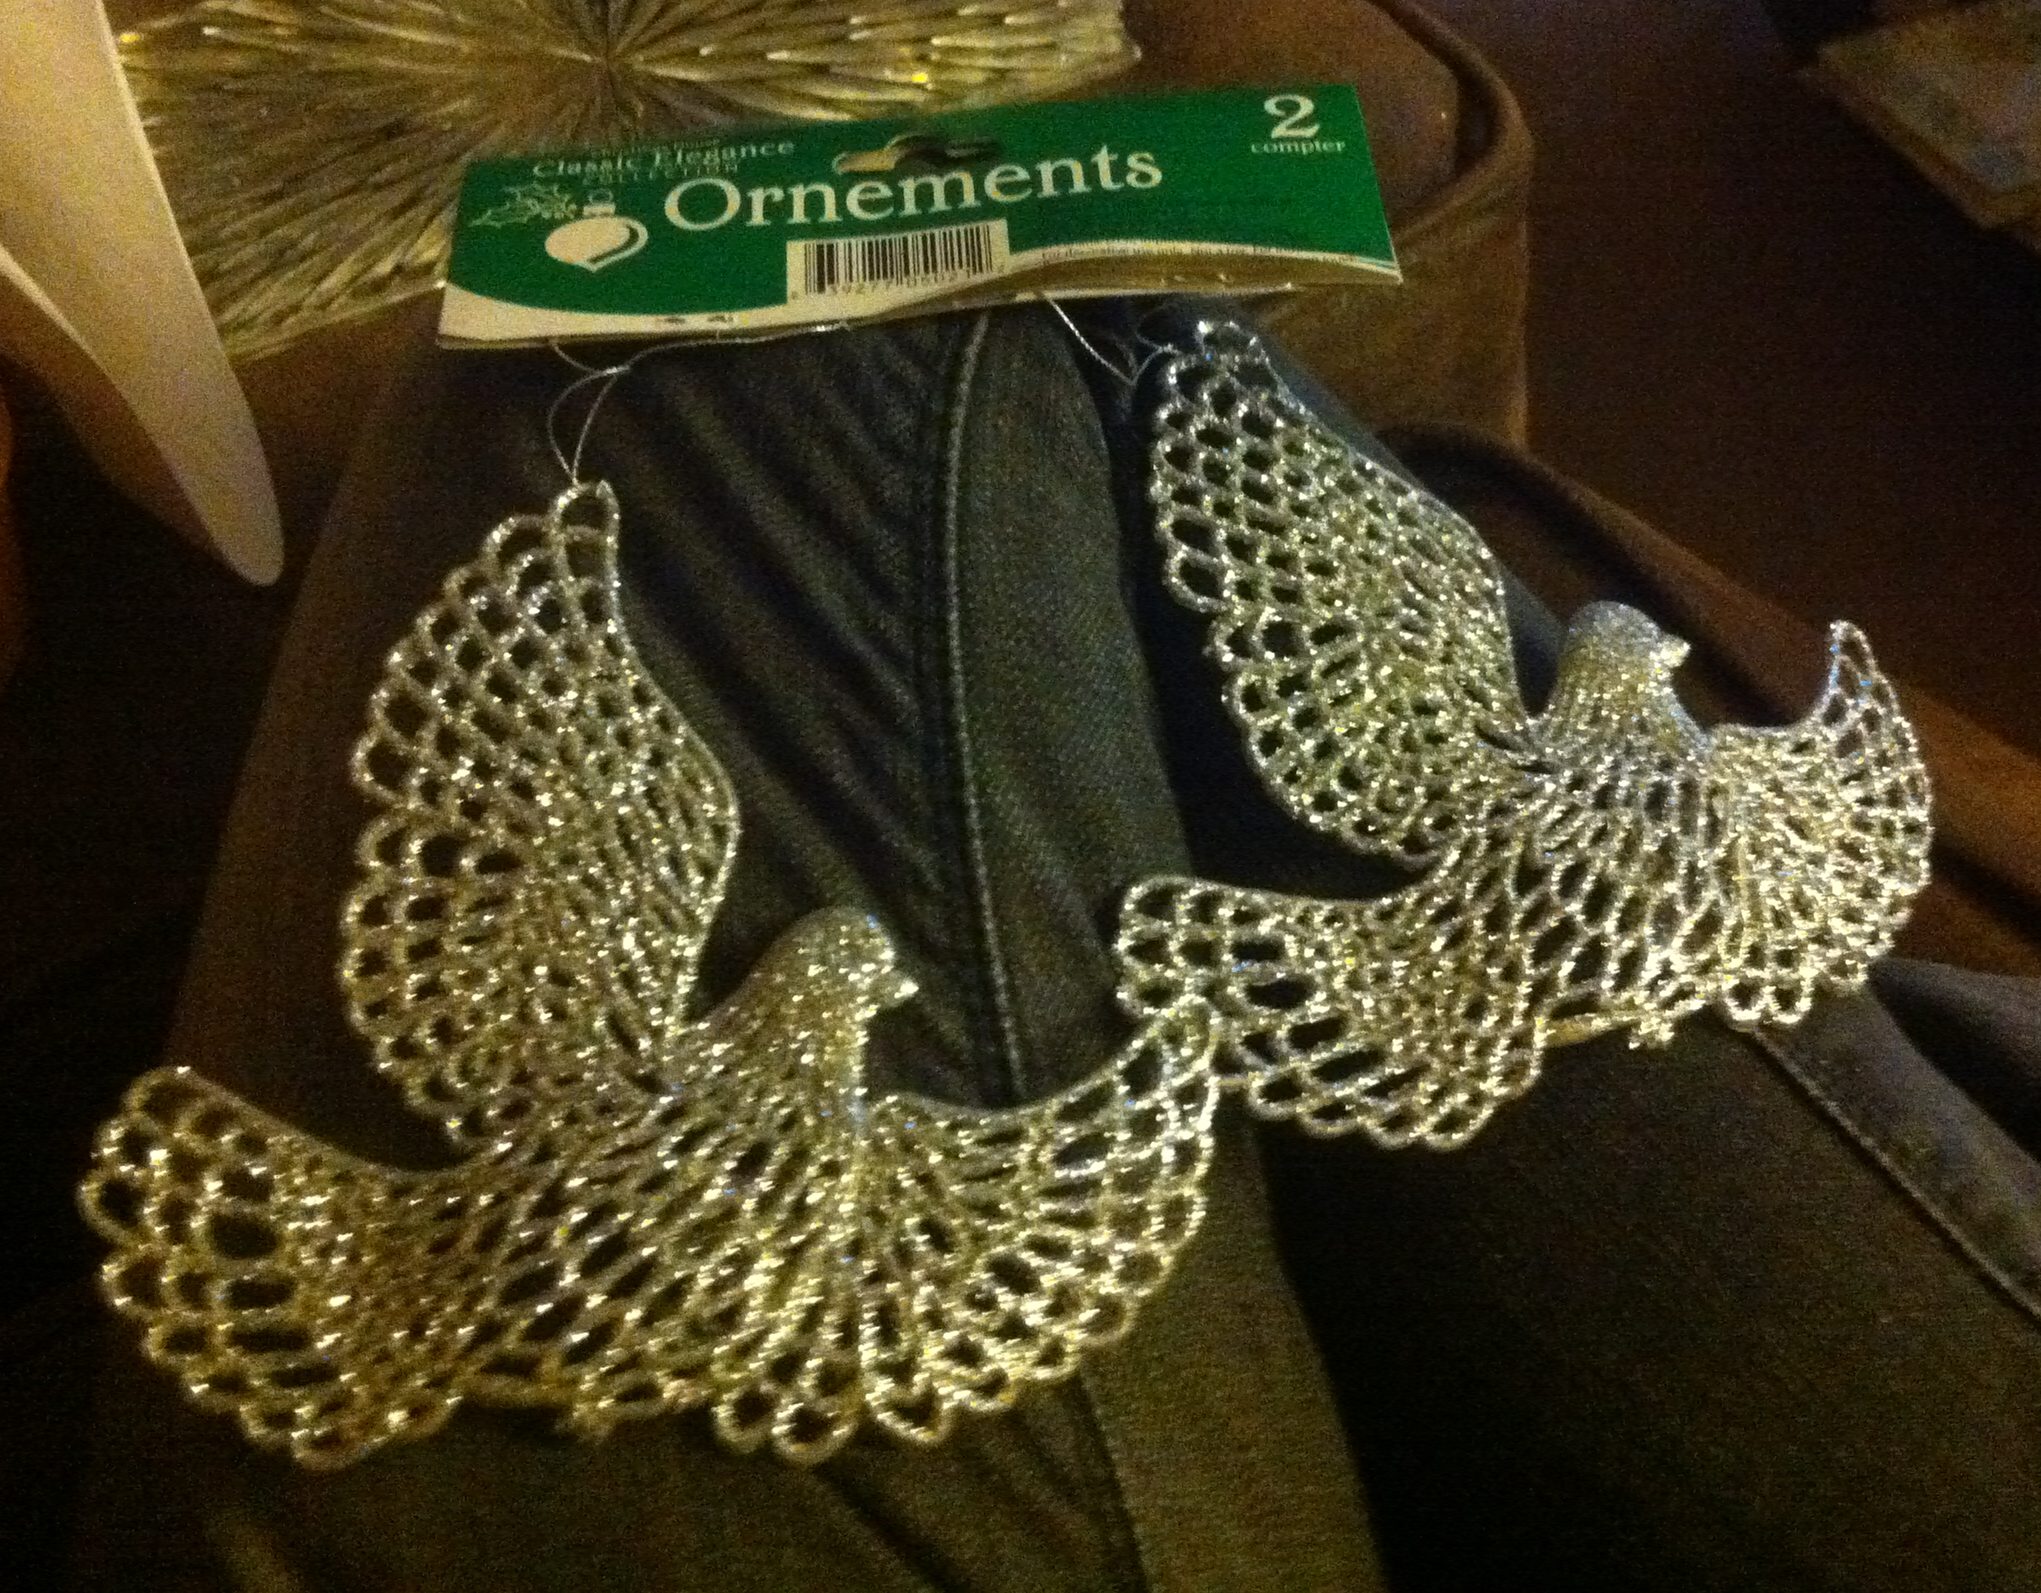
- 2 Silver flat Christmas dove or angel ornaments from the dollar store. Something that looks wing-like. Not brittle, you will be cutting them.
- 2 Silver or metal tone 1" shank buttons. If your Collar Tips don't have embellishments.
Instructions
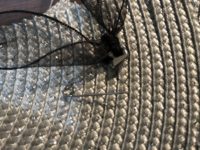
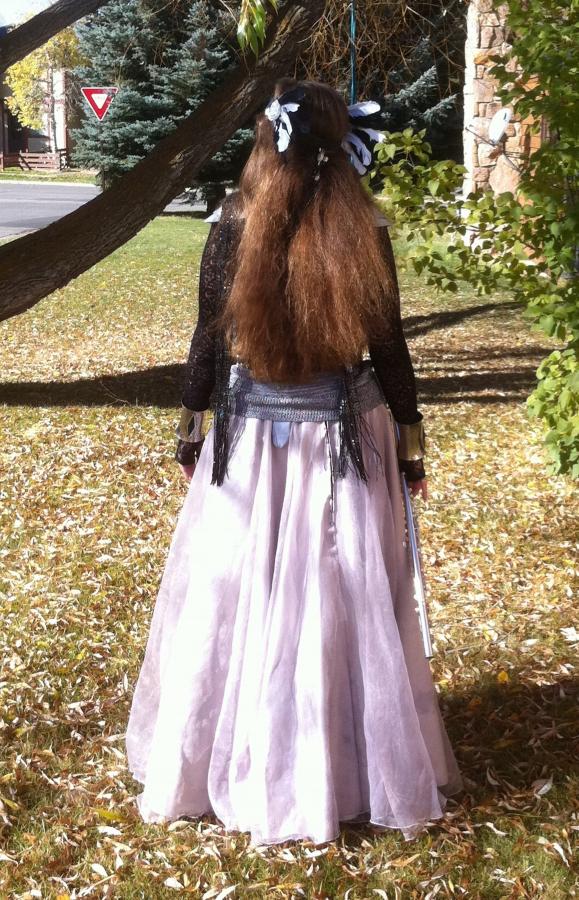
Make the Headband
- Fit the belt to the your head marking the size with a pen. Cut the belts down to size, leaving a large overlap so the ends are near the wings and will be hidden.
- If there are no holes, punch several holes into top end of the overlap.
- Put back to head for size and hold the ends in place with one hand. Remove from head and put sharpie through hole to mark place for next set of holes. Punch holes on marks.
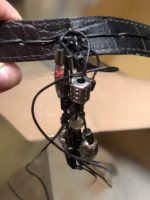
- Use the leather cord to hand stitch the belt through the holes.
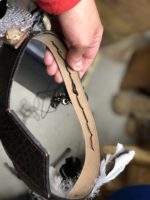
- Add a few of the silver beads to the end of the cord to give it a finished look.


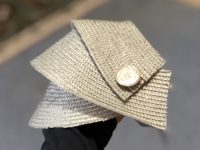
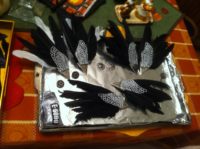
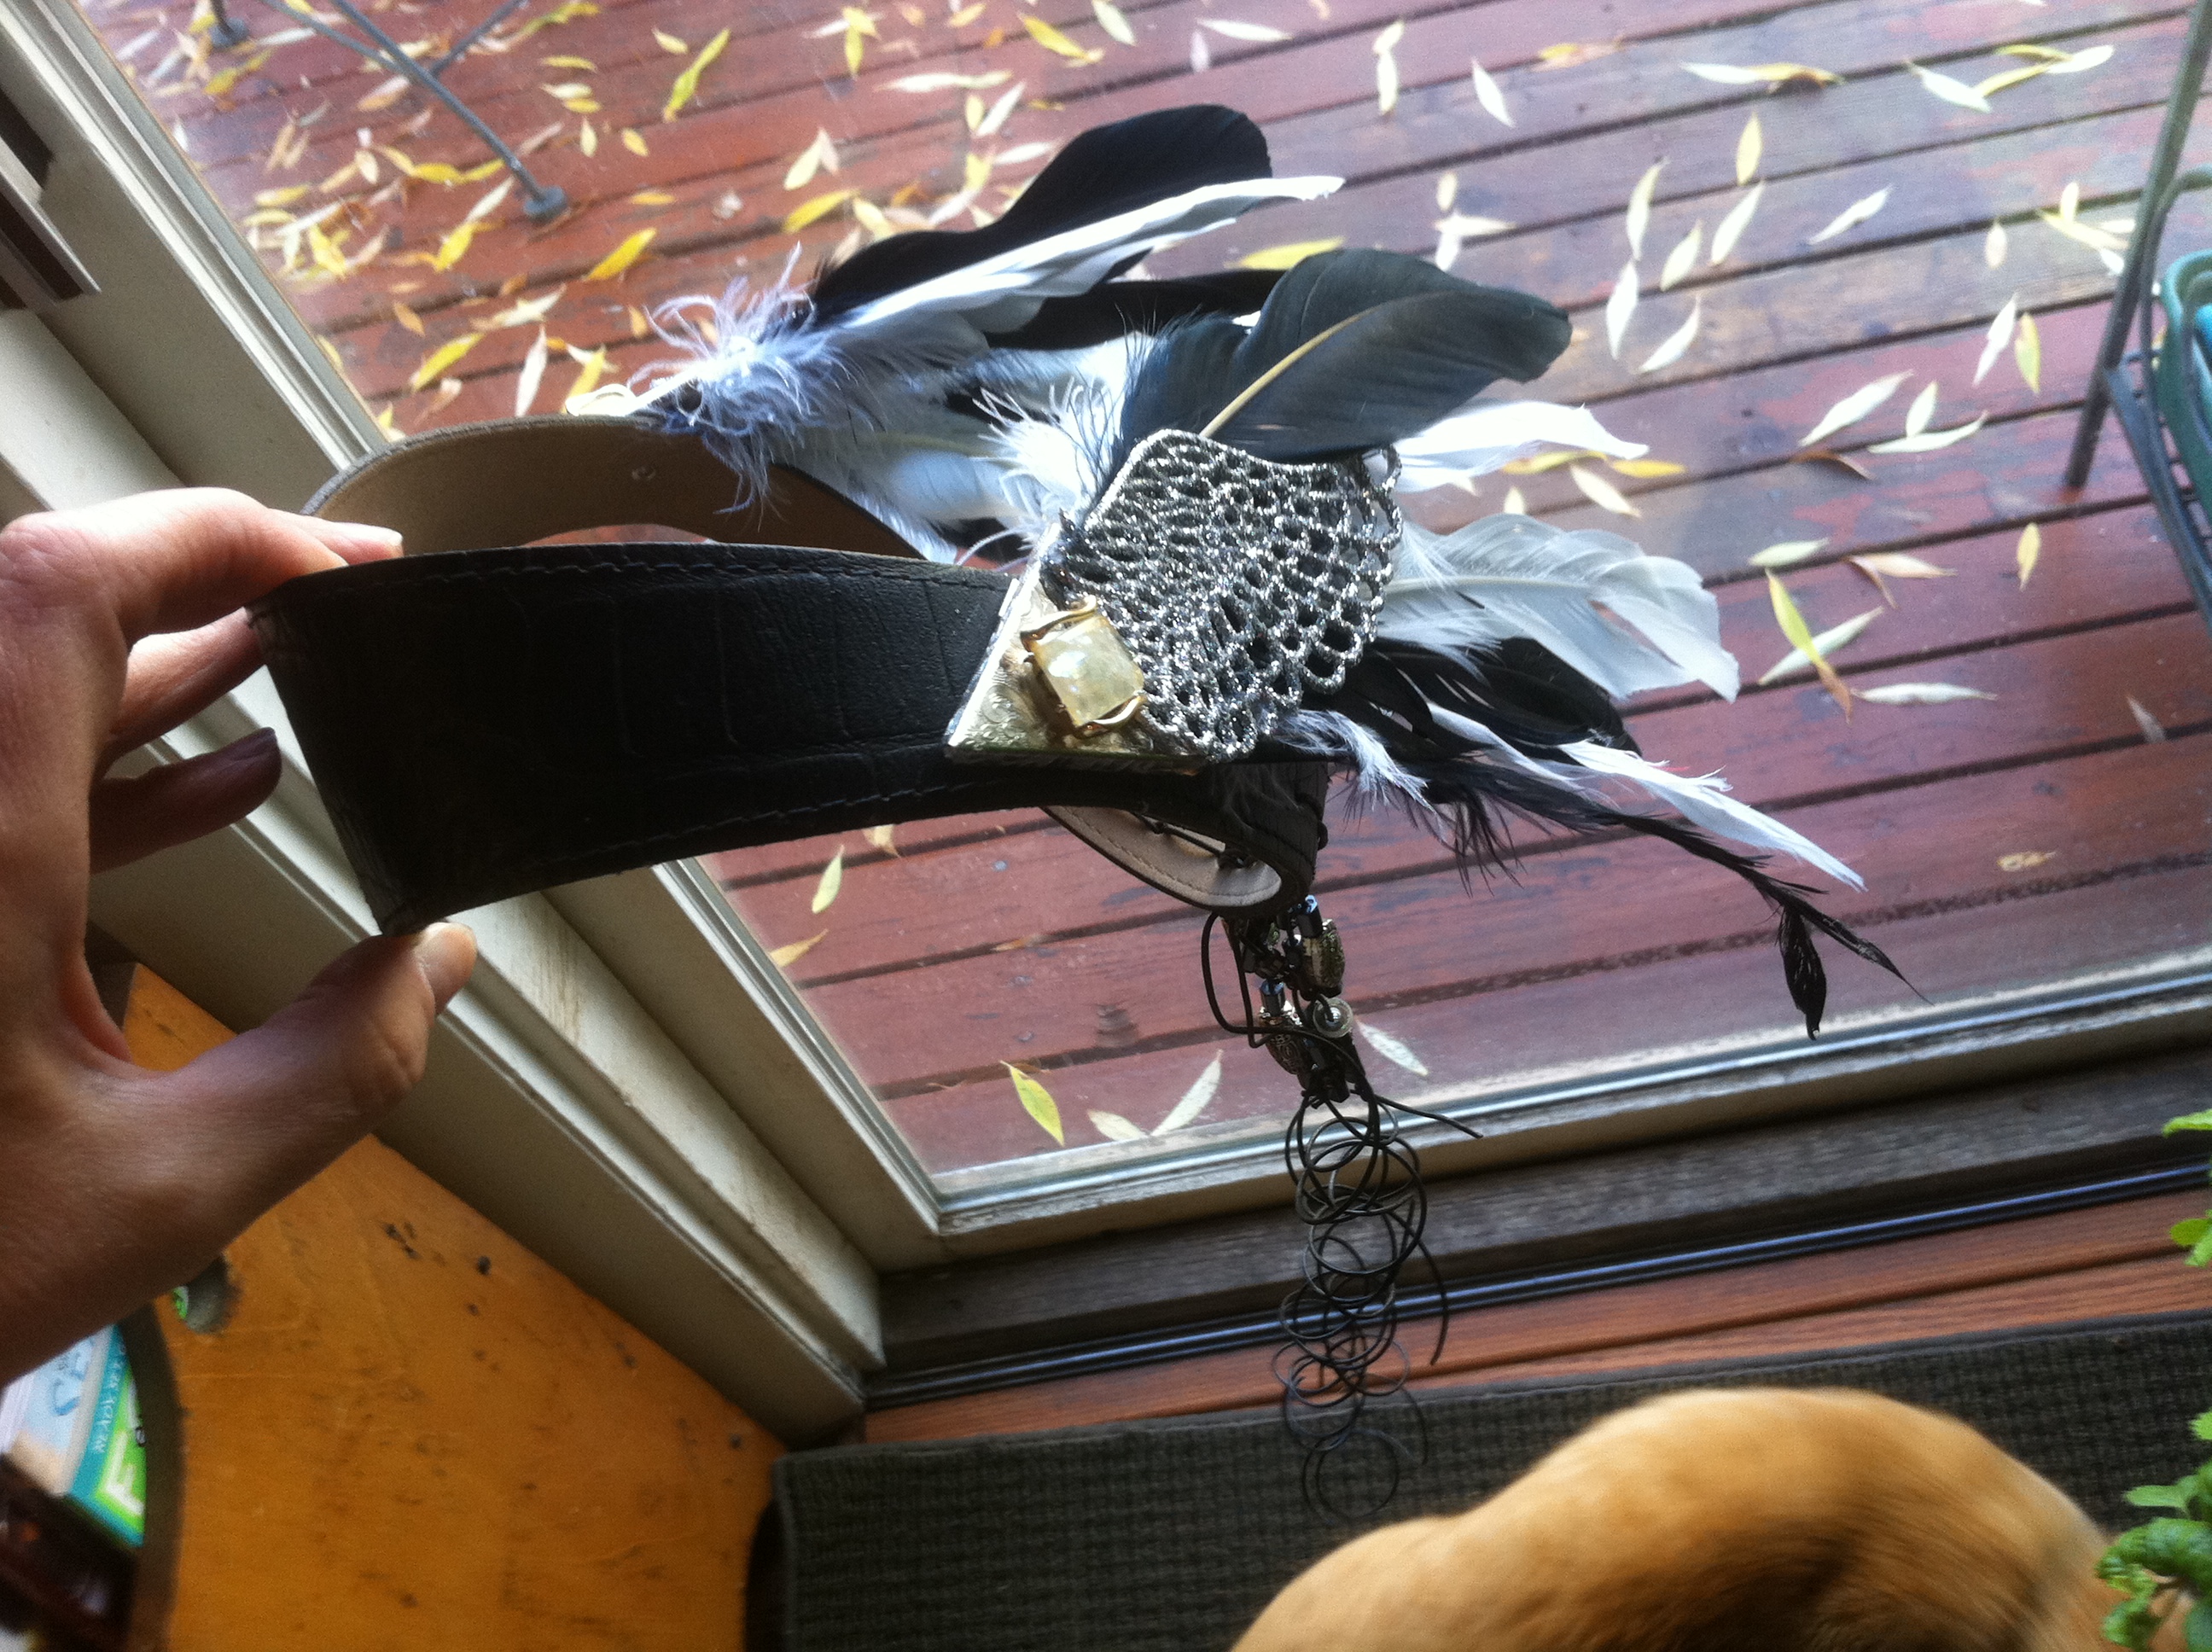
Make the Wings
- Cut the wings off the ornaments.
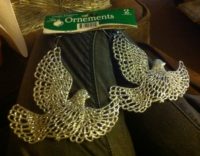
- Lay out all your supplies.
- Stack feathers, collar tips, dove wing/ornament part, and buttons to get a mirrored arrangement for both sides. - Don't be too skimpy with the feathers or you wings will look more like a road kill.
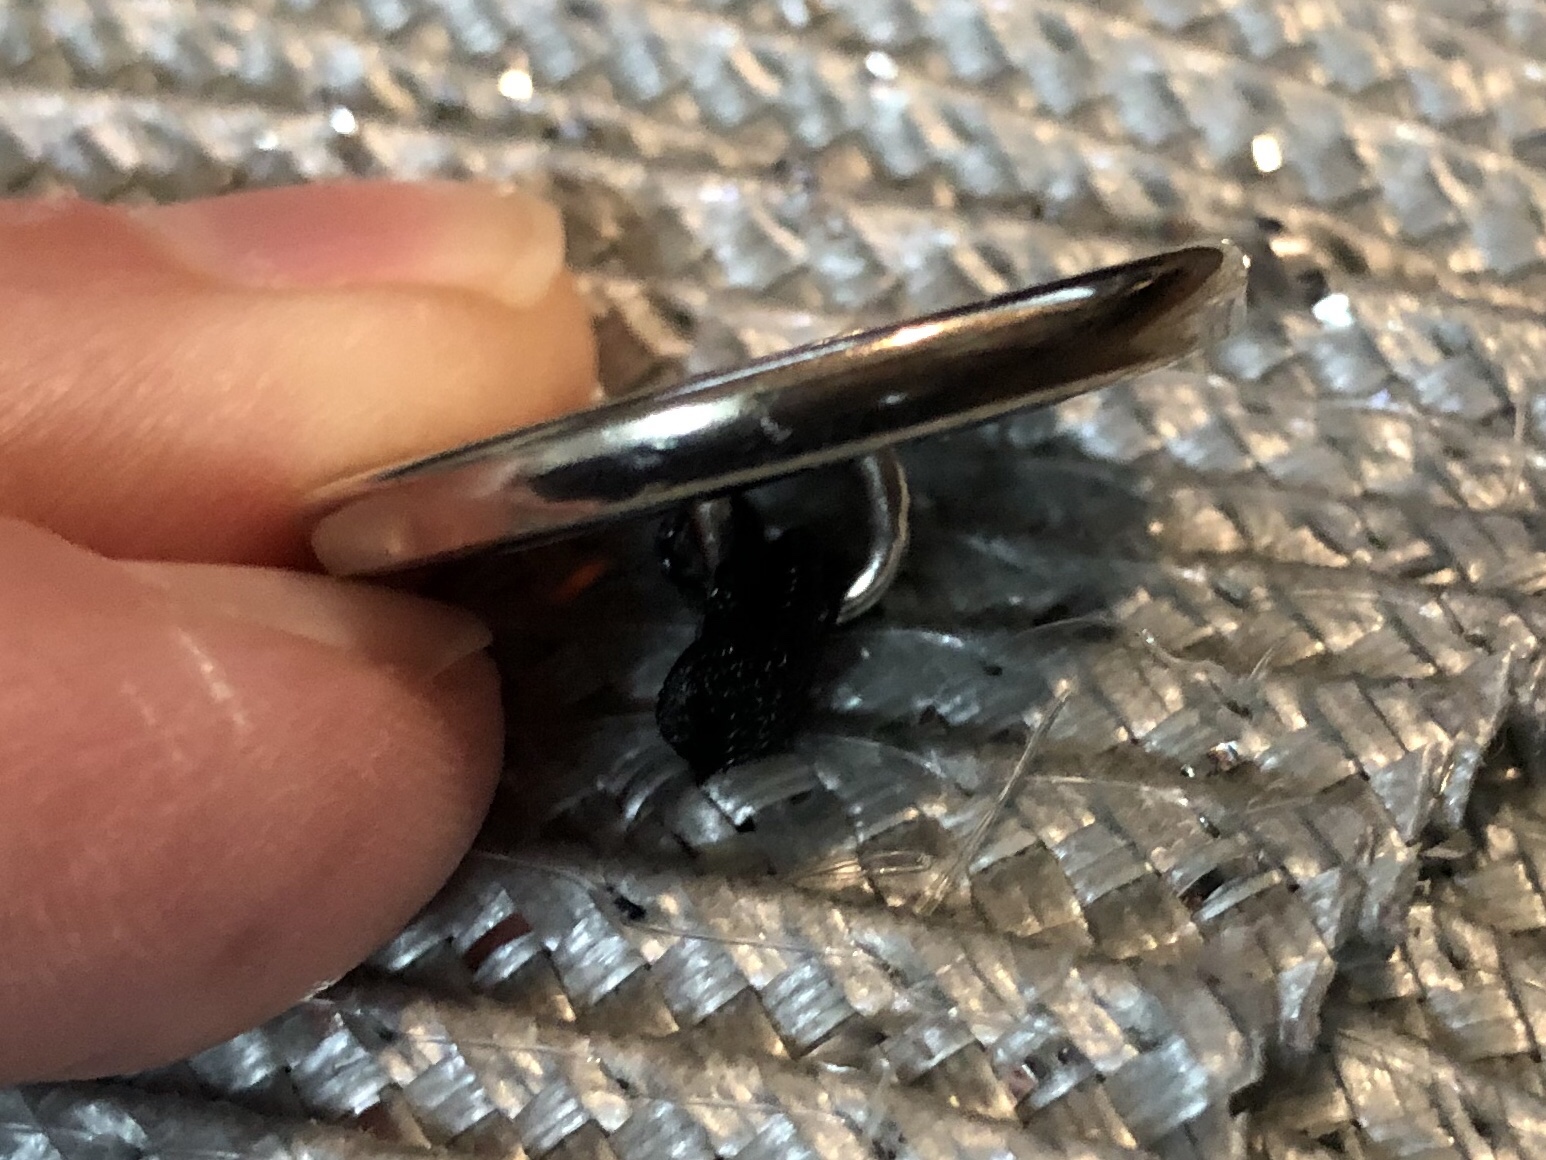
- Unscrew the adjustable shank on the back of the collar tip open to the max but not removing it.
- Assemble your masterpiece. Stick the feathers into the collar tip and use glue to keep them in place. Let dry. - Be sure not to glue the shank in place.
- Glue the dove wing/ornament part over the top. Let dry. If your collar tip has an embellishment, butt up raw edge against it and skip adding a button.
- Glue a button over the rough ends of the dove wing on each wing to give it a finished look.


Attach the Wings to the Headband
- Position the belt headband on your head and look in a mirror. Position the above your ears and adjust for looks. If you have a friend have them mark the spots, otherwise mark the spots one at a time. Put the mark where you will want the shank of the piece lined up.
- Use the leather hole punch to punch a small hole center where your marks are.
- Press the shank of the collar tip through the hole, if the hold is not big enough punch only one size bigger. This needs to be tight. Once you have the shank pressed through put your thumb on the flat side and screw the wing into it until it is snug. You can reposition the wings as needed, this is especially handy when storing.

Notes
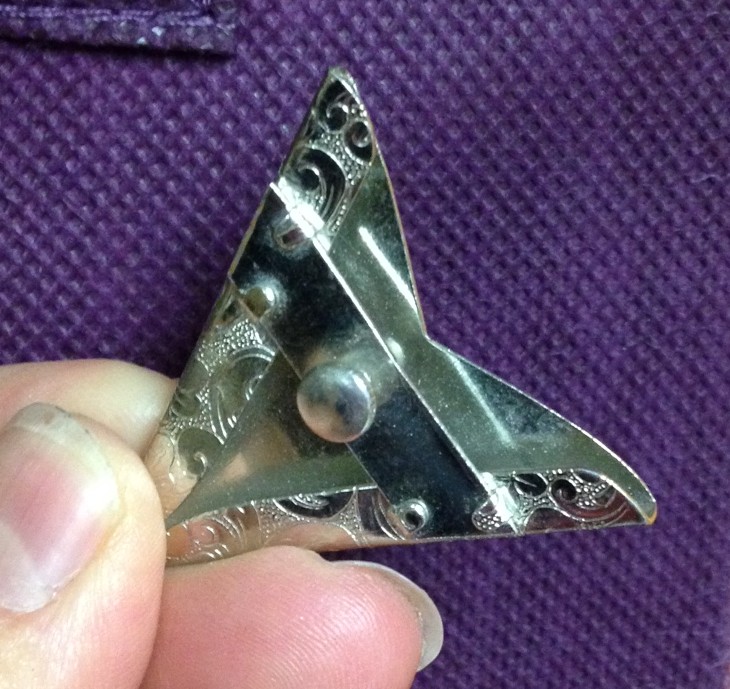 When I purchased these, I had no idea what their original purpose was, they were in a lot of jewelry and crafting materials I picked up a few years prior at a garage sale.
They turned out to be Western Collar Tips, what every well dressed cowboy would wear. They had a 1960’s look and the wide end was hollow. One side had an adjustable knob on it, all it needed to attach to the headdress was a hole in the leather, the other side had embellishments that I removed.
When I purchased these, I had no idea what their original purpose was, they were in a lot of jewelry and crafting materials I picked up a few years prior at a garage sale.
They turned out to be Western Collar Tips, what every well dressed cowboy would wear. They had a 1960’s look and the wide end was hollow. One side had an adjustable knob on it, all it needed to attach to the headdress was a hole in the leather, the other side had embellishments that I removed.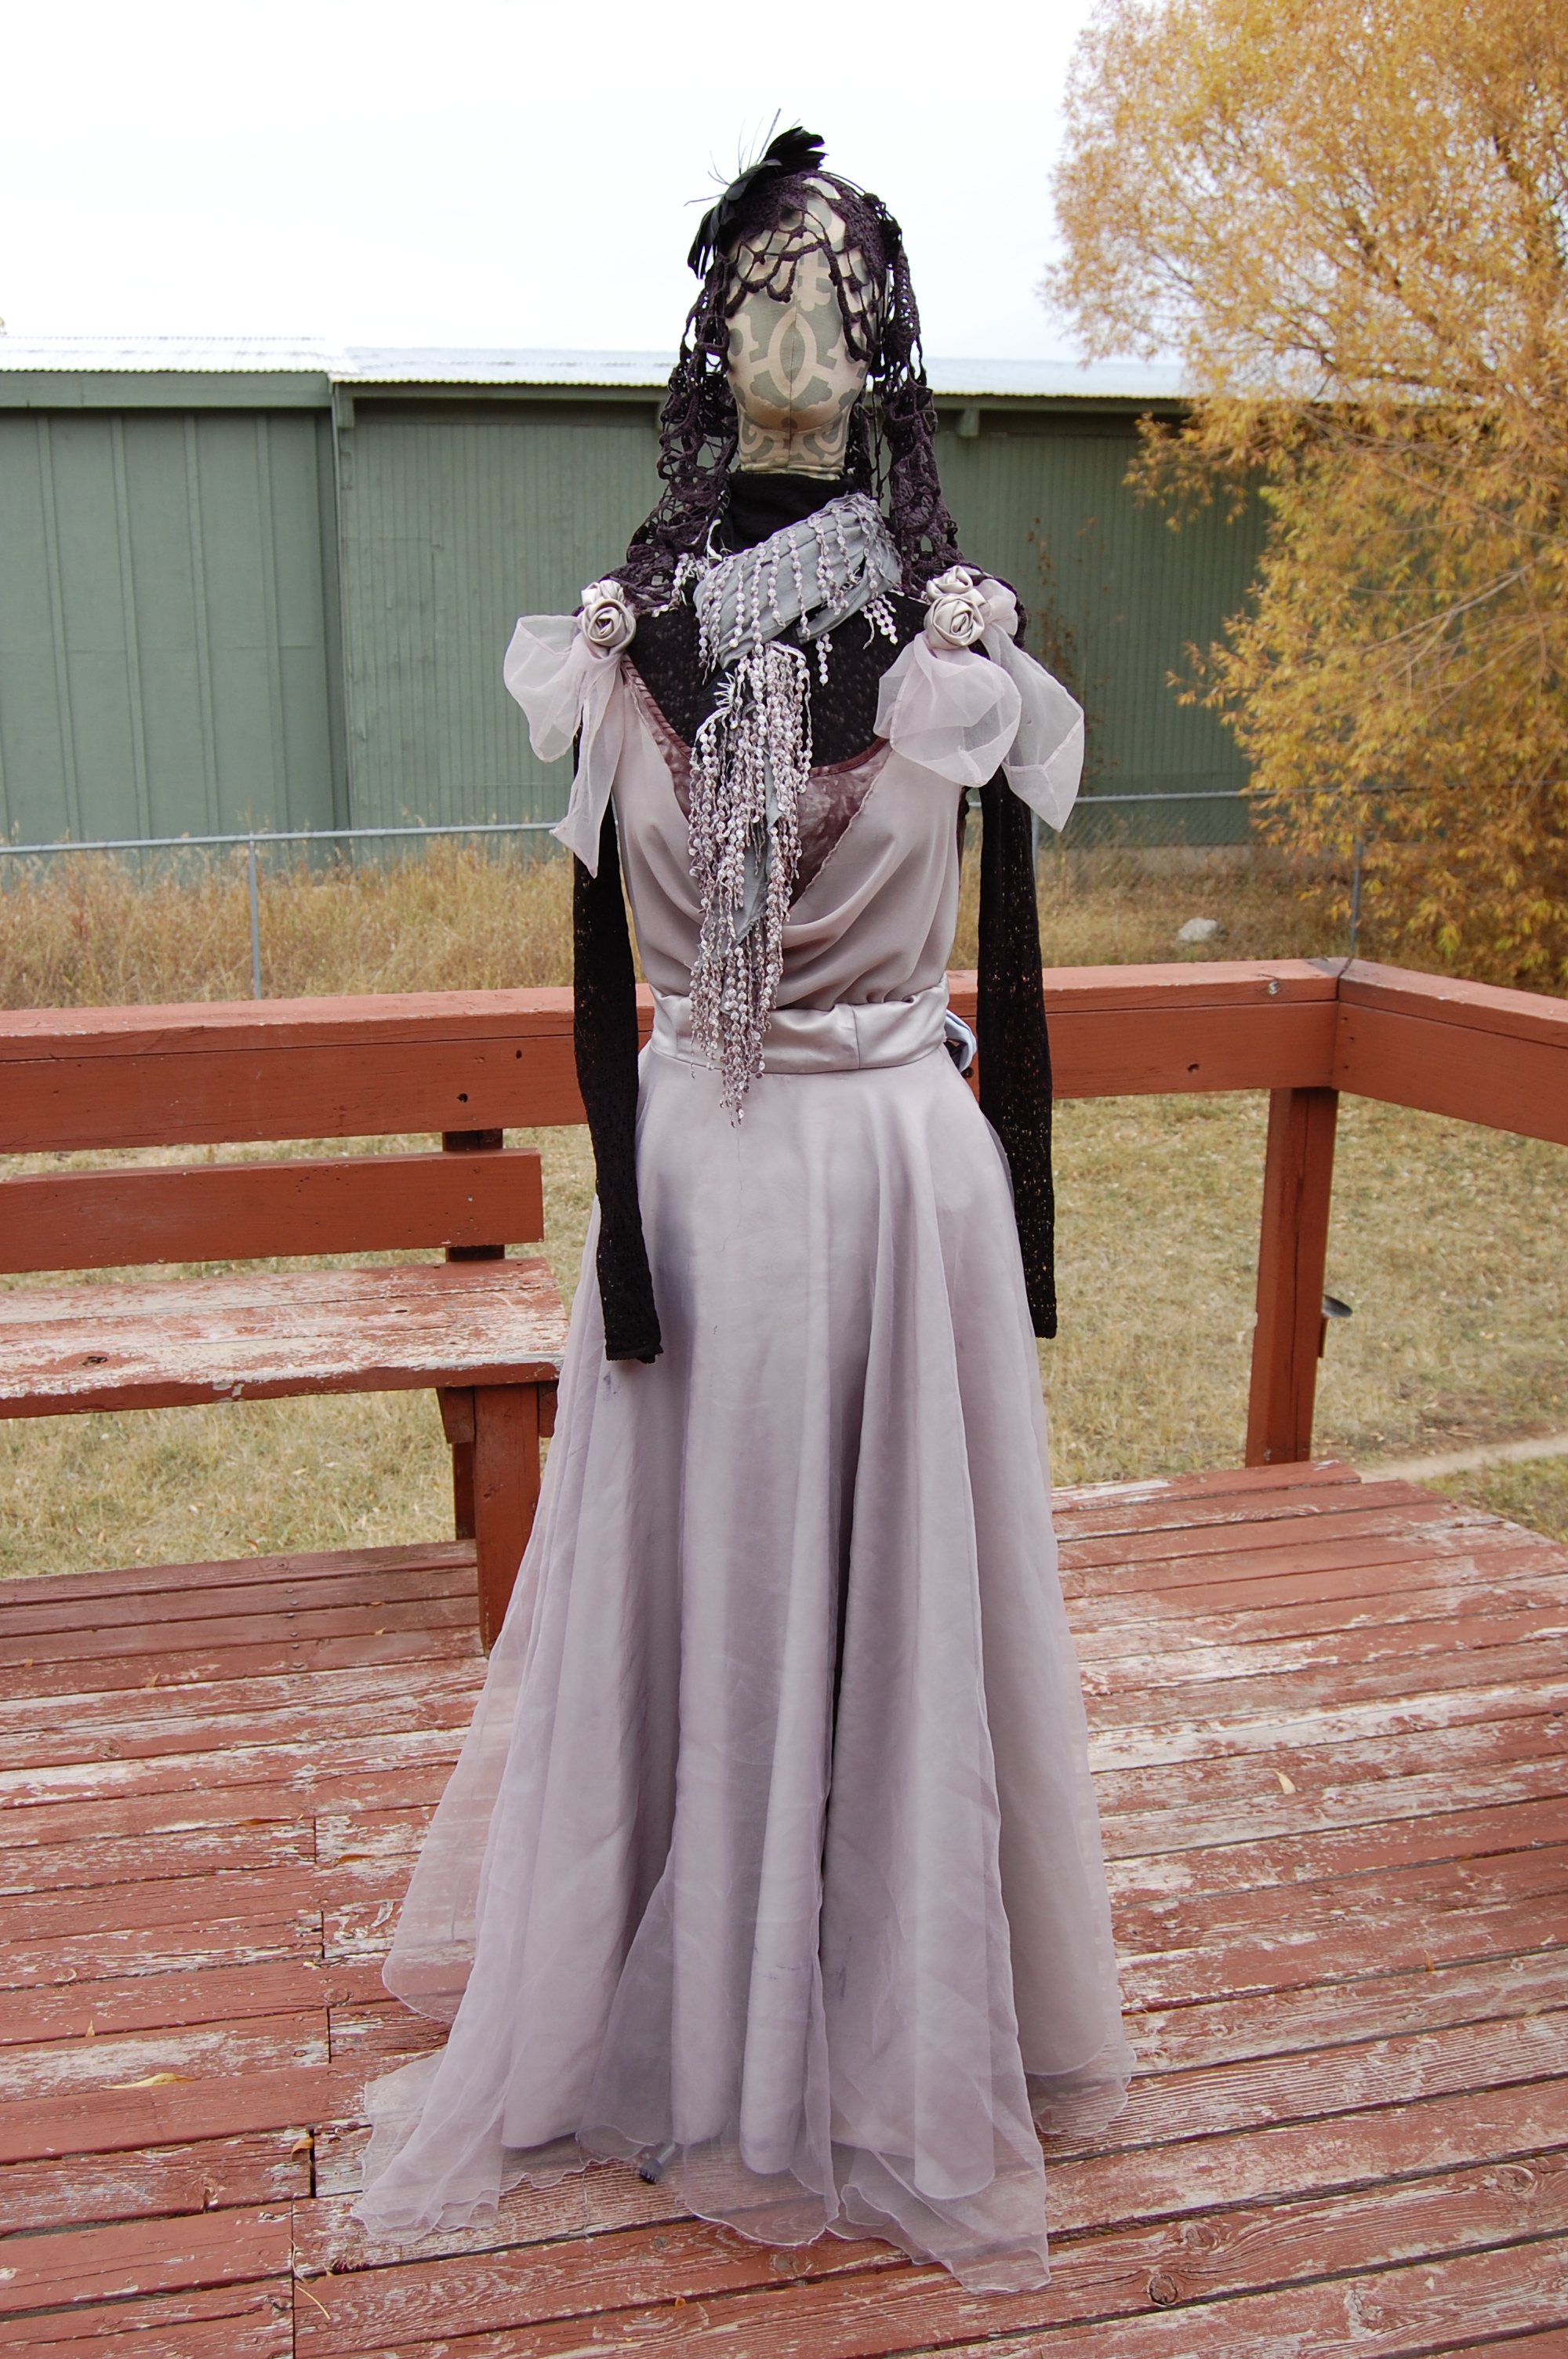
Full Lenth Skirt for Halloween Costumes
Equipment
- Dress Form (if you have one)
- Iron and Ironing Board
- Rubber Gloves (If dress needs to be dyed)
- Sewing Machine
- Sewing Scissors
- Straight Pins
Materials
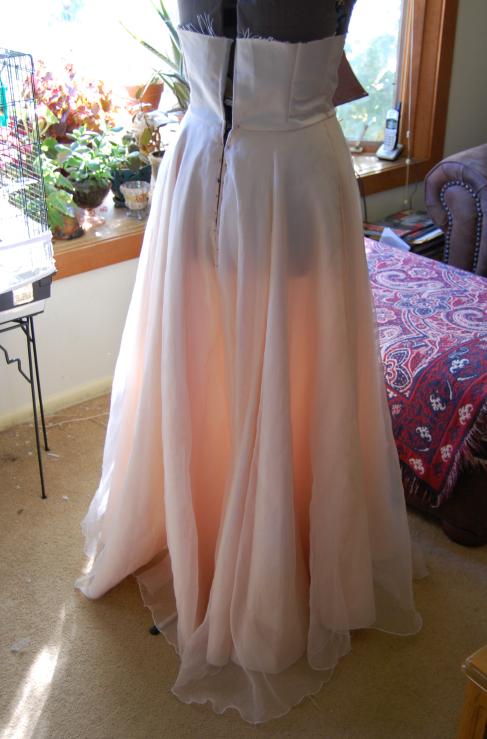
- 1 Full Length Formal Gown Color appropriate for costume.
Optional
- 1/4 Yard Satin or equal fabric Color to match final color of Skirt
If your dress needs to be dyed:
- 2 Bottles Rit Liquid Dye Appropriate color
Instructions
Clean Dress
- Hand wash your dress with some gentle detergent. If you don't have a large basin, use your bathtub.
- If your home machine has a gentle cycle and you trust it, use your washer. Do not use the laundromat, if the last person to use the machine overstuffed it or washed oily cloths you may get some transfer to the dress.
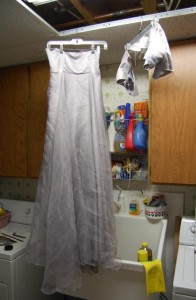
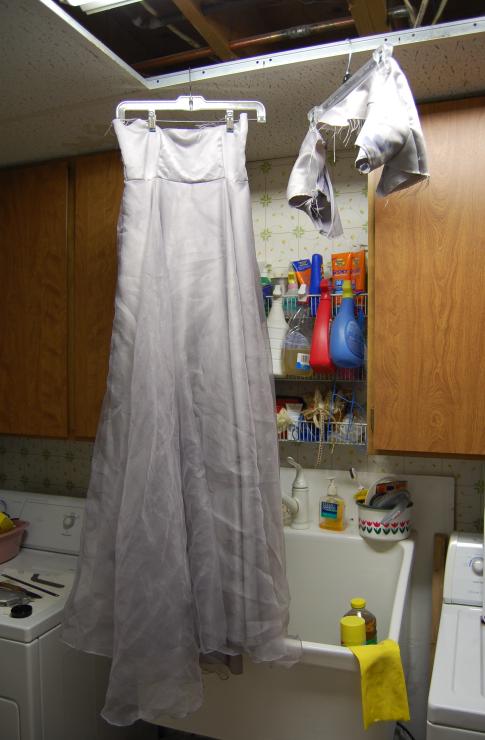
- Rinse well and drip dry. DO NOT PUT IN DRYER.
Deconstruct Dress
- Remove any zippers from the dress. Leave all hooks, snaps, etc.
- Remove all decorations and embellishments from the dress and save for later.
- Cut the top off dress above the waistline leaving as much fabric to work with as possible.
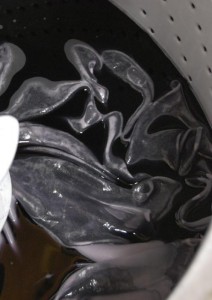
Dye Dress (if needed)
- Follow the directions on the bottle to dye your dress, using rubber gloves to keep dye off your skin.
- Dye all the pieces you cut off and the fabric embellishments you removed from the dress so it is a match if you need to use them later.
- Hang until thoroughly dry.
- Wash dress same as above.

Optional Tie Sash for Waistband
- Use extra fabric to make 2 long ties to tie around the waist.

- Cut to desired length and a little over than twice as wide as you need.
- Fold in half with right side in, and iron flat. If your fabric is thin you can add some iron on backing during this step.
- Sew edges together leaving one of the short ends open.
- Turn right side out and press with iron.
Construct Skirt
- Fold the excess fabric to create a waistband. If your fabric an be ironed, iron flat. Pin in place. You may need to trim some fabric at this time.
- Pin the optional tie stash to the waistband.
- If your dress did not have enough excess fabric to fold down either use the fabric you cut off or get some satin fabric of an appropriate color from the fabric store and fashion a waistband by cutting a long wide rectangle. If the fabric is thin you may want to add some backing.
- Sew the waistband with a machine, making sure all the raw edges are turned under. This can be done by hand for a cleaner look.
- Hand sew some hook and eyes to close the waistband and opening where the zipper was.
- Trim any strings strings from the skirt.
Notes

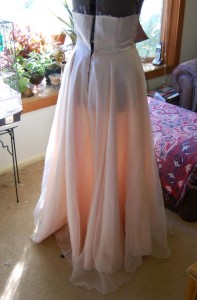
This gown was used to make a Vimpiress costume.

This pink dress dyed nicely for my Gray Lady costume.
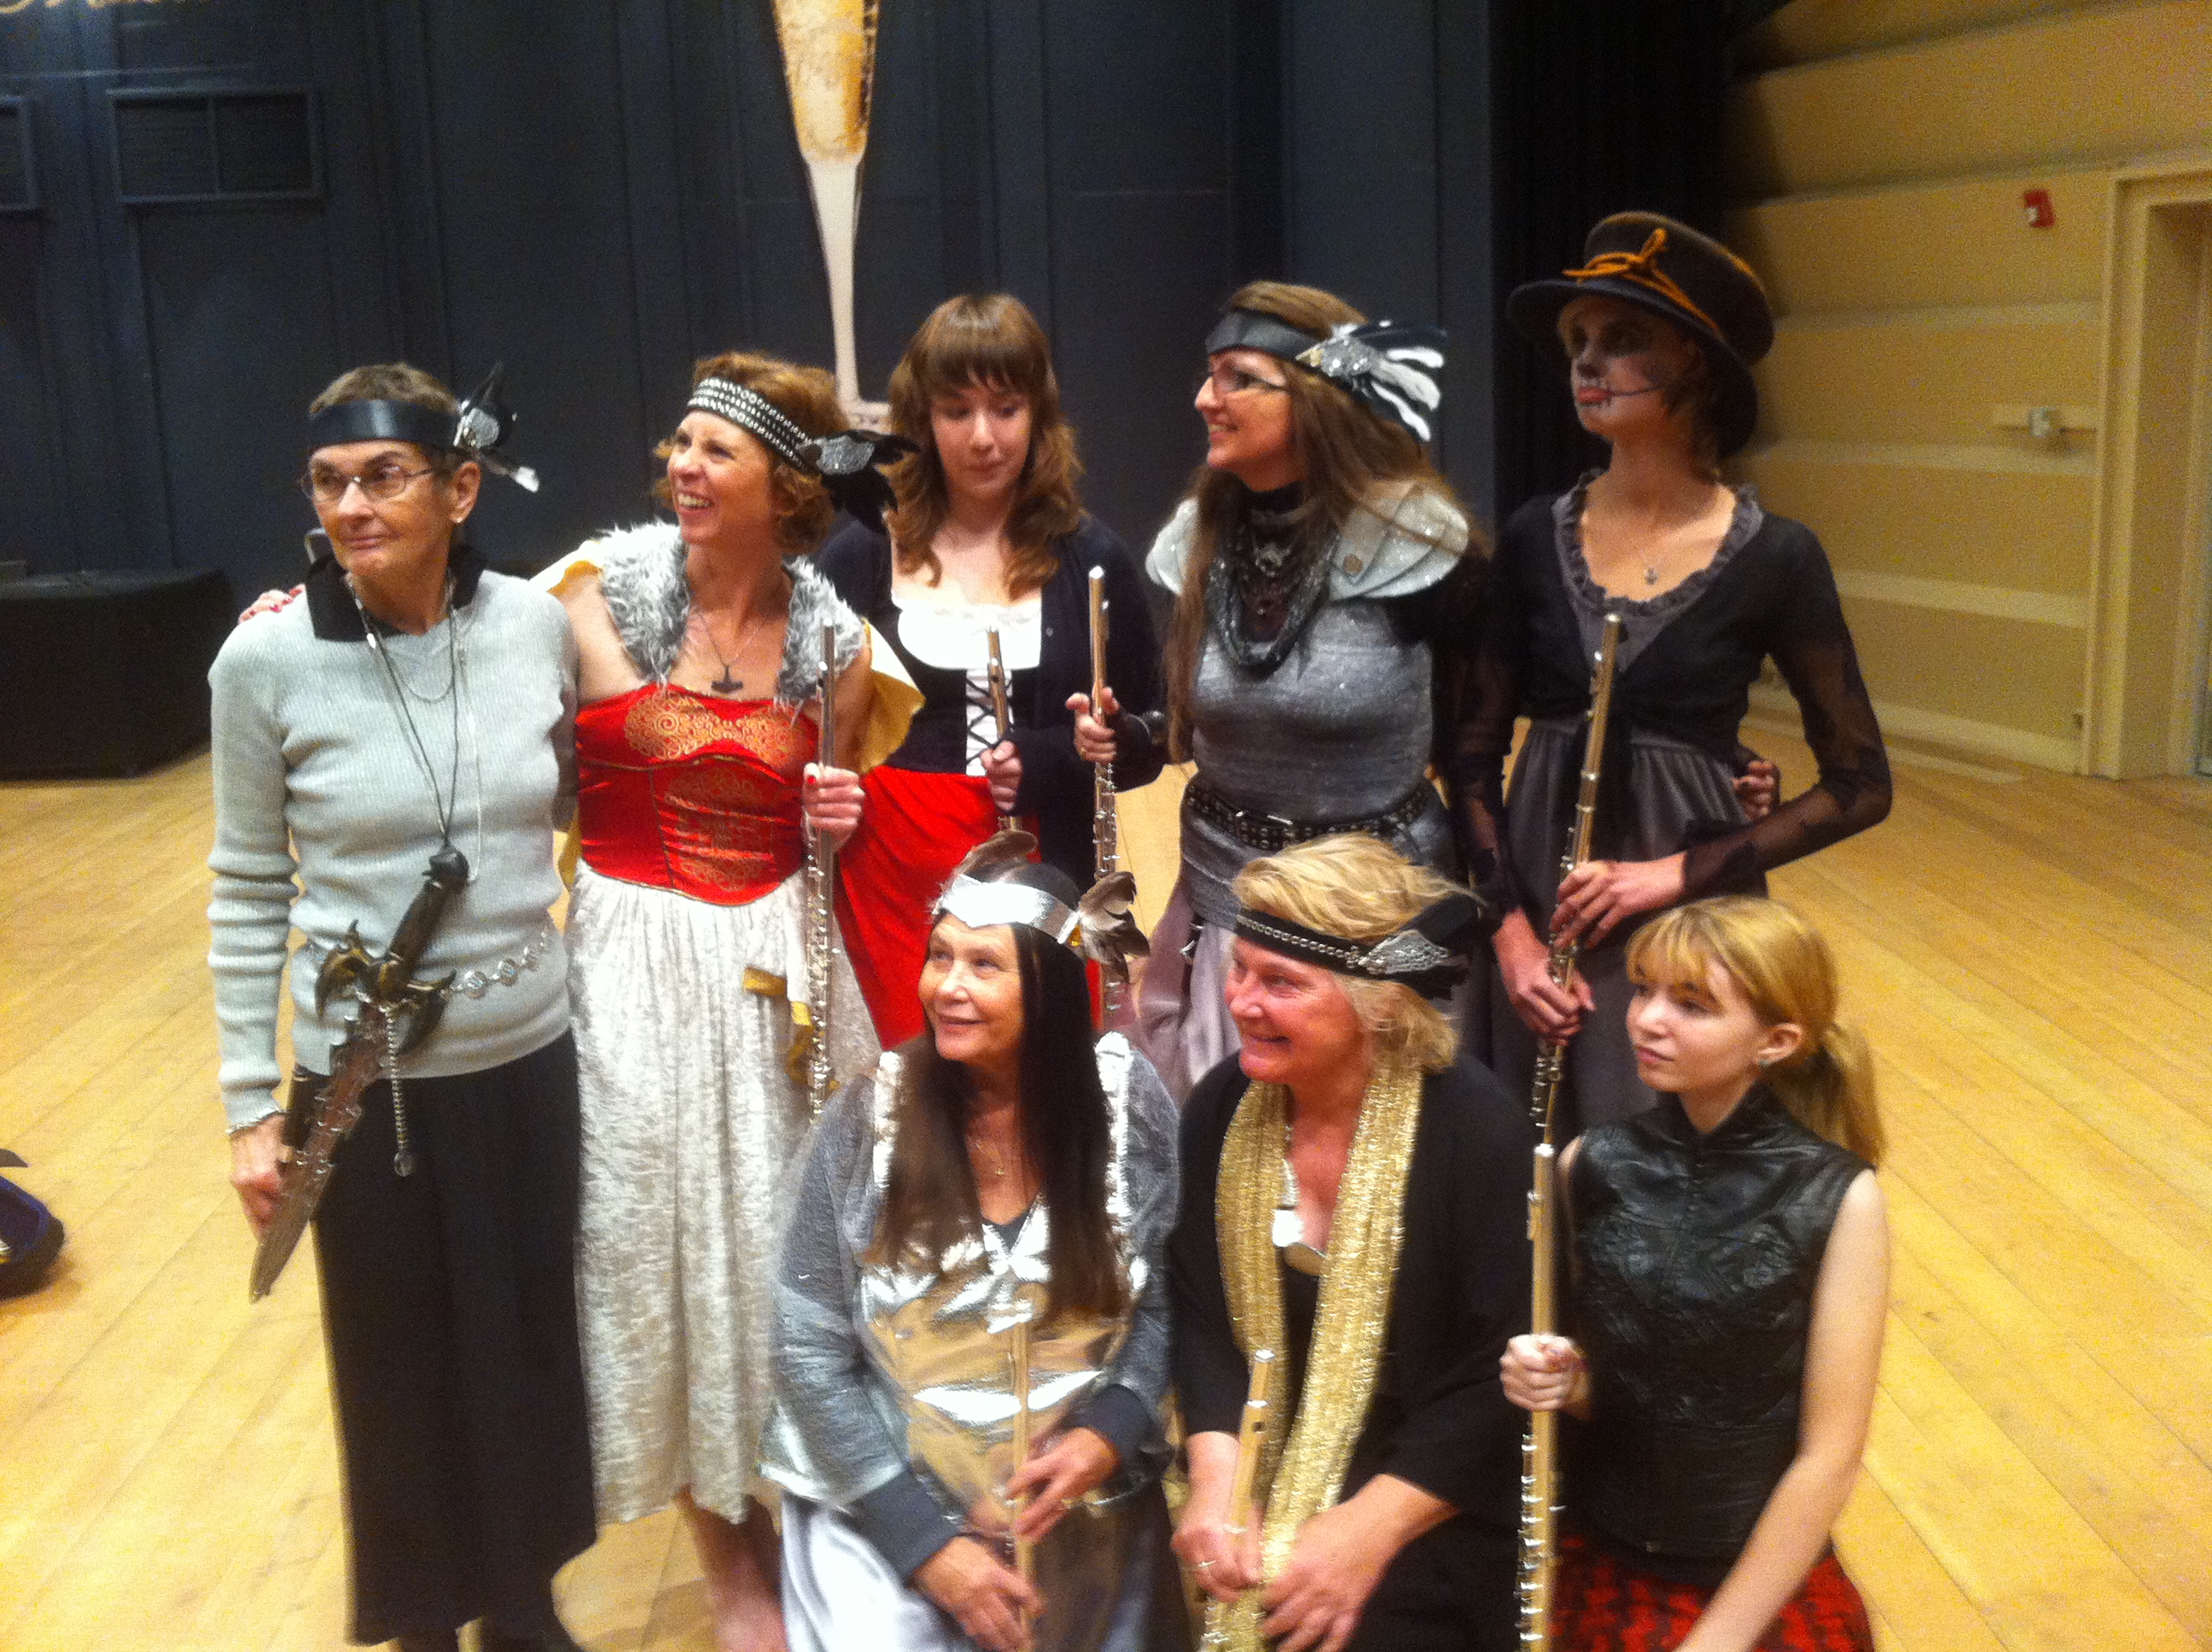
When the Jackson Hole Community Band passed out new music for the 2011 Halloween Concert it included Ride of the Valkyrie, perfect! Everyone in the flute section dressed as Valkyries along me. I also wore this costume for the 2013 Halloween Concert.
Mom, wife, computer geek, web designer, musician, board member, ski bum, bicyclist, camper, glamper, fishing woman, treasure hunter, bookkeeper, office wizard, blogger, vlogger, foodie, and Pampered Chef Independent Consultant, trekking through life in Jackson Hole, Wyoming
Facebook Comments