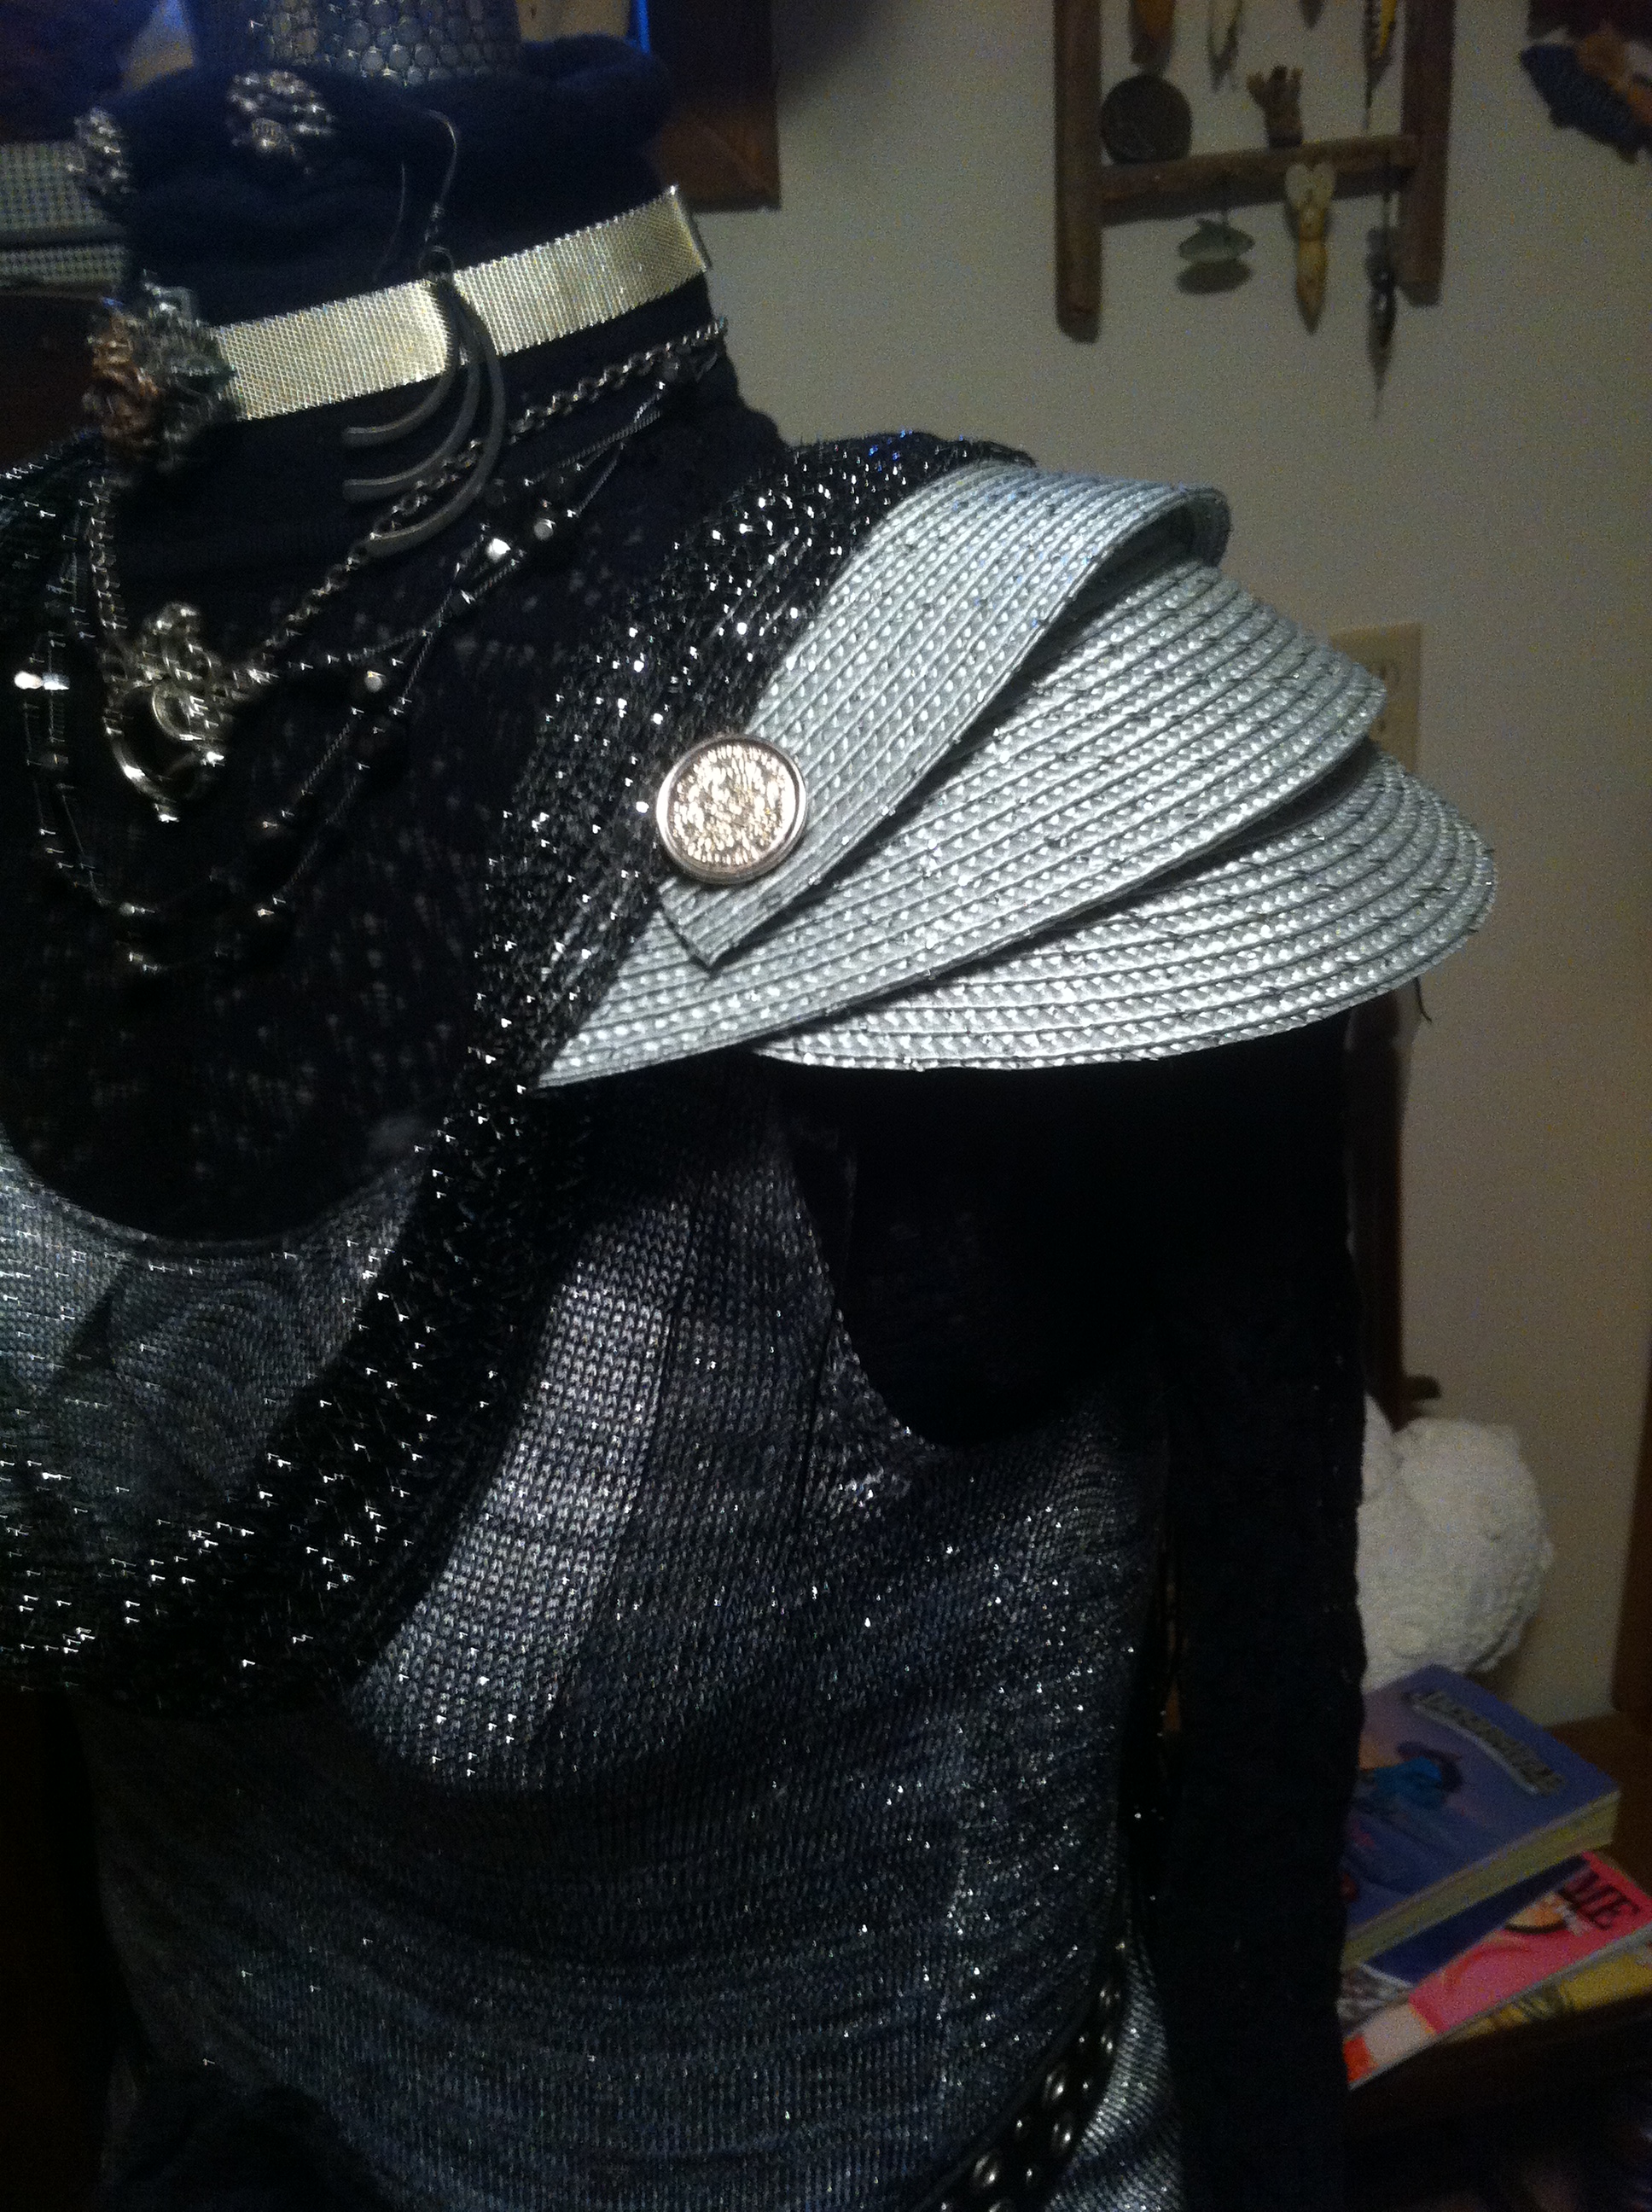
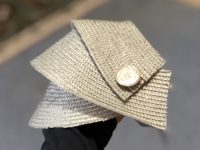
Shoulder Armor
This set of shoulder armor is easy to make and cheap. When picking out your place mat be sure to find one with some texture to give the armor some interest. A place mat with lines following the circumference will make your mat easier to cut into even pieces.
Servings: 1 Set
Cost: < $3
Equipment
- Heavy Duty Scissors
- Heavy Duty Hole Punch
- Binder Clips
- Sharpie
- Drafting Compass (if your place mat does not have lines)
Ingredients
- 1 Round Place Mat Silver
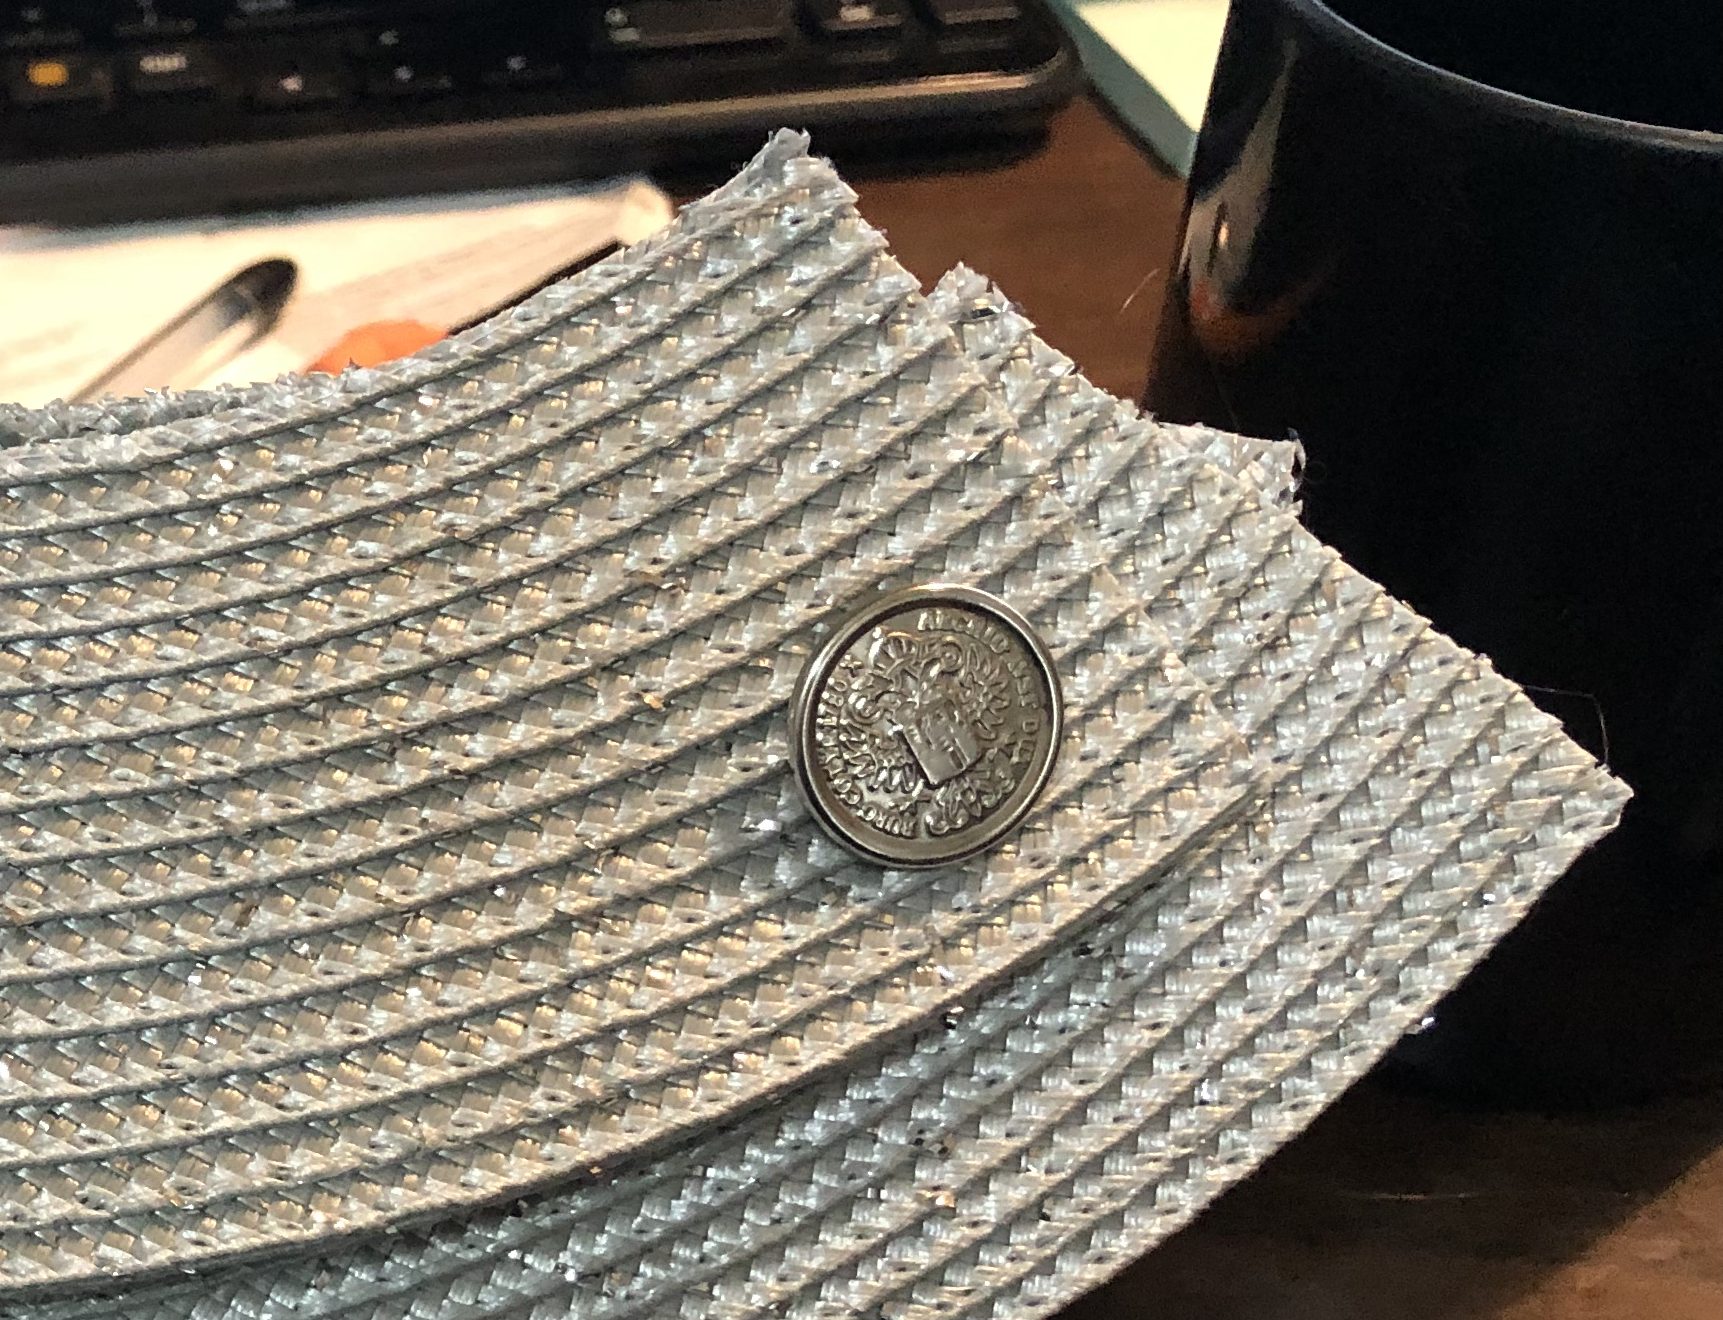
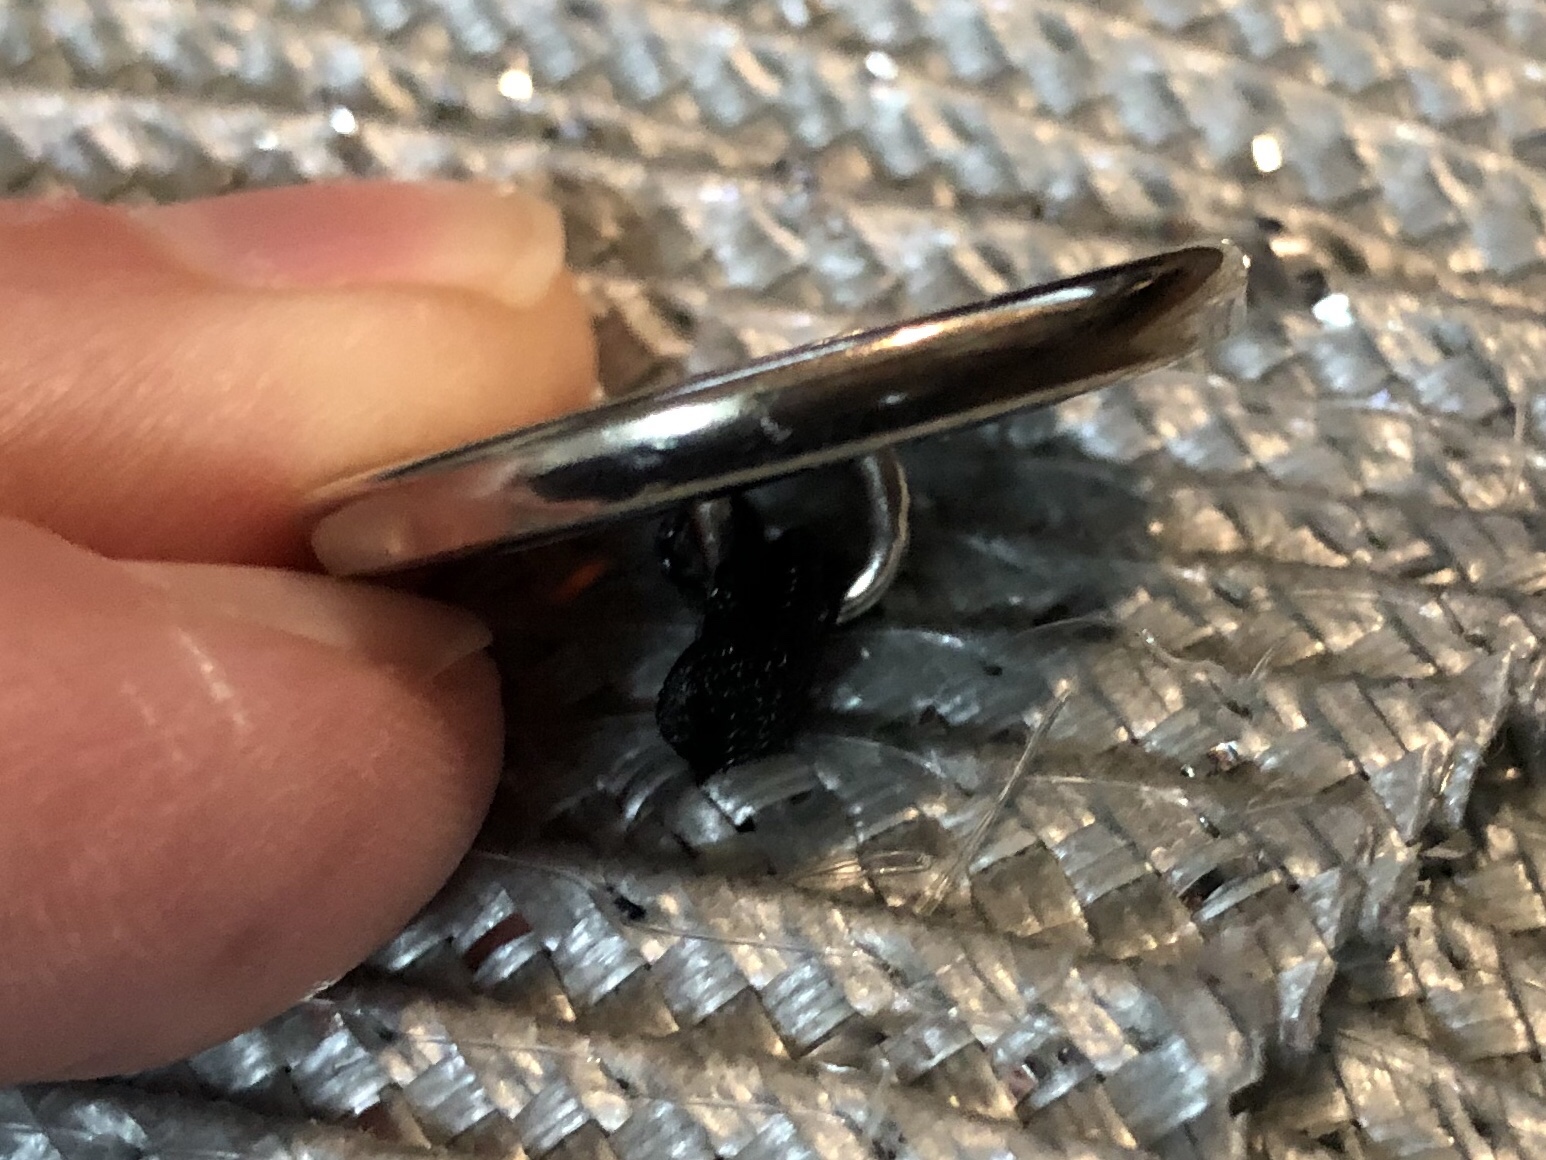
- 4 Shank Buttons (loop on the back of it instead of holes) Silver Metallic
- 4 10" Pieces 1/2" Ribbon Gray, black, or Silver
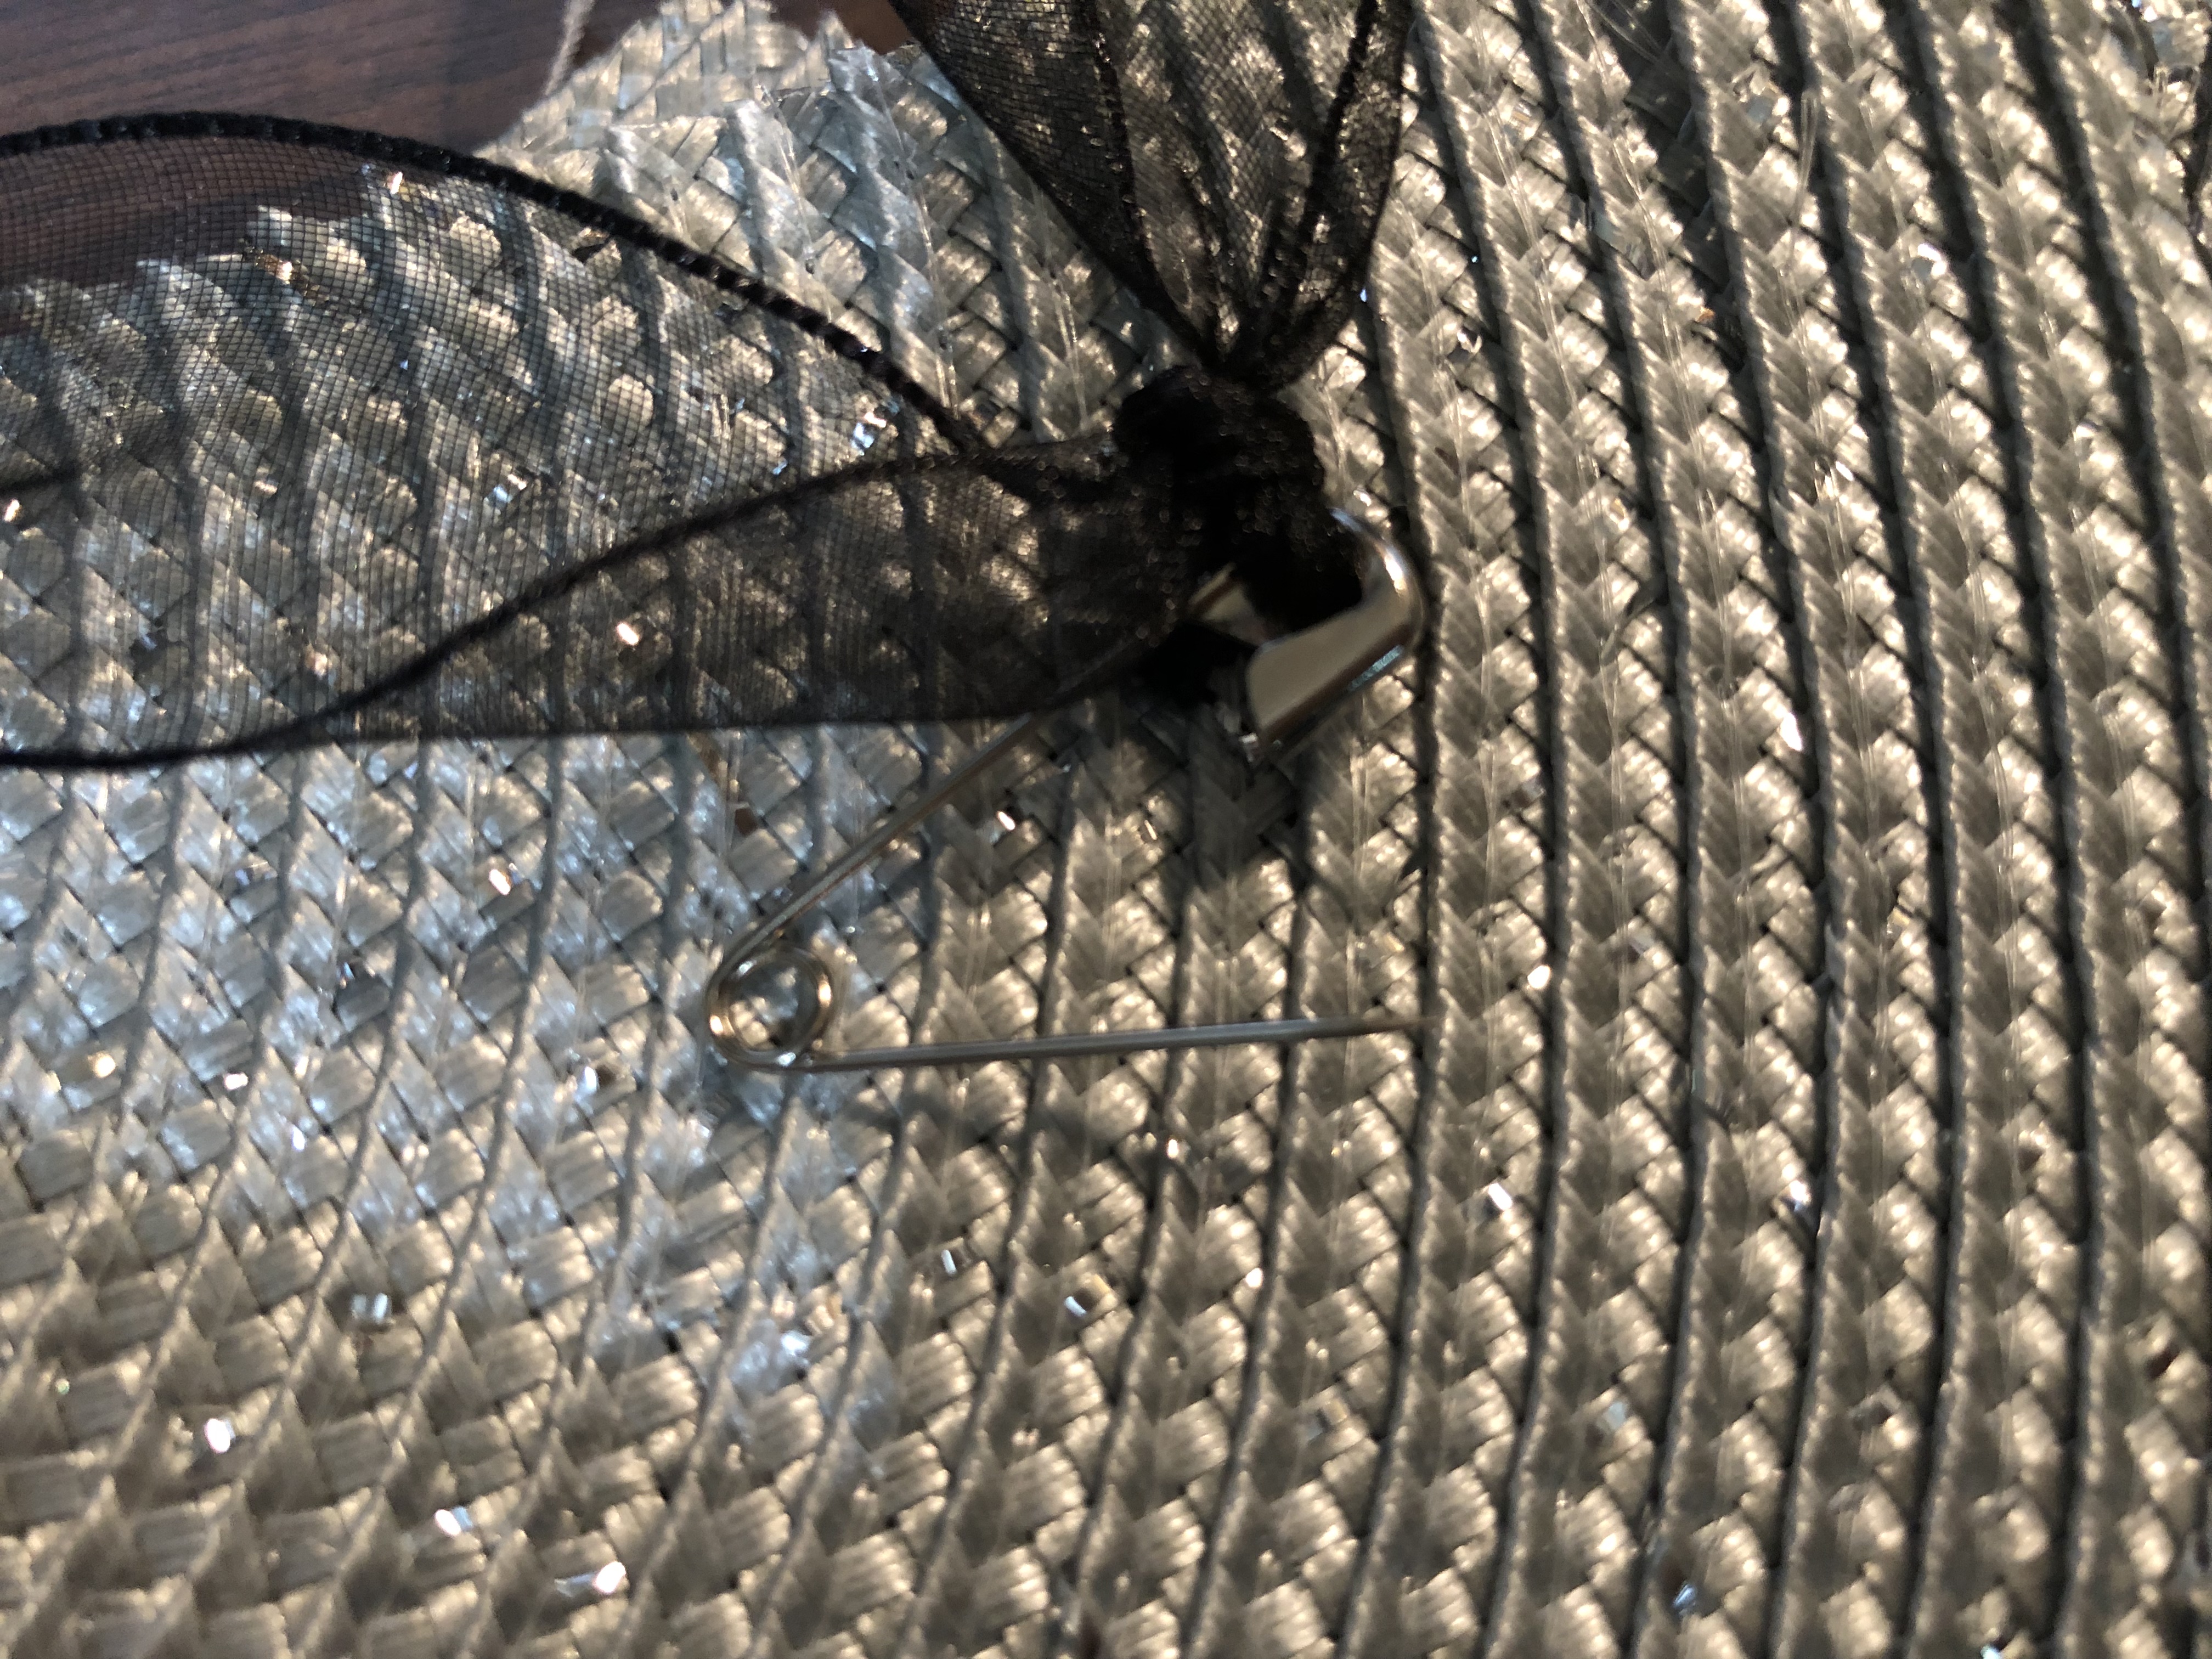
- 4 Safety Pins
Instructions
- Cut place mat in half across middle.

- Cut each half into 2 pieces along the curve, halfway from the center. If your mat does not have lines following the circumference, use a drafting compass to lightly mark the back of the mat.
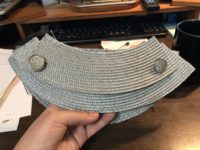
- Cut the outer half into 2 pieces along the curve, halfway from the center. If your mat was 10" the center piece would be 5" and the two outer pieces would be 2.5" each.
- Position (stack) the pieces so the center piece is on the bottom, the outer piece is in the center, and the middle piece is on top.When the shoulder armor is finished you will be able to position the pieces as needed.
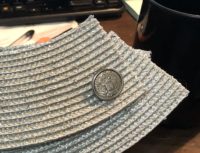
- On each end of the shoulder armor use a sharpie to mark dots where holes will be punched, Making sure not to get too close the the end on the shortest piece or the mat may come unraveled. The holes should be about ½" apart.
- Using a hole punch, punch 2 holes in the ends of each piece, on your marks.
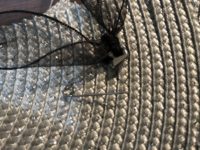
- Loop the ribbon through the button, then each ribbon end through the holes from the top. Tie the ribbon into a knot on the bottom of the piece.

- Tie a safety pin to each end of the piece.
- Before pinning to costume position the pieces by gently pulling the top and bottom pieces.


Notes
The ends are rough so I put a scarf over them.