
19 November, 2018
The Perks of Camp Coffee
November 19 is National Camp Day!
Jump to RecipeFor heavens sake! Nobody wants to hear your generator at zero seven thirty!
You say you don’t like percolated coffee? That is because you are not doing it right.
I never thought I’d using that internet cliche in a bog, but it’s true. I didn’t like it either until I got it right.
We bought an RV upgraded from tent camping to glamping in 2015, my first pot for the rig was one of those enamel ones without a see through thingy-bob on the top and I used the RV sink water. Tent camping and making a large pot of percolated/boiled coffee never bothered me, it was strong and hot, exactly I want after sleeping in a tent. But my first several pots of RV coffee were awful, since then I got it figured out. So now that my delicious cup of percolated coffee is ready I thought I’d jot down the way to make a good cup of camp coffee.
Get the right pot
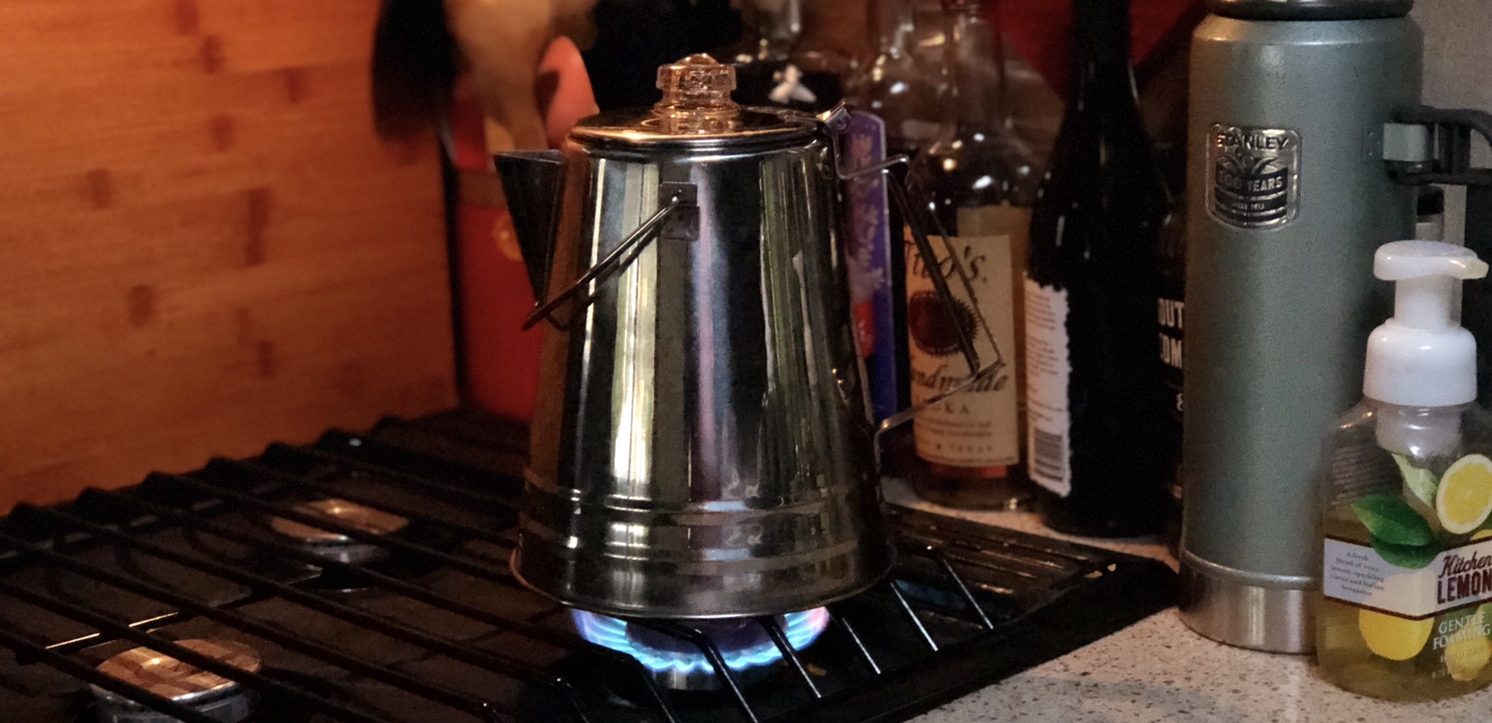
You spent good money on that electric coffee maker, don’t go cheep with your camp coffee pot. Get one that will double for a camp fire and RV cooktop coffee pot. Mine was a Christmas gift from my husband, he found it at Cabela’s. I found the same one on Amazon, and linked it here.
Material: Mine is a stainless steel pot with high-temp stainless steel handles, I’m not sure if stainless steel over enamel makes a big difference in taste, but the stainless steel ones seem to have a better construction. I wound NOT get an aluminum one, I think it gives a really bad aftertaste. I used one in the 80’s and can still taste it as I type this.
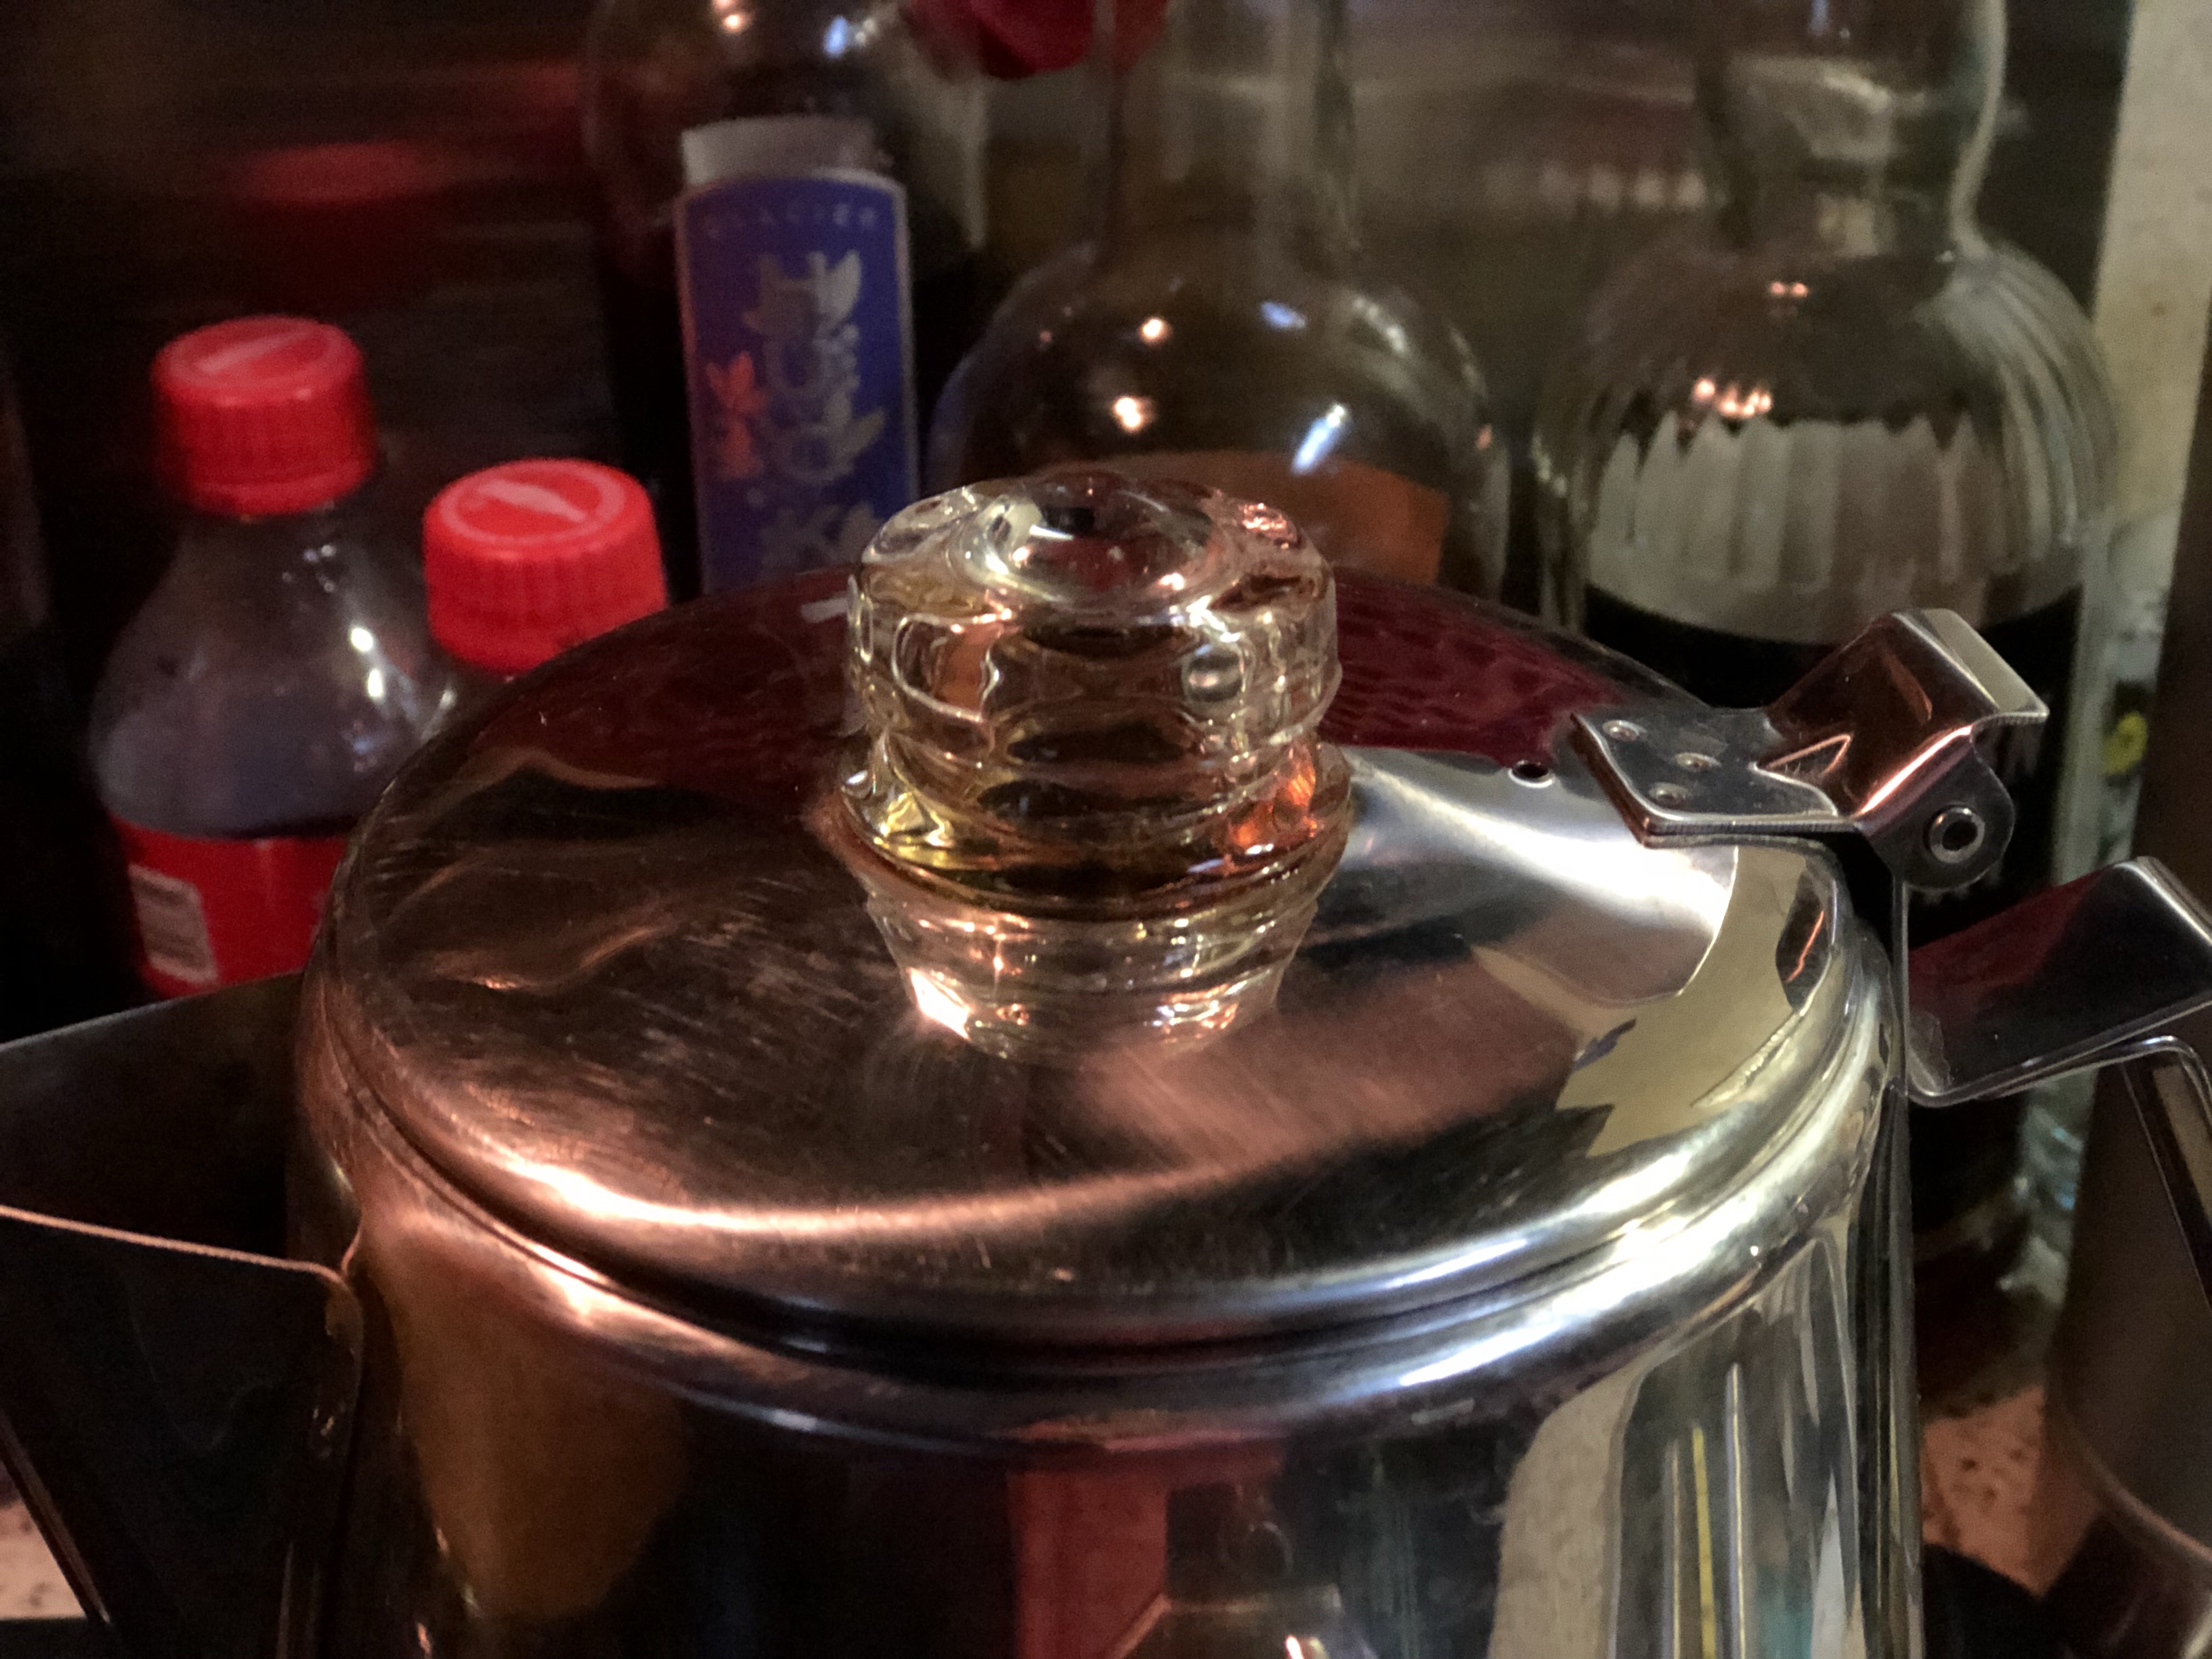
PercView knob: Get one with a glass knob, you want to see when it starts percolating so you can time it, and you don’t want it melting if you put it on an open campfire.
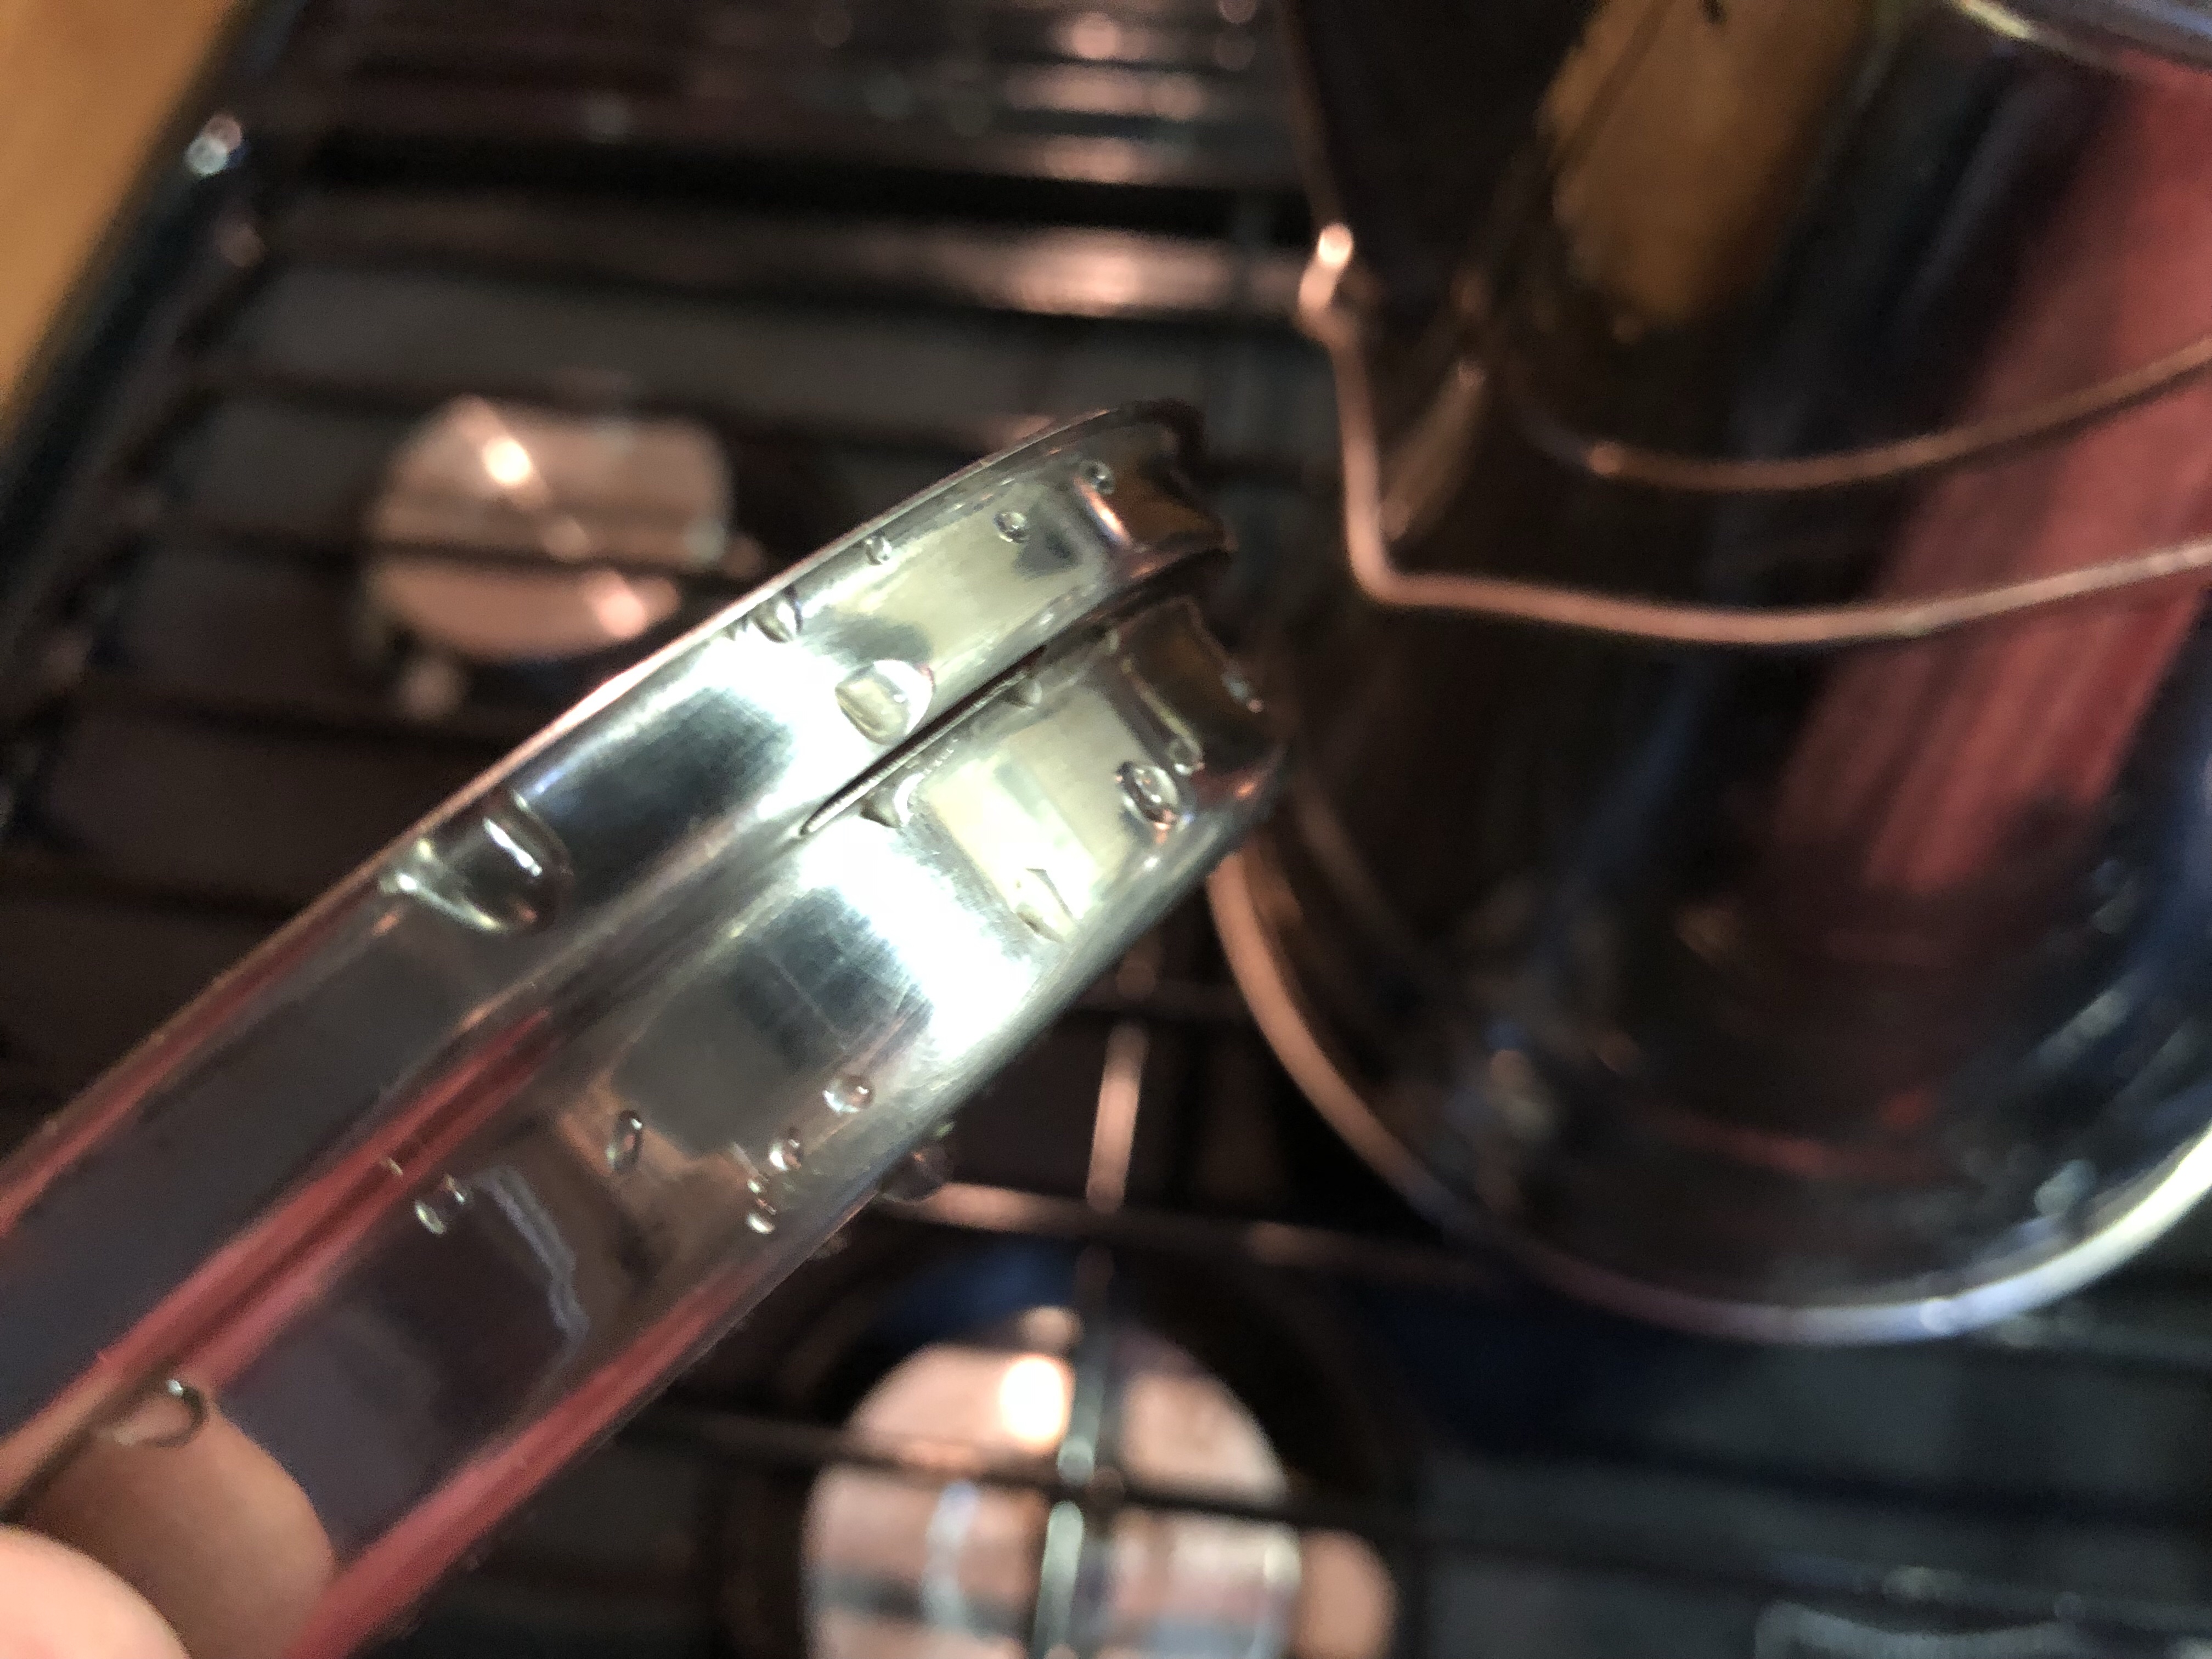
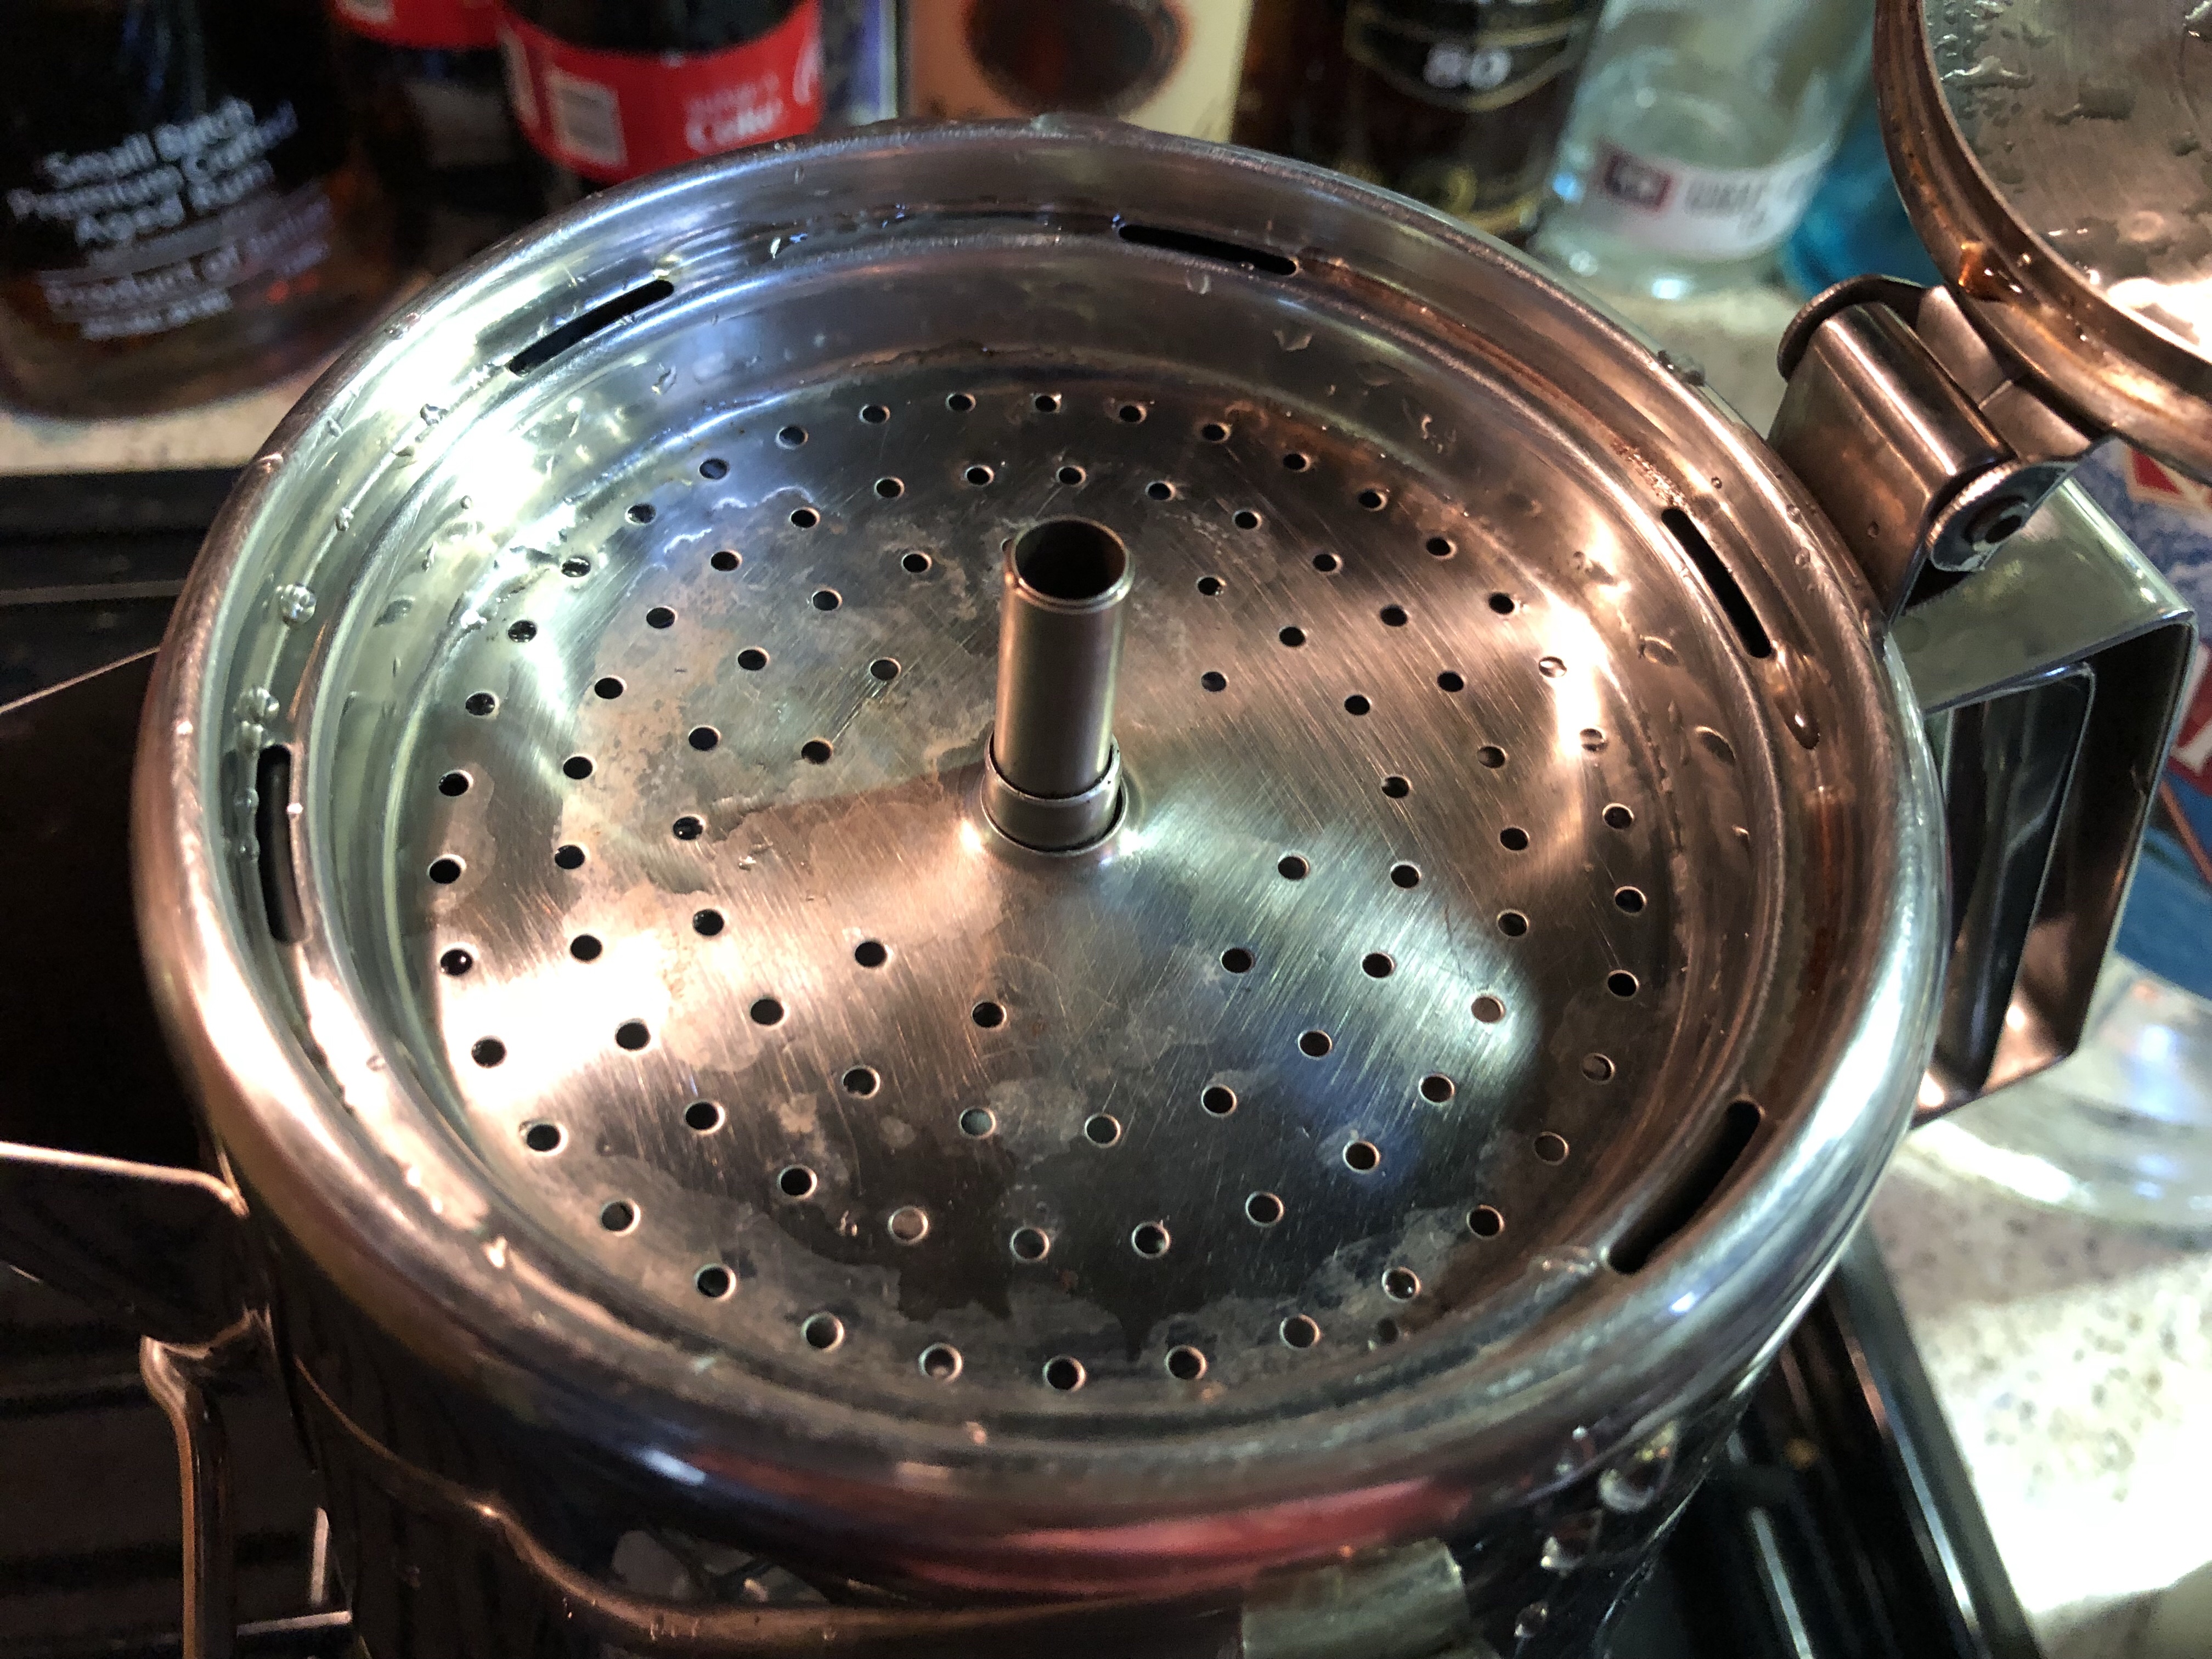
Basket: Find one with a basket assembly with a custom fit and evenly distributes the water while percolating.
Get the right grind and grind it right.
Don’t go cheep and easy just because you are camping, buy what you like when you go out for breakfast. Whether relaxing by the river or vacationing, you deserve the best.
Beans: I start with good whole beans, Starbucks is my favorite for camp coffee. I usually get Italian roast but have used their specialty dark roast coffees as well.
Grind [Important!]: Get it ground for a percolator, not a drip maker. Whenever I ask for this at Starbucks the staff usually looks at me like I have a chicken on my head. These young people have never seen a percolator. Rodger Dudley at the Smiths in Jackson, however, knows exactly what I am asking for and gets it perfect every time. If you don’t have a Rodger, and you get that look ask for the french press grind setting.
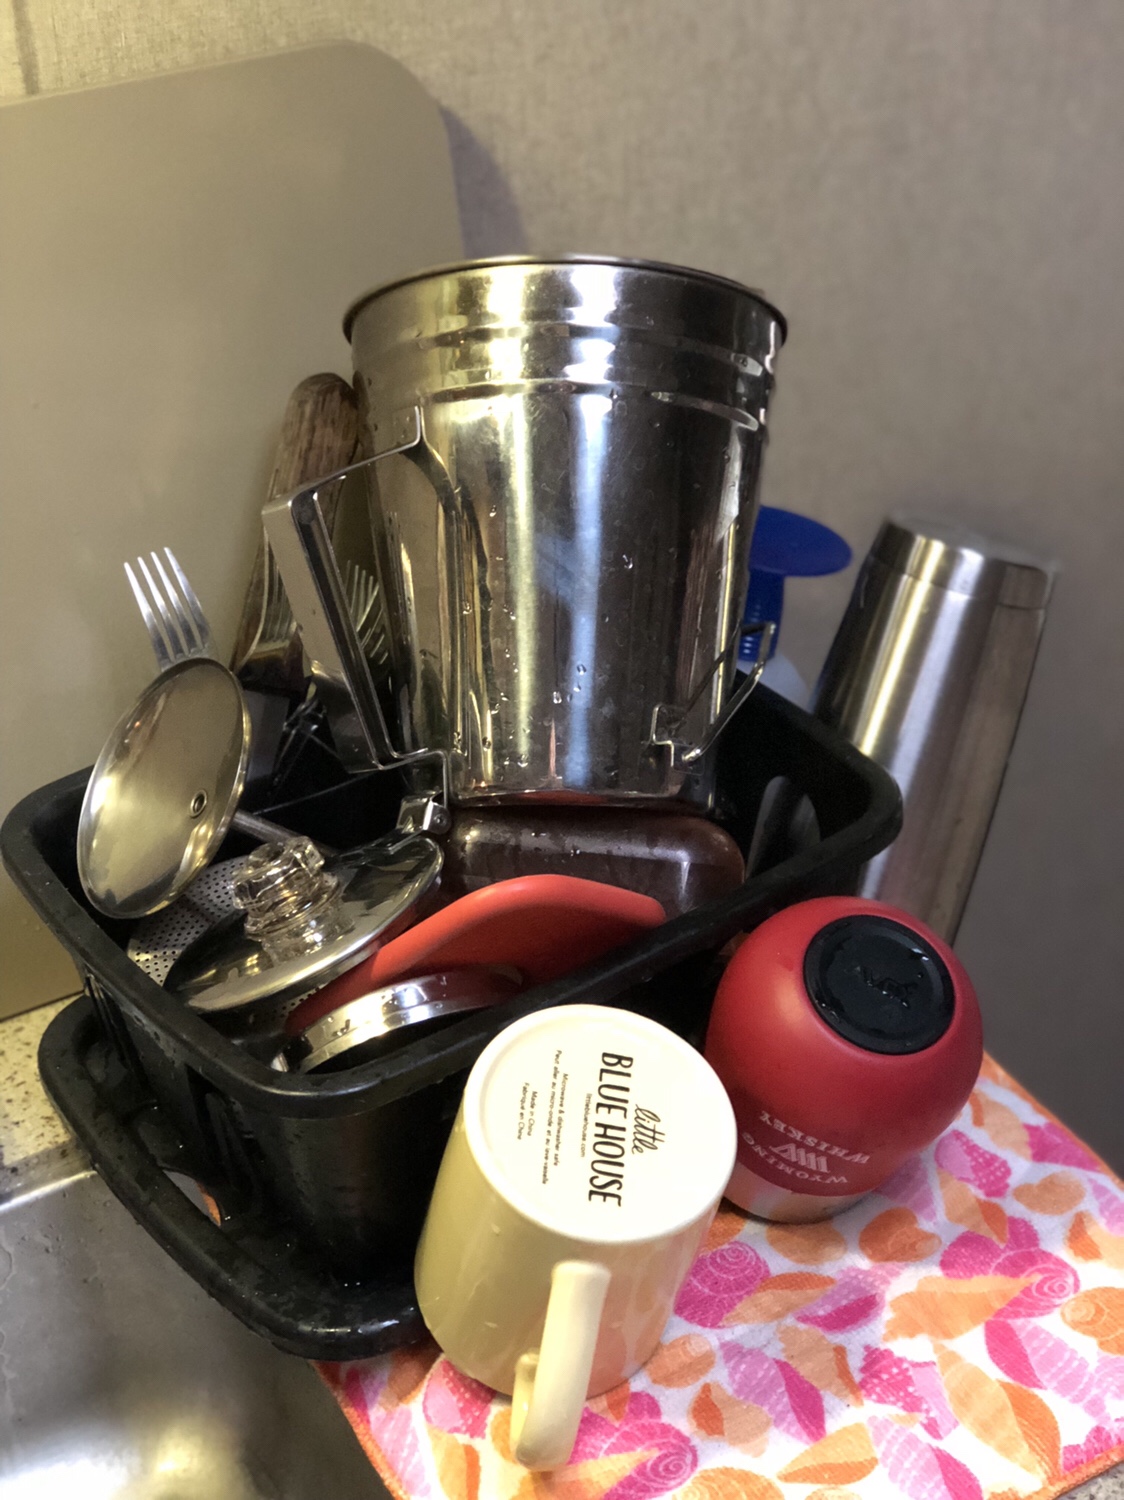
Storage:
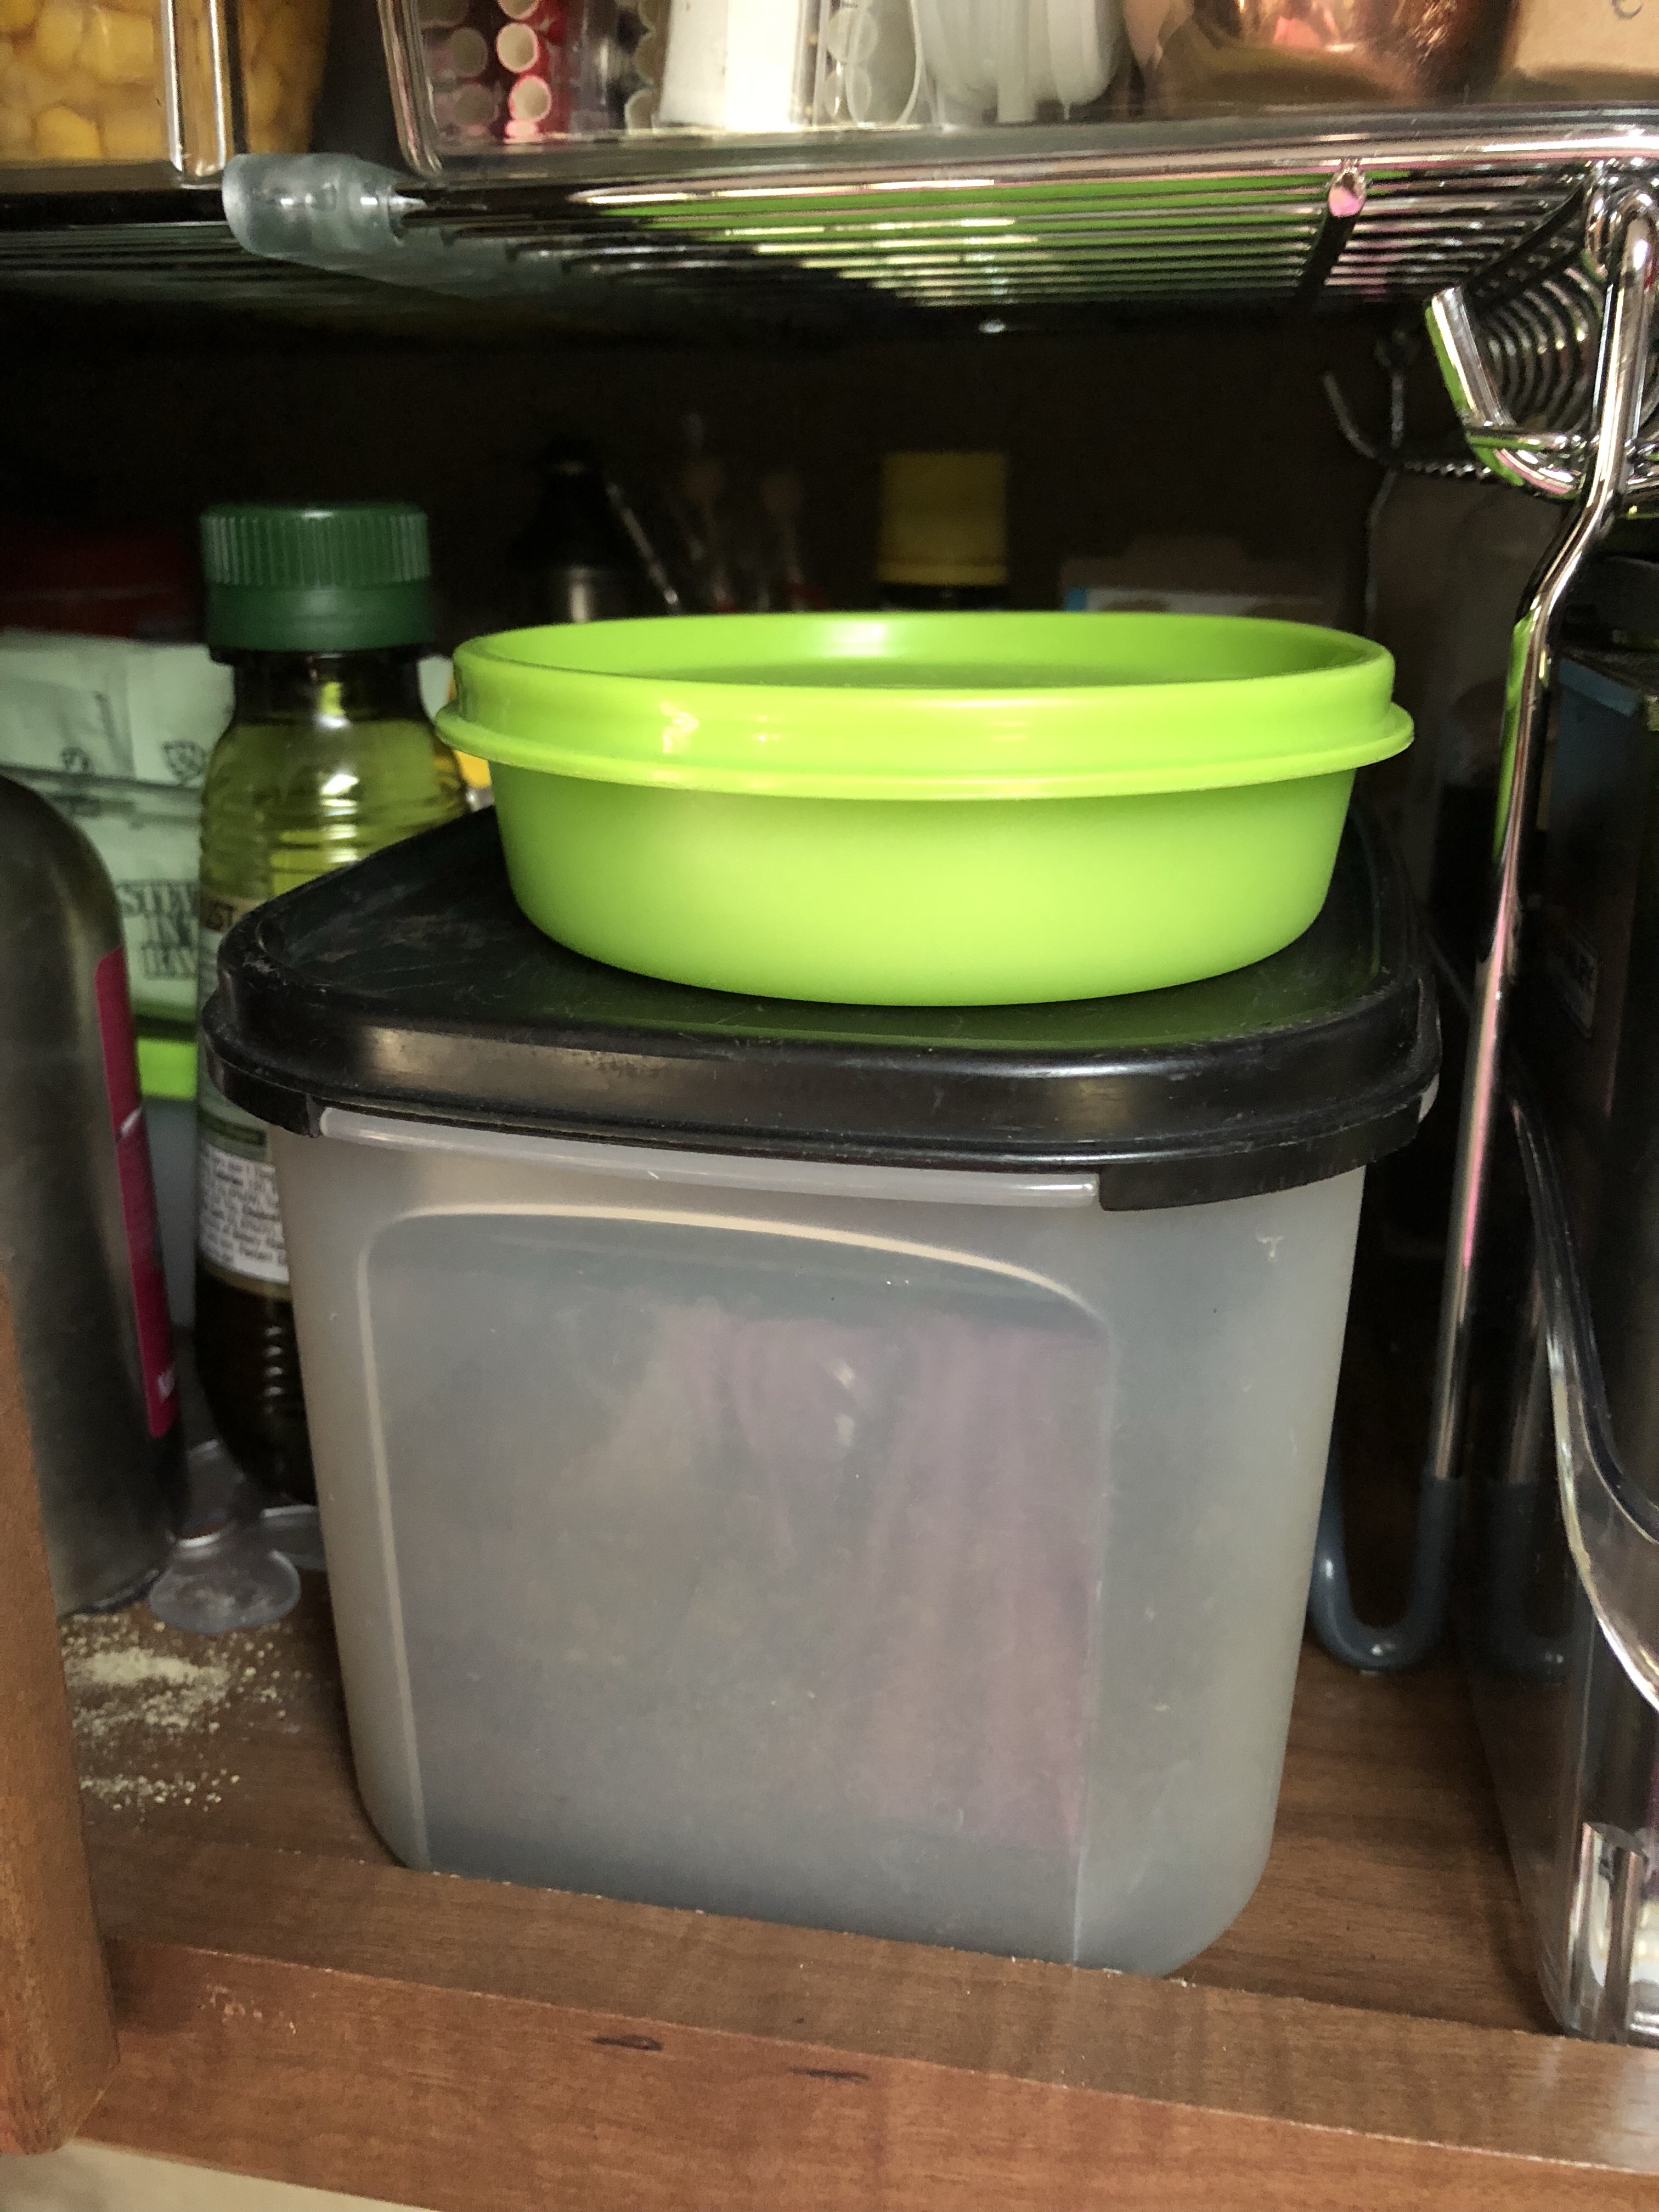
Keep your ground coffee in a tight fitting container and in a cupboard out of the light. I use a Tupperware container. The small green container contains the filters.
Good water:
For a weekend camp I fill a one gallon Tupperware container with filtered water from my house tap. I am fortunate to have good tap water. For longer camps I use bottled water, I buy enough gallon jugs to make coffee every morning.
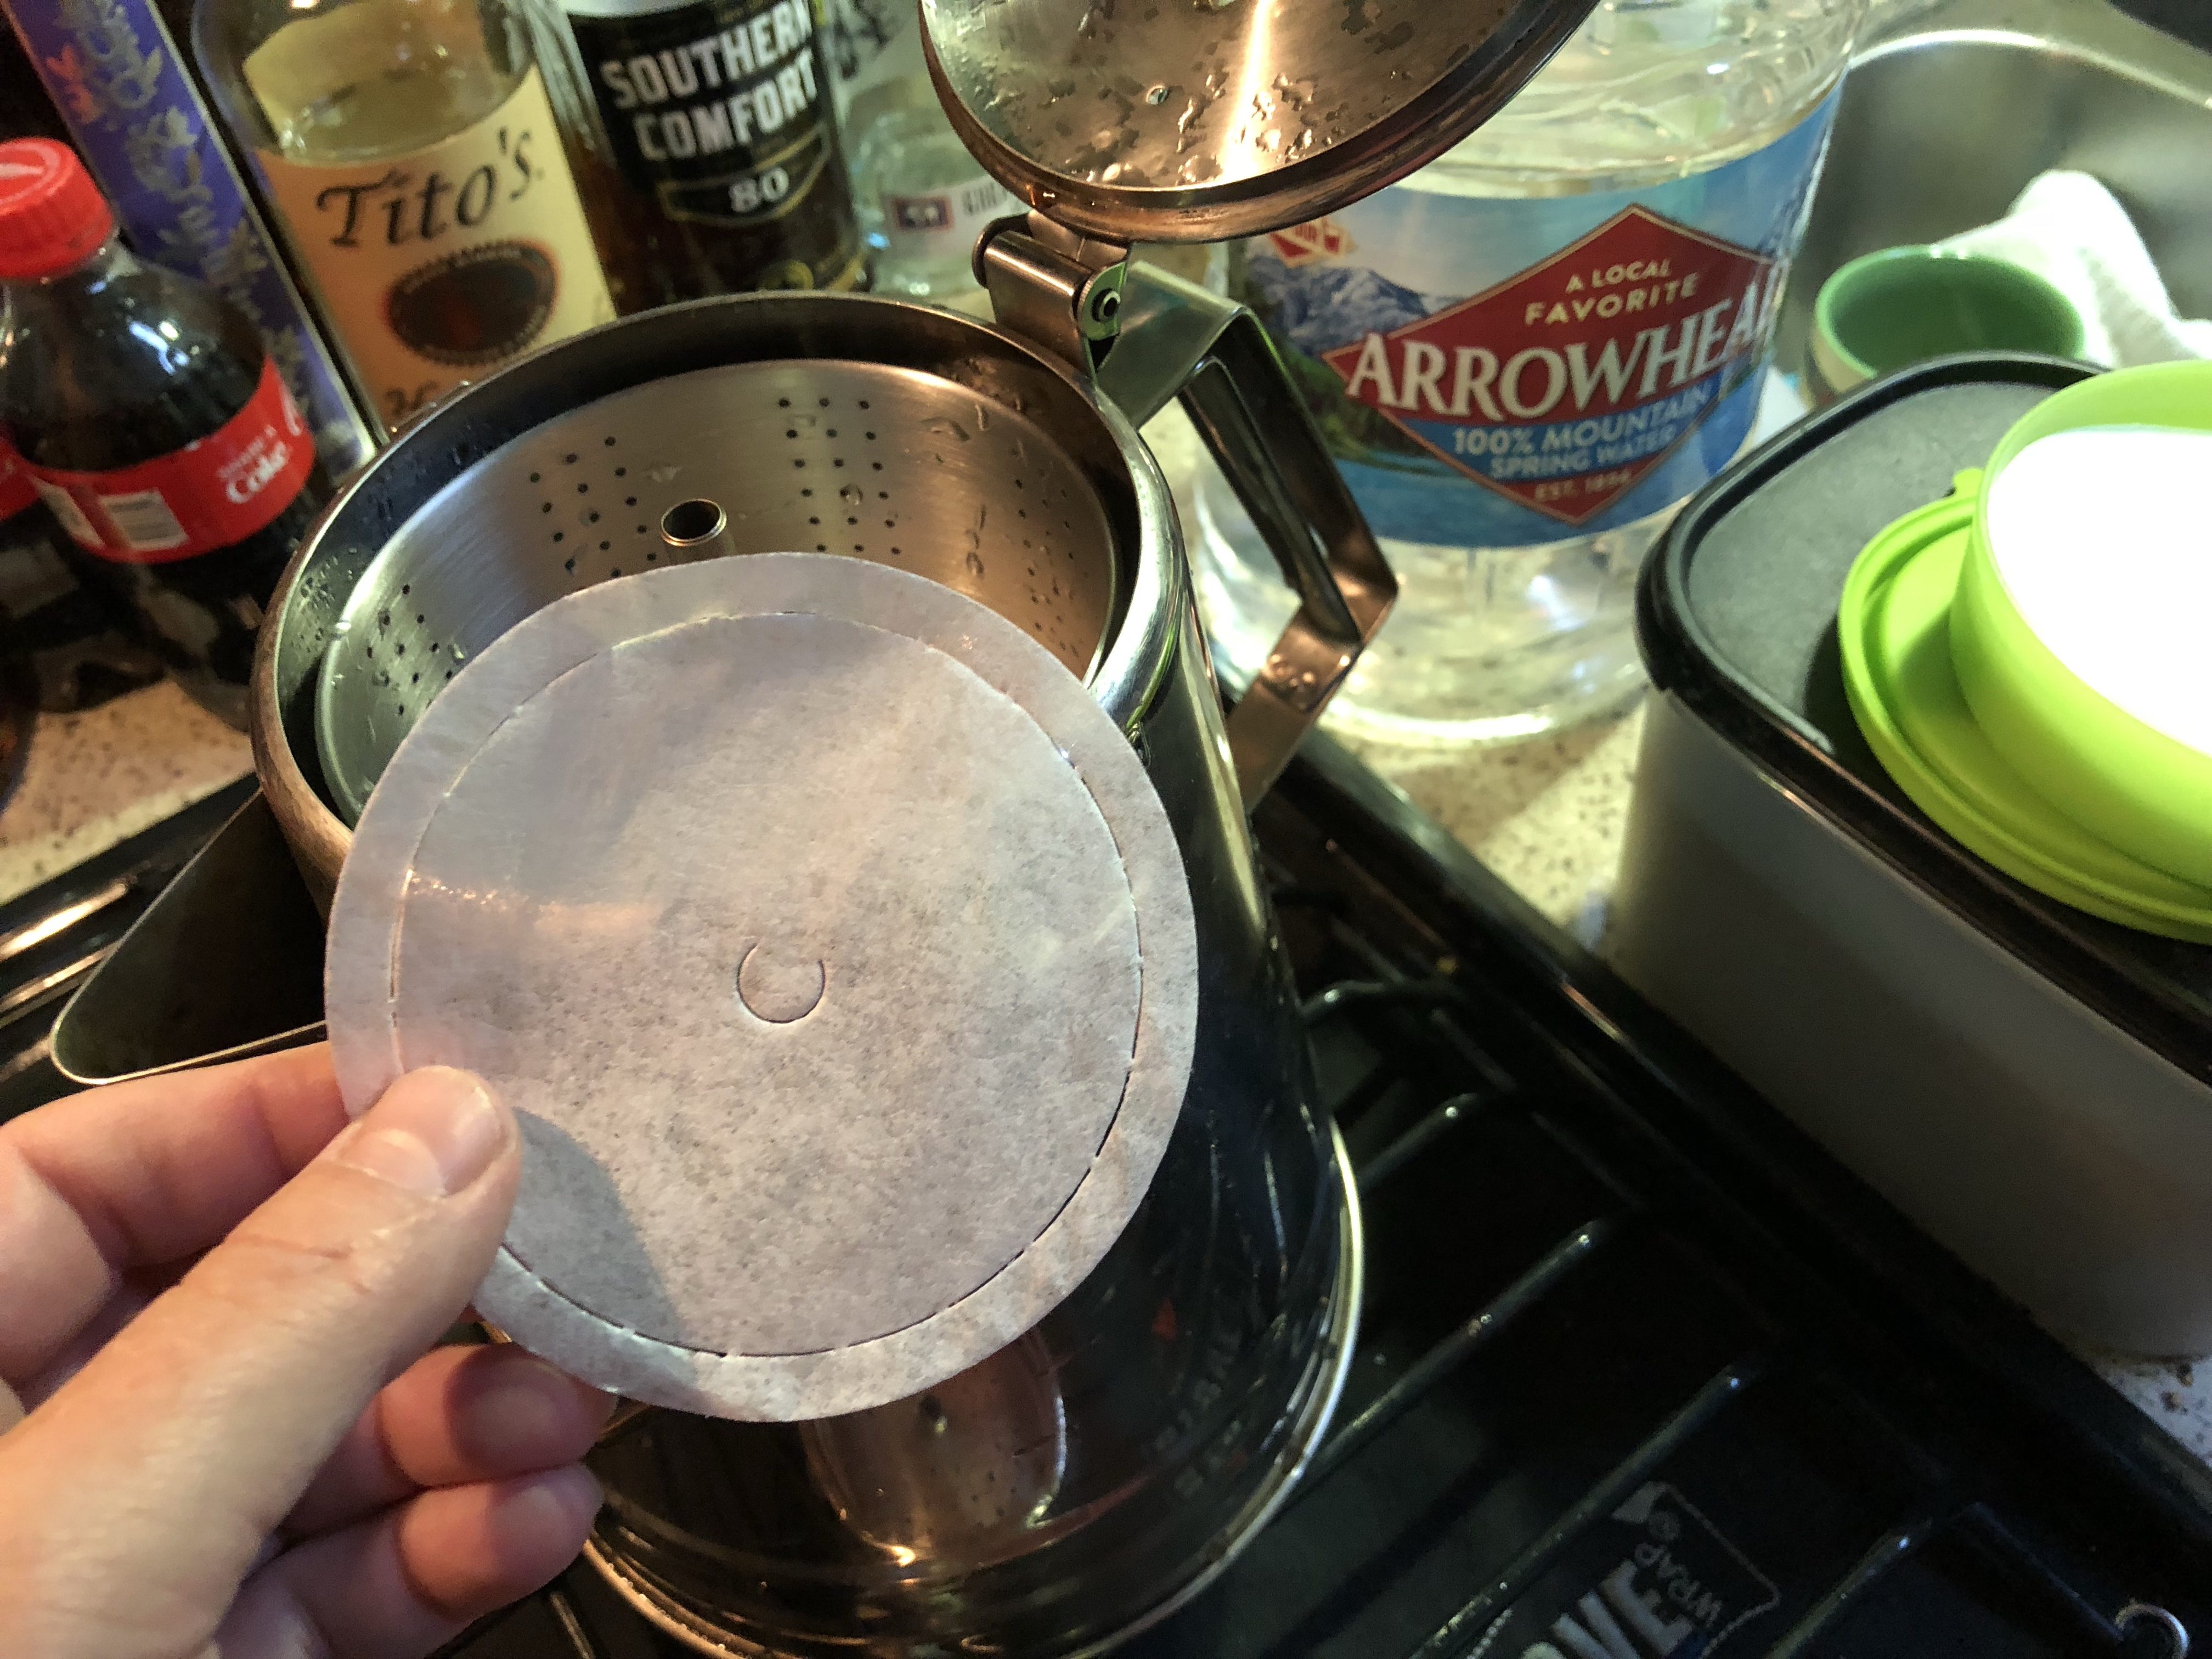
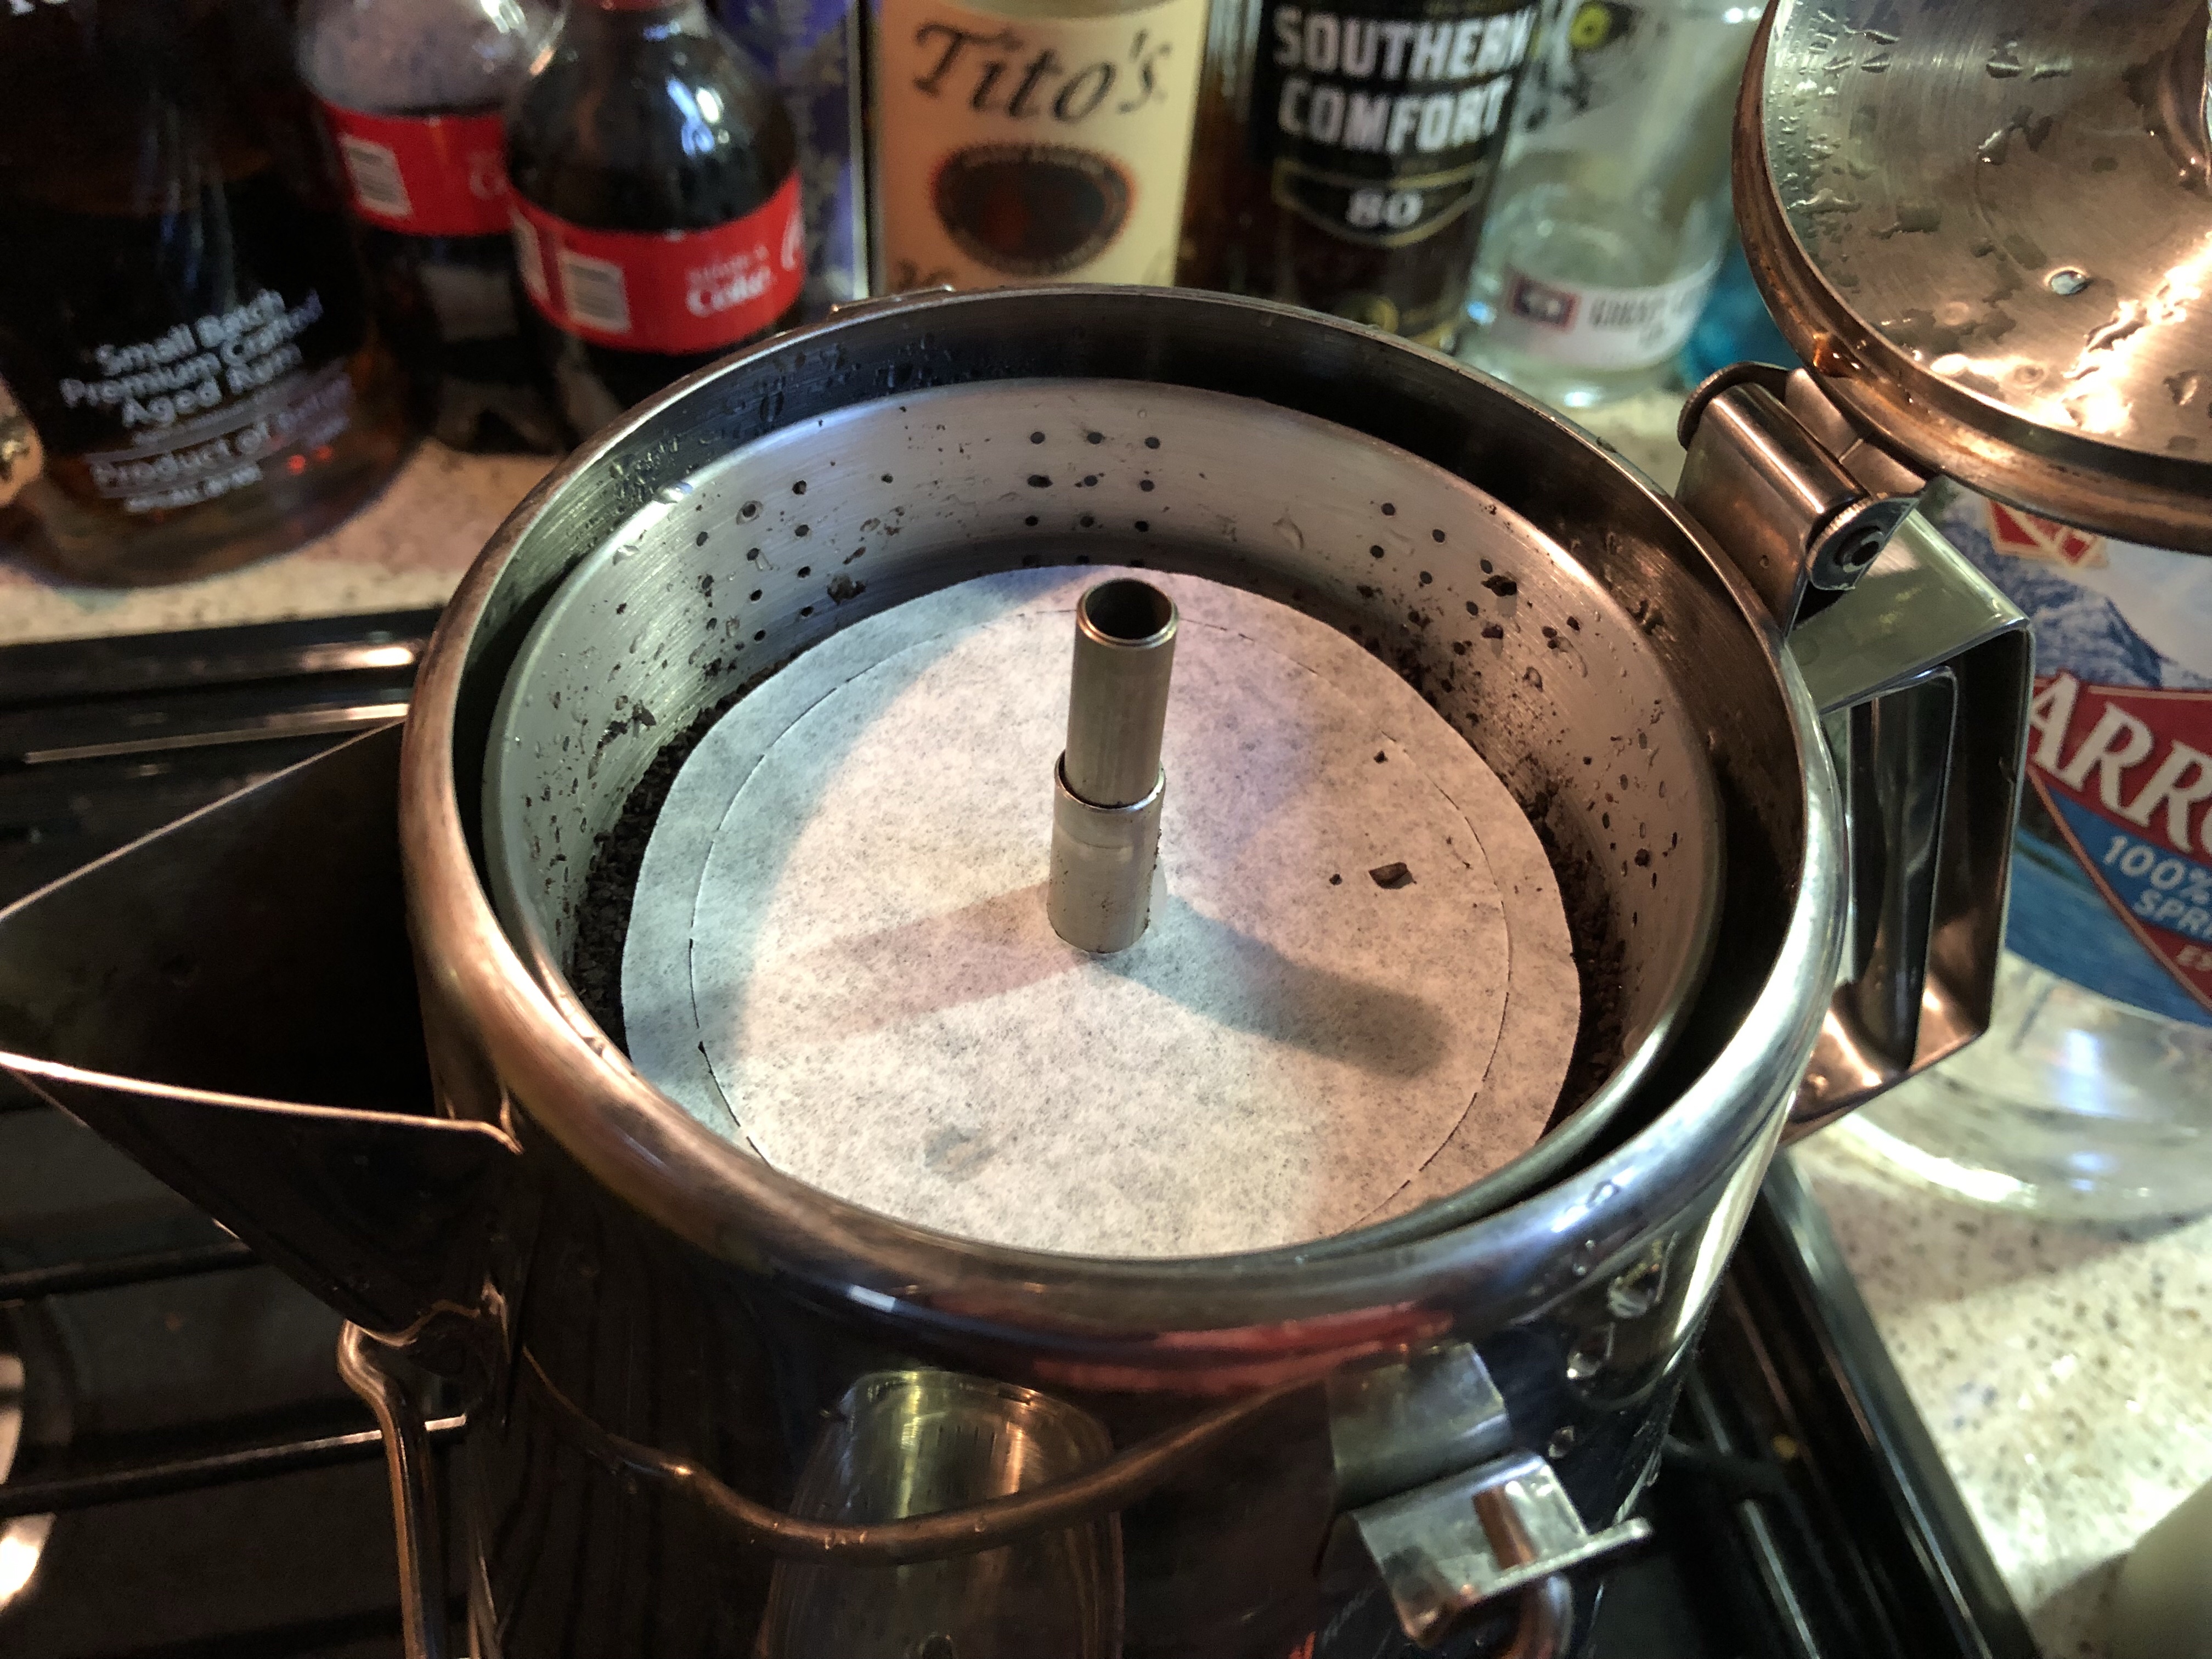
Filters:
They do make filters for percolators, get some. Put a filter in the empty basket before adding the grounds, then another on top the grounds, before putting the lid on the basket. this contains most the loose grounds and makes cleanup much easier.
Measure [Important!]:
Tastes vary, I like strong coffee and camp at high altitude. Start with one rounded scoop (tablespoon) per 8 ounces of water. If your coffee has good flavor but is to week or too strong adjust your ratio of grounds to water accordingly.
Lightly tap the grounds so they are even in the basket but you do not want to compress the grounds.
Please reply below with your beans, ratio of water and grounds, percolating time, an altitude.
Time the percs [Important!]:
Use a high flame but not one coming up the sides of the pot. Once it starts percolating, perc for 3 to 5 minutes. No more than 5. I need 5 minutes at high altitude, however if you are camping at sea level 3 minutes should be sufficient.
- If your coffee tastes watered down it needs another minute or two of percolating time.
- If your coffee tastes bitter or burnt it needs less percolating time.
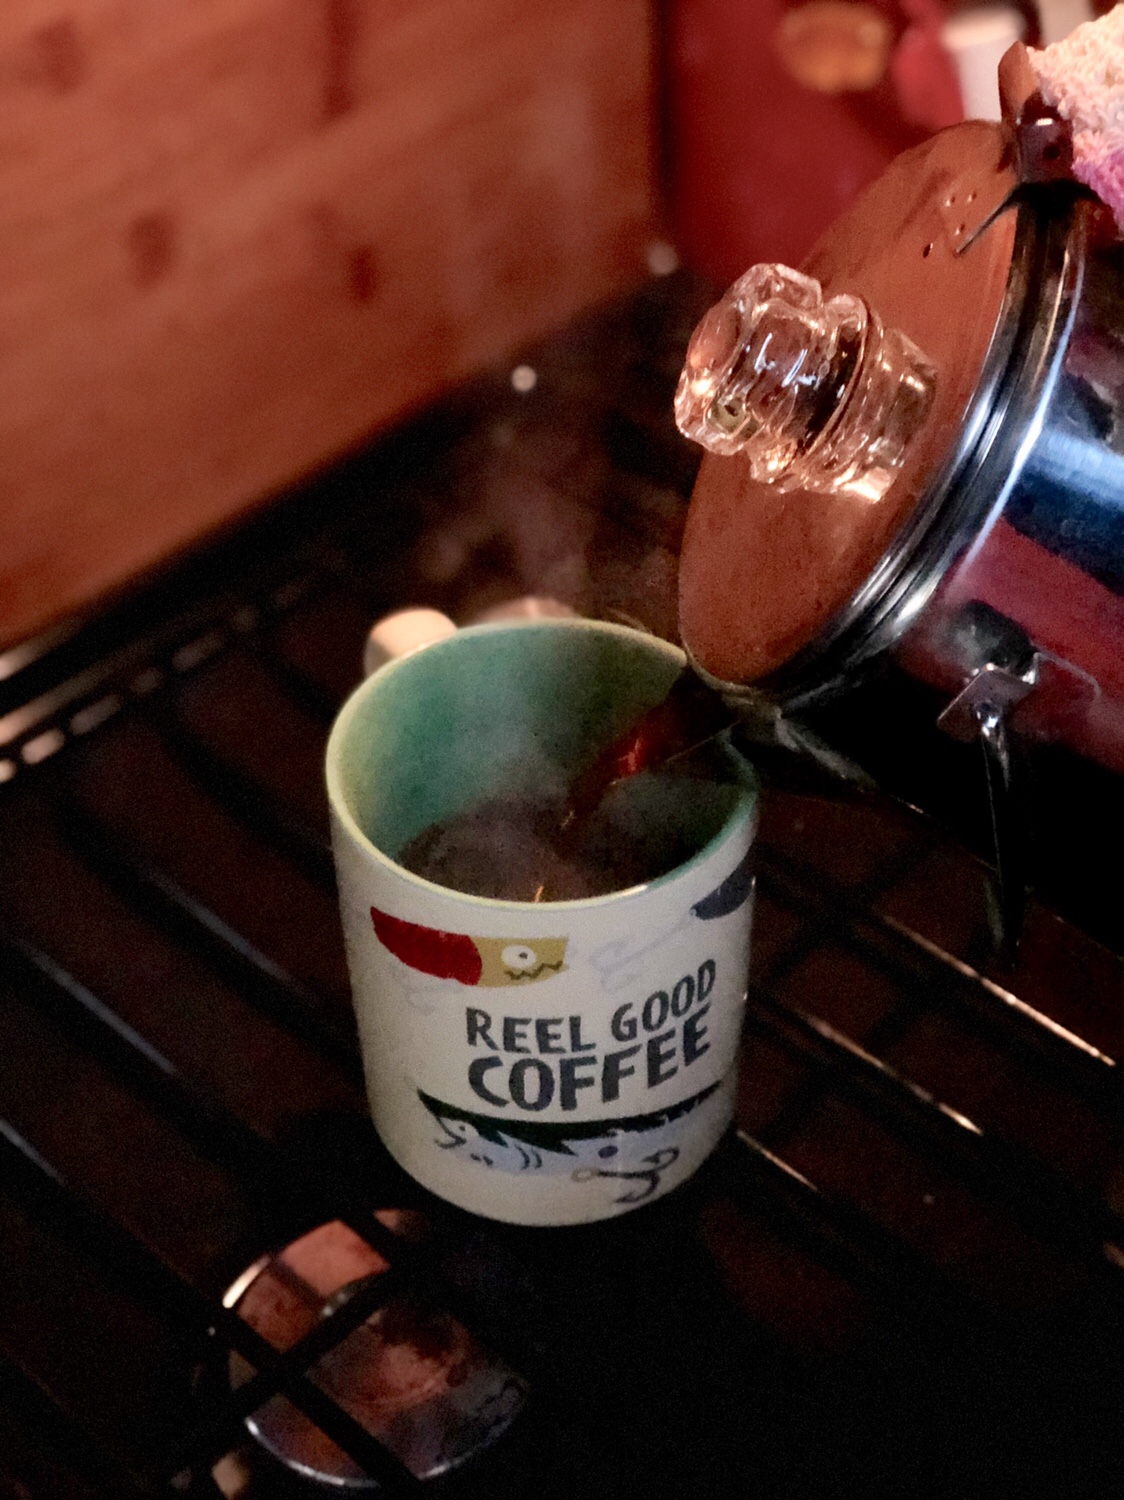
Your coffee pot will be hot! Have a hot pad ready when pouring your cup of joe.
Keeping it hot:
You can either put the coffee in a thermos or reheat on stove as needed. If reheating on stove DO NOT boil and especially do not re-percolate.
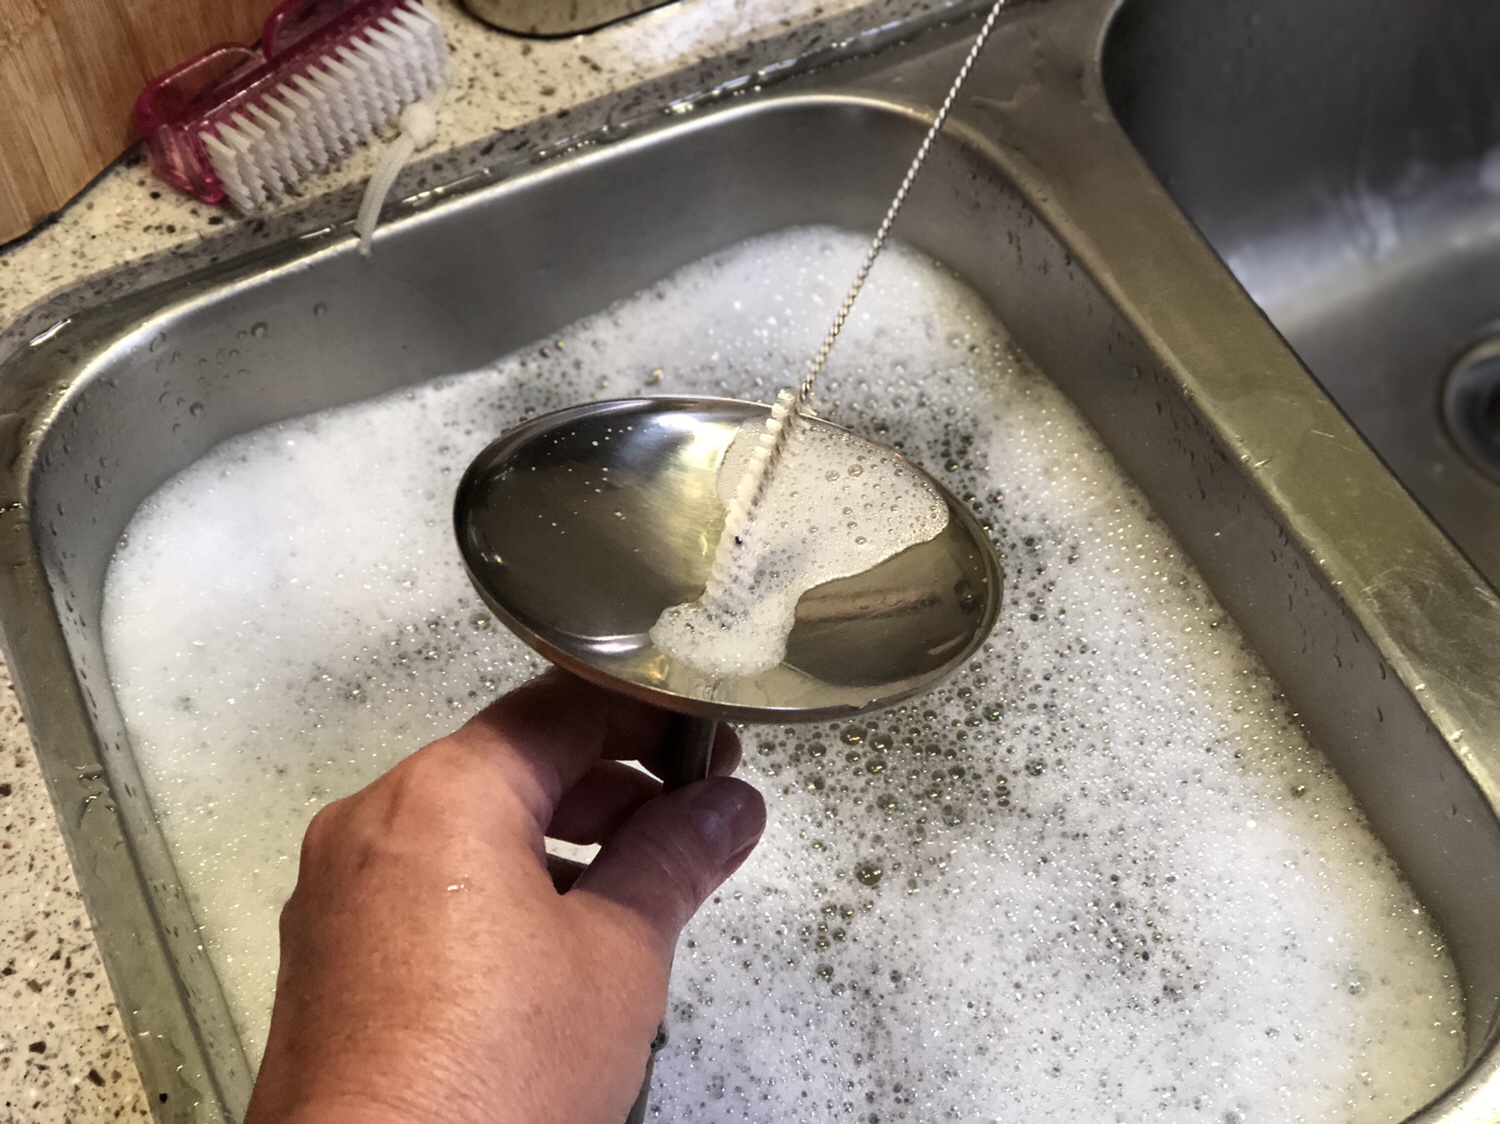
Cleaning:
Be sure to wash your pot after every use, getting any old coffee grounds and film out of the pot. The filters help contain most of the grounds, I use a paper towel to wipe away the rest of the grounds into the trash, then wash all the parts in hot soapy water.
- A straw cleaning brush works great to clean the tubes if they get icky.
- Avoid getting grounds into your gray tank.
More tips:
- Coffee comes out better if I get it ready to put on the fire before I go to bed.
- Coffee always tastes better when made to drink with a friend.
- If all else fails, add some Baily’s
Enjoy!
Please reply with your beans, ratio of water and grounds, percolating time, an altitude.
Camp Coffee
You say you don’t like percolated coffee? That is because you are not doing it right.
Equipment
- Stainless steel pot with high-temp stainless steel handles and glass perk knob.
- Coffee Filters
Ingredients
Water Coffee Ratio
- 1 tbsp Course ground coffee grounds 1 rounded scoop (tablespoon) per 8 ounces of water
- 8 oz Filtered or Bottled Water
Instructions
- Add desired amount of water to coffee pot.
- Put coffee pot basket in pot and add filter.
- Measure coffee into basket and give a little shake to even out the grounds. Start with one rounded scoop (tablespoon) per 8 ounces of water. If your
coffee has good flavor but is to week or too strong adjust your ratio
of grounds to water accordingly. - Place another filter on top of grounds and put cover on basket.
- Use a high flame but not one coming up the sides of the pot. Once it
starts percolating, perc for 3 to 5 minutes. No more than 5. I need 5
minutes at high altitude, however if you are camping at sea level 3 minutes should be sufficient. - Remove from heat using a hot pot pad. (be careful not to burn hands.)
- Enjoy!
Notes
Keeping it hot:
You can either put the coffee in a thermos or reheat on stove as needed. If reheating on stove DO NOT boil and especially do not re-percolate.Cleaning:
Be sure to wash your pot after every use, getting any old coffee grounds and film out of the pot. The filters help contain most of the grounds, I use a paper towel to wipe away the rest of the grounds into the trash, then wash all the parts in hot soapy water.
Mom, wife, computer geek, web designer, musician, board member, ski bum, bicyclist, camper, glamper, fishing woman, treasure hunter, bookkeeper, office wizard, blogger, vlogger, foodie, and Pampered Chef Independent Consultant, trekking through life in Jackson Hole, Wyoming