
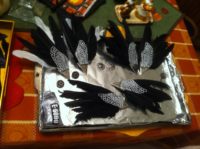
Valkyrie Headdress
This headdress is made from things you can find thrifting, or in a craft store. When choosing your belt make sure it will fit and overlap after you cut off the buckle end. The belt should have a style that compliments your Valkyrie costume. The 80's produced a bunch in this style.
Servings: 1 Headdress
Cost: < $25
Equipment
- Leather hole punch
- Sharpie
- Hot Glue Gun & Glue (or E6000 glue)
Ingredients
For the Headband
- 1 Belt from Second Hand Store Black
- Large silver color beads
- 2 - 3 Feet Faux leather cord Shoelaces would work
For the Wings
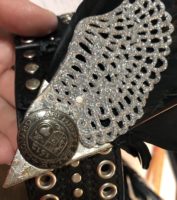
- 2 Silver-tone Western Collar Tips Be sure it has an adjustable shank on the back.
- 1 Medium Bunch Medium White feathers
- 1 Large Bunch Large Black feathers
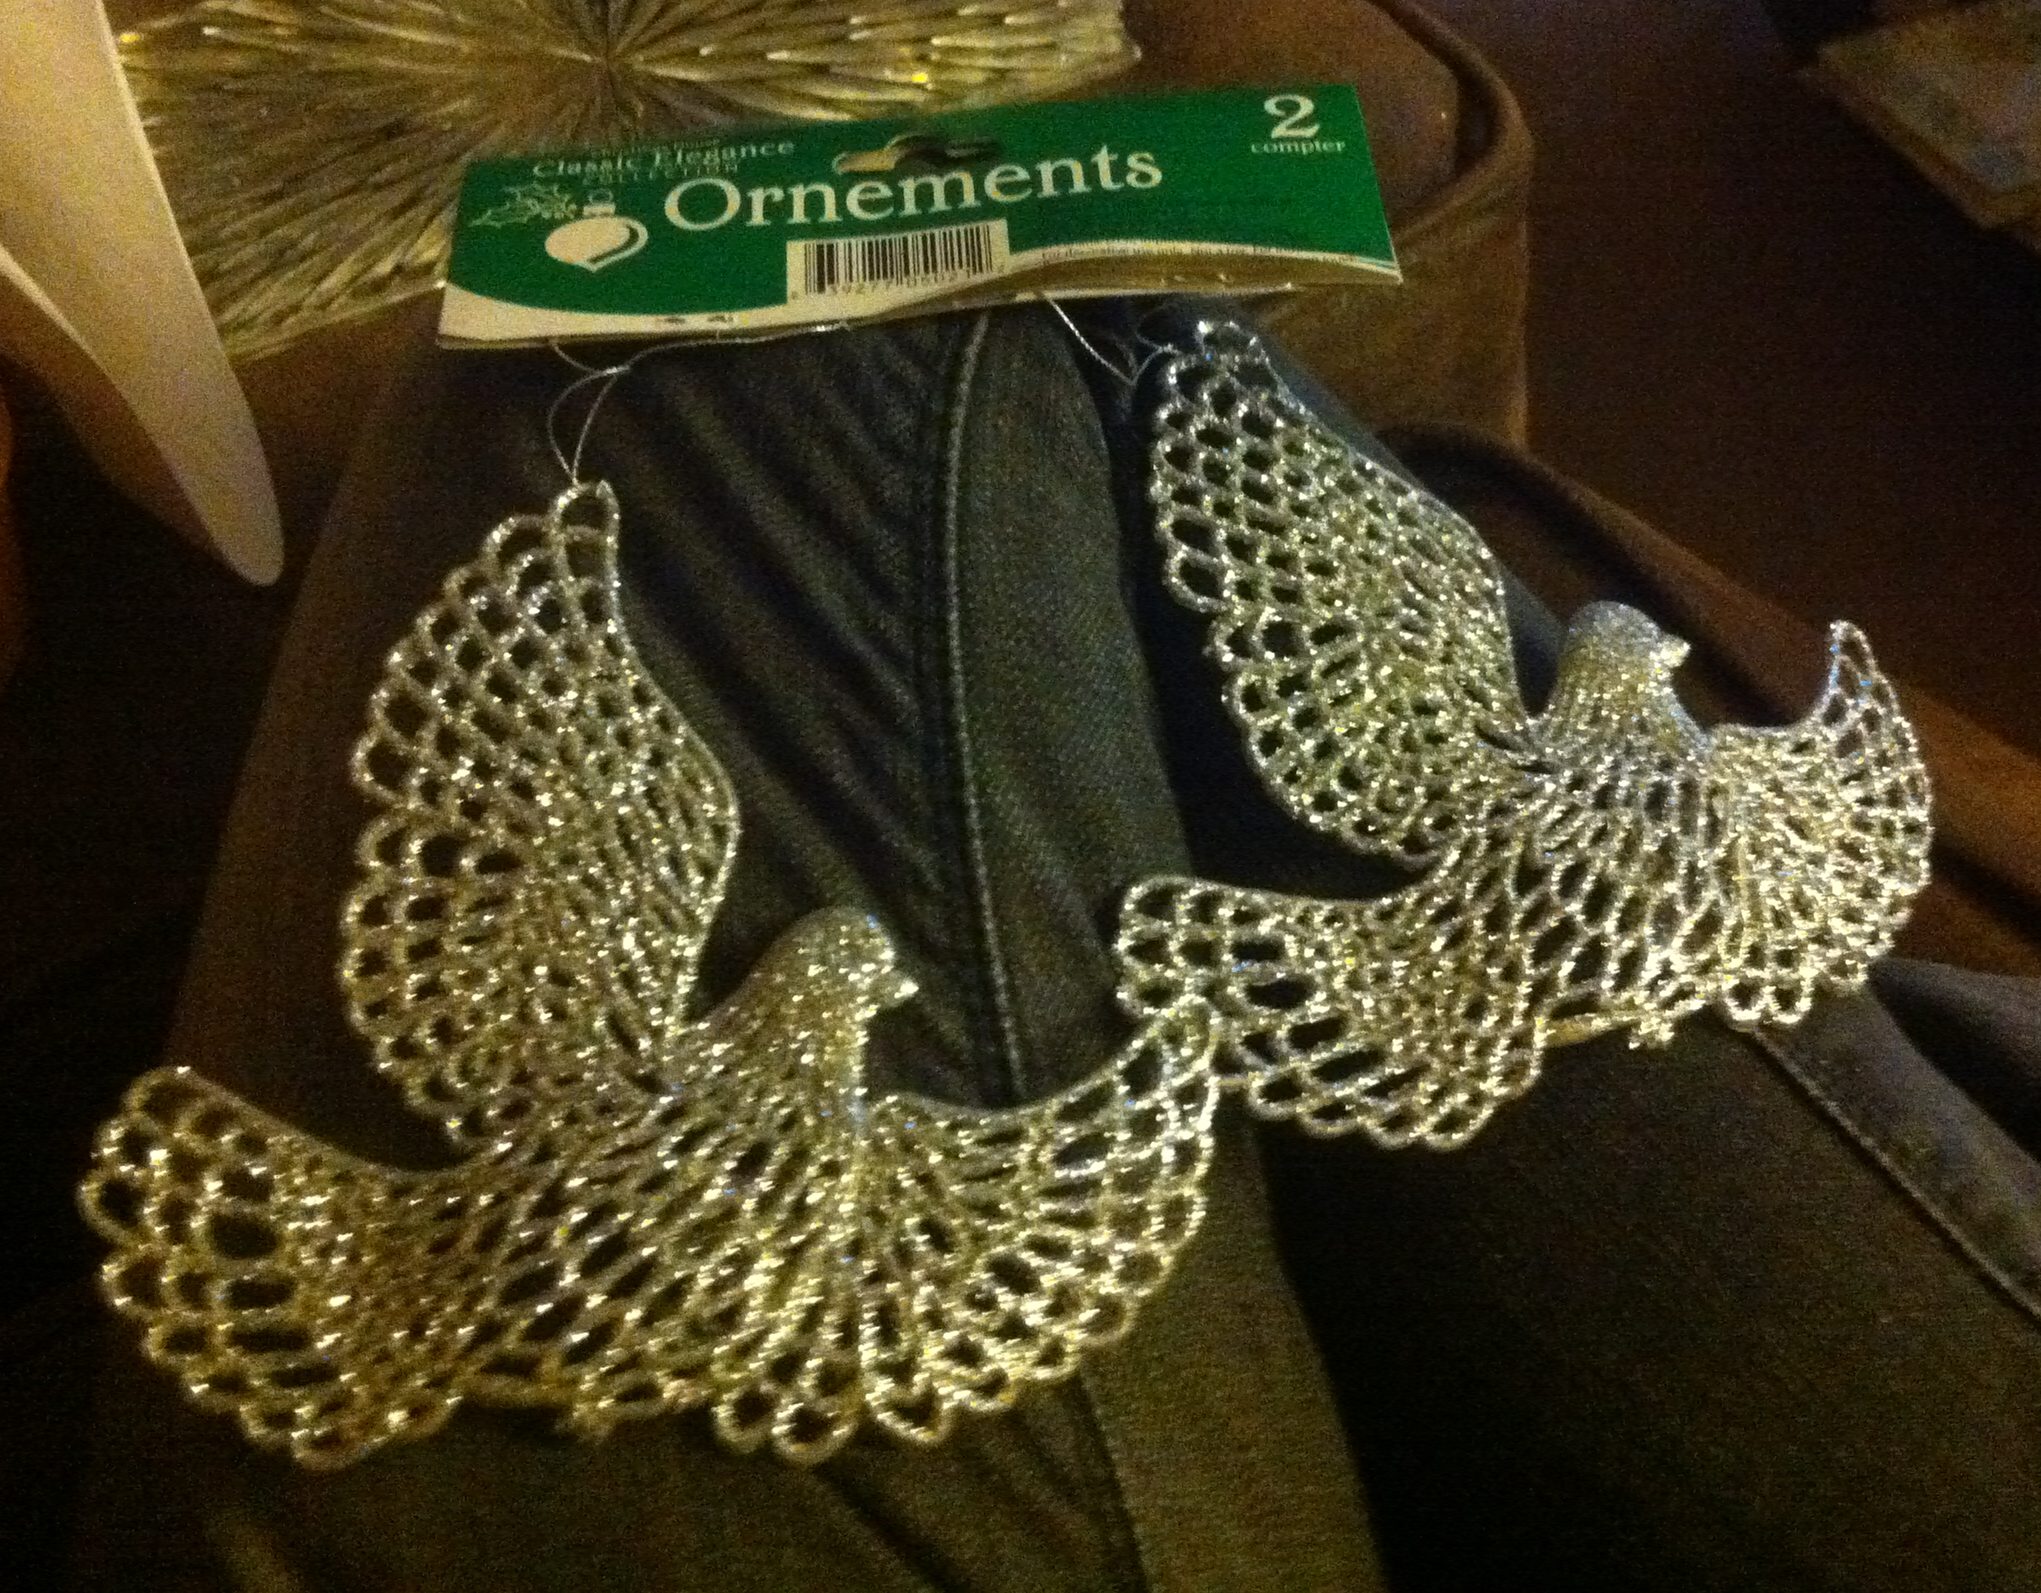
- 2 Silver flat Christmas dove or angel ornaments from the dollar store. Something that looks wing-like. Not brittle, you will be cutting them.
- 2 Silver or metal tone 1" shank buttons. If your Collar Tips don't have embellishments.
Instructions
Make the Headband
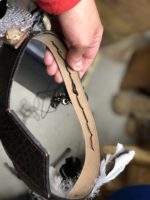
- Fit the belt to the your head marking the size with a pen. Cut the belts down to size, leaving a large overlap so the ends are near the wings and will be hidden.
- If there are no holes, punch several holes into top end of the overlap.
- Put back to head for size and hold the ends in place with one hand. Remove from head and put sharpie through hole to mark place for next set of holes. Punch holes on marks.
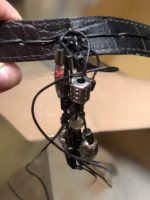
- Use the leather cord to hand stitch the belt through the holes.
- Add a few of the silver beads to the end of the cord to give it a finished look.


Make the Wings
- Cut the wings off the ornaments.
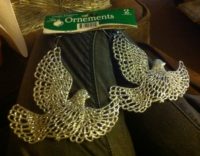
- Lay out all your supplies.
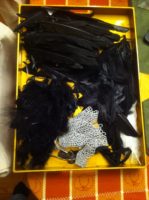
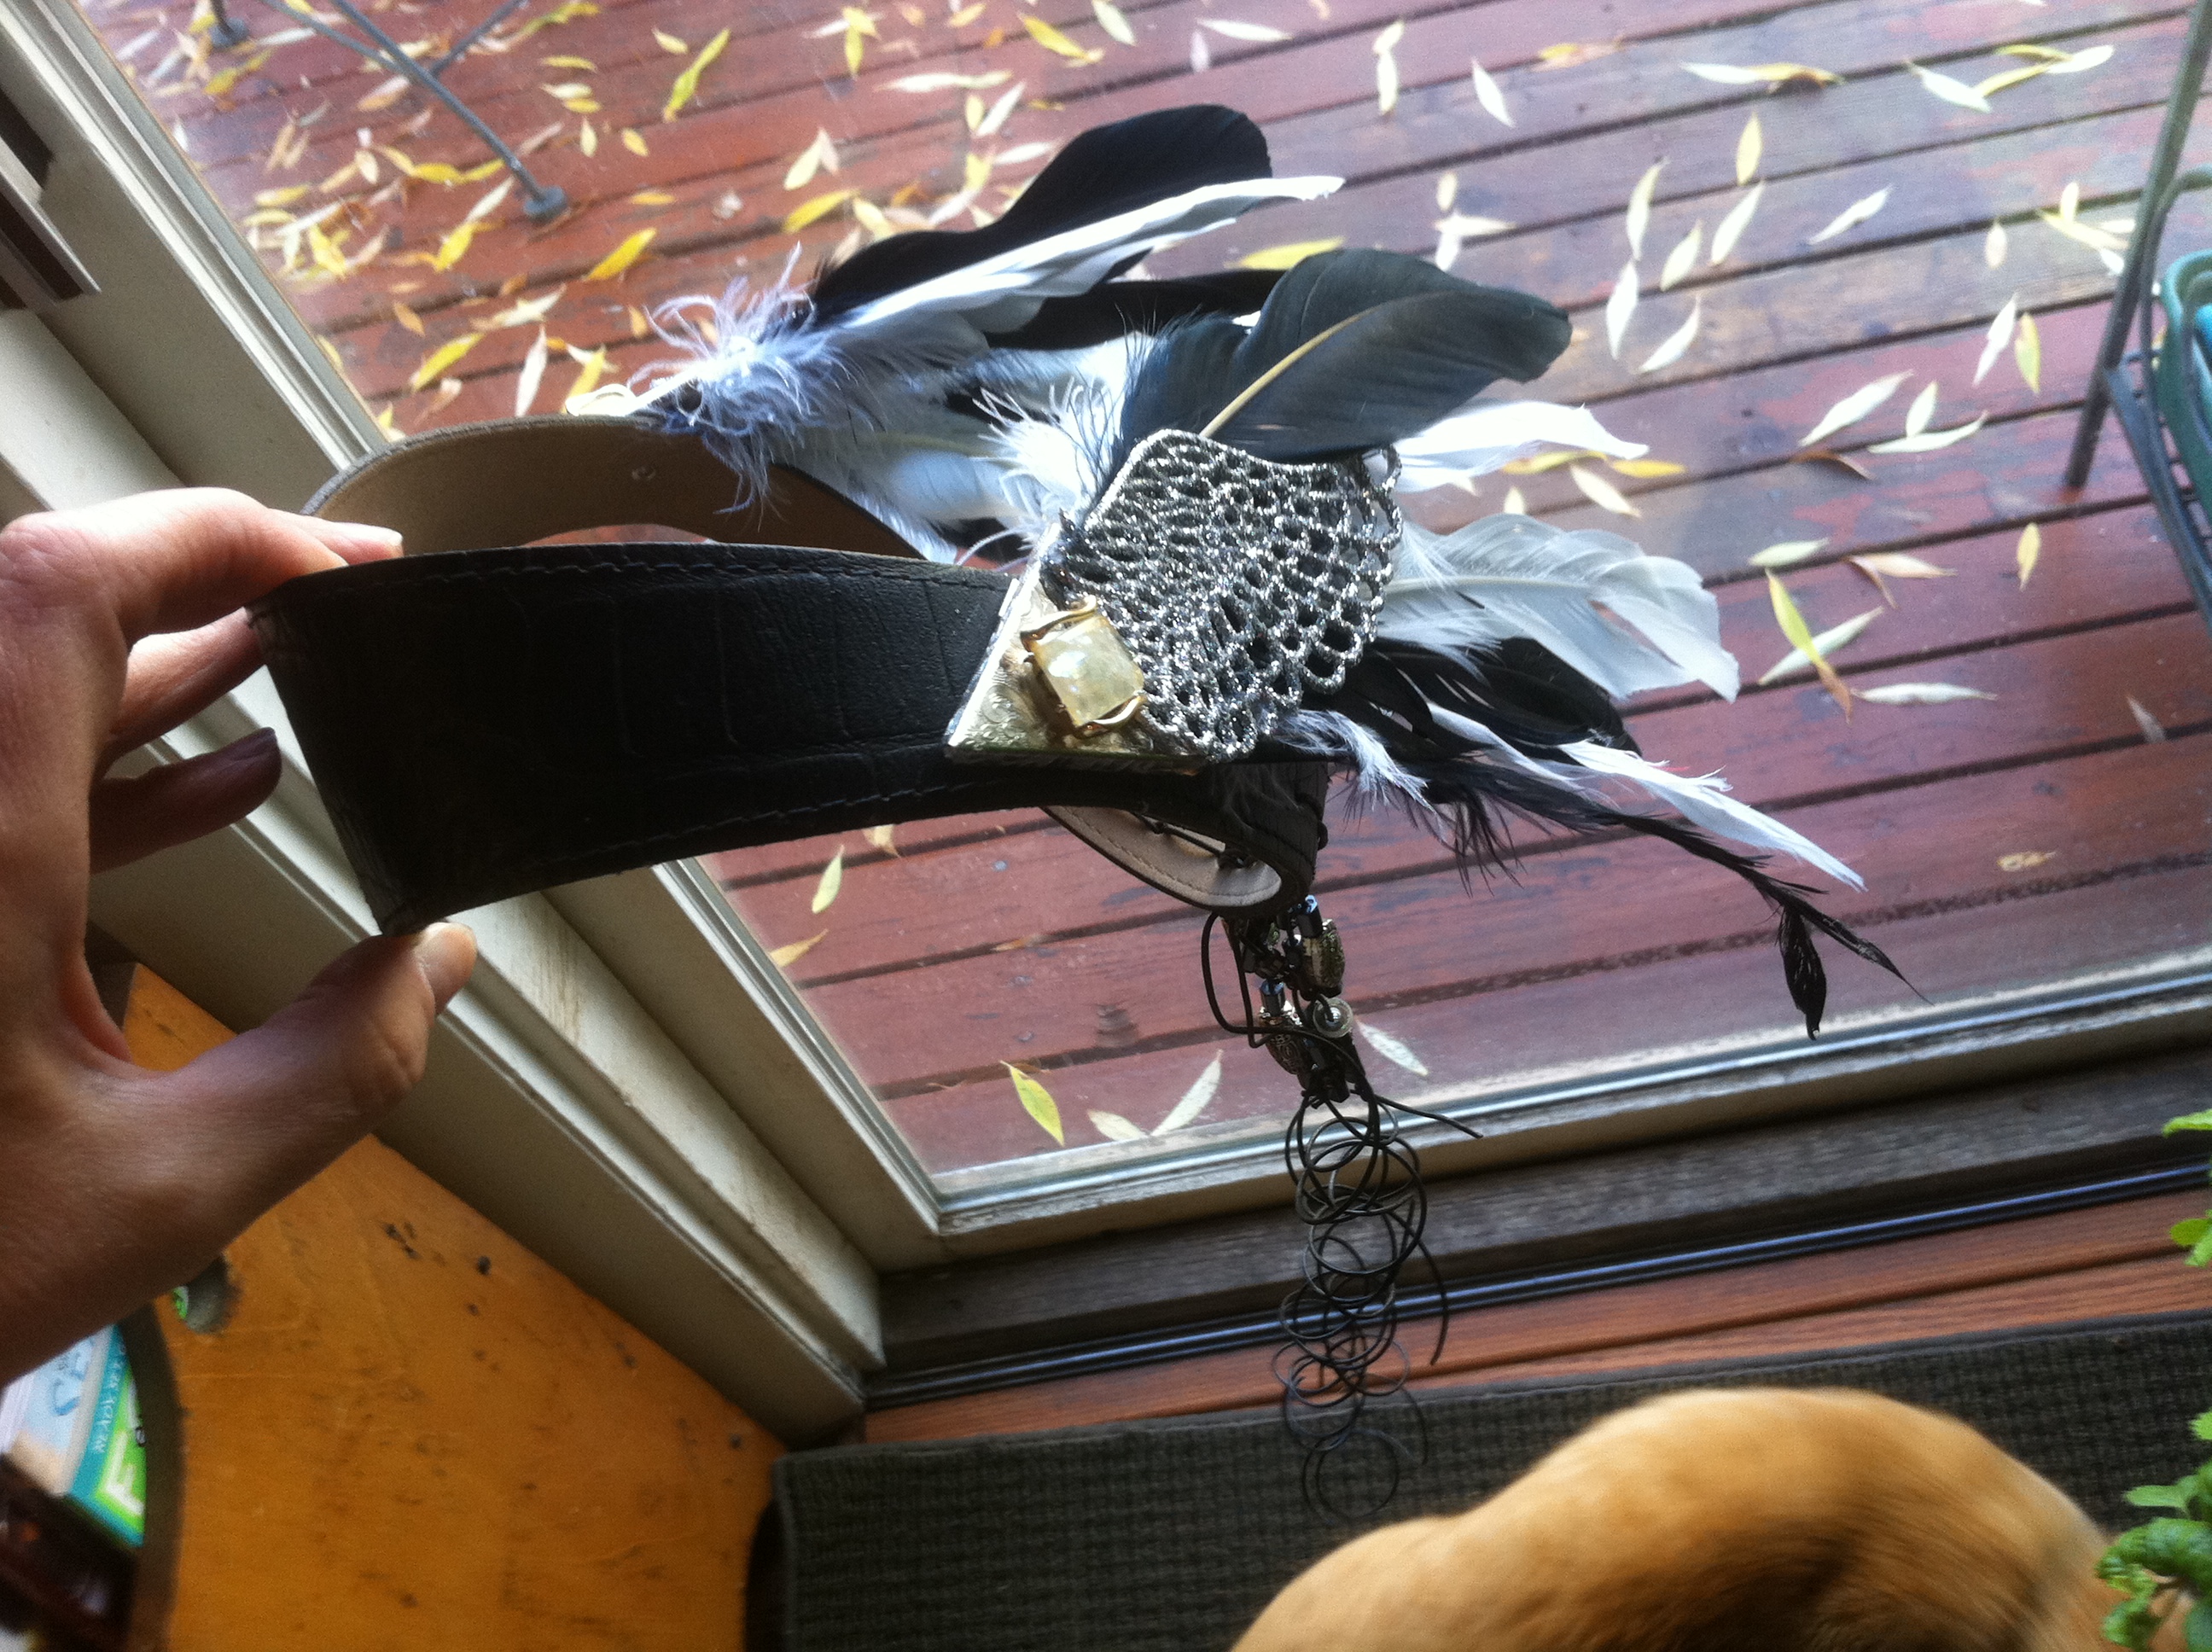
- Stack feathers, collar tips, dove wing/ornament part, and buttons to get a mirrored arrangement for both sides. - Don't be too skimpy with the feathers or you wings will look more like a road kill.
- Unscrew the adjustable shank on the back of the collar tip open to the max but not removing it.
- Assemble your masterpiece. Stick the feathers into the collar tip and use glue to keep them in place. Let dry. - Be sure not to glue the shank in place.
- Glue the dove wing/ornament part over the top. Let dry. If your collar tip has an embellishment, butt up raw edge against it and skip adding a button.
- Glue a button over the rough ends of the dove wing on each wing to give it a finished look.


Attach the Wings to the Headband
- Position the belt headband on your head and look in a mirror. Position the above your ears and adjust for looks. If you have a friend have them mark the spots, otherwise mark the spots one at a time. Put the mark where you will want the shank of the piece lined up.
- Use the leather hole punch to punch a small hole center where your marks are.
- Press the shank of the collar tip through the hole, if the hold is not big enough punch only one size bigger. This needs to be tight. Once you have the shank pressed through put your thumb on the flat side and screw the wing into it until it is snug. You can reposition the wings as needed, this is especially handy when storing.

Notes
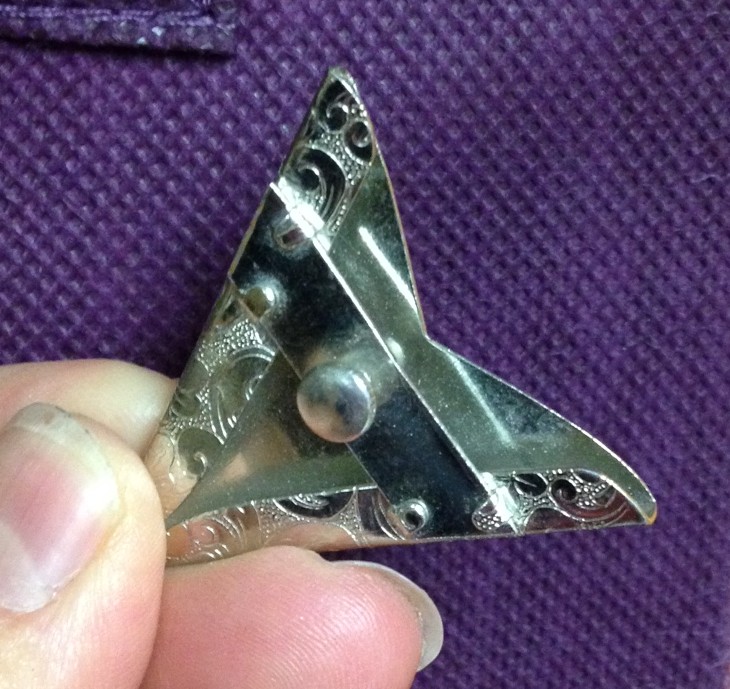 When I purchased these, I had no idea what their original purpose was, they were in a lot of jewelry and crafting materials I picked up a few years prior at a garage sale.
They turned out to be Western Collar Tips, what every well dressed cowboy would wear. They had a 1960’s look and the wide end was hollow. One side had an adjustable knob on it, all it needed to attach to the headdress was a hole in the leather, the other side had embellishments that I removed.
When I purchased these, I had no idea what their original purpose was, they were in a lot of jewelry and crafting materials I picked up a few years prior at a garage sale.
They turned out to be Western Collar Tips, what every well dressed cowboy would wear. They had a 1960’s look and the wide end was hollow. One side had an adjustable knob on it, all it needed to attach to the headdress was a hole in the leather, the other side had embellishments that I removed.