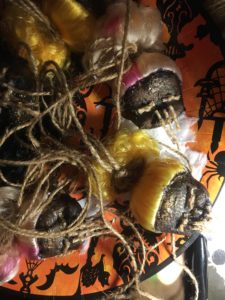
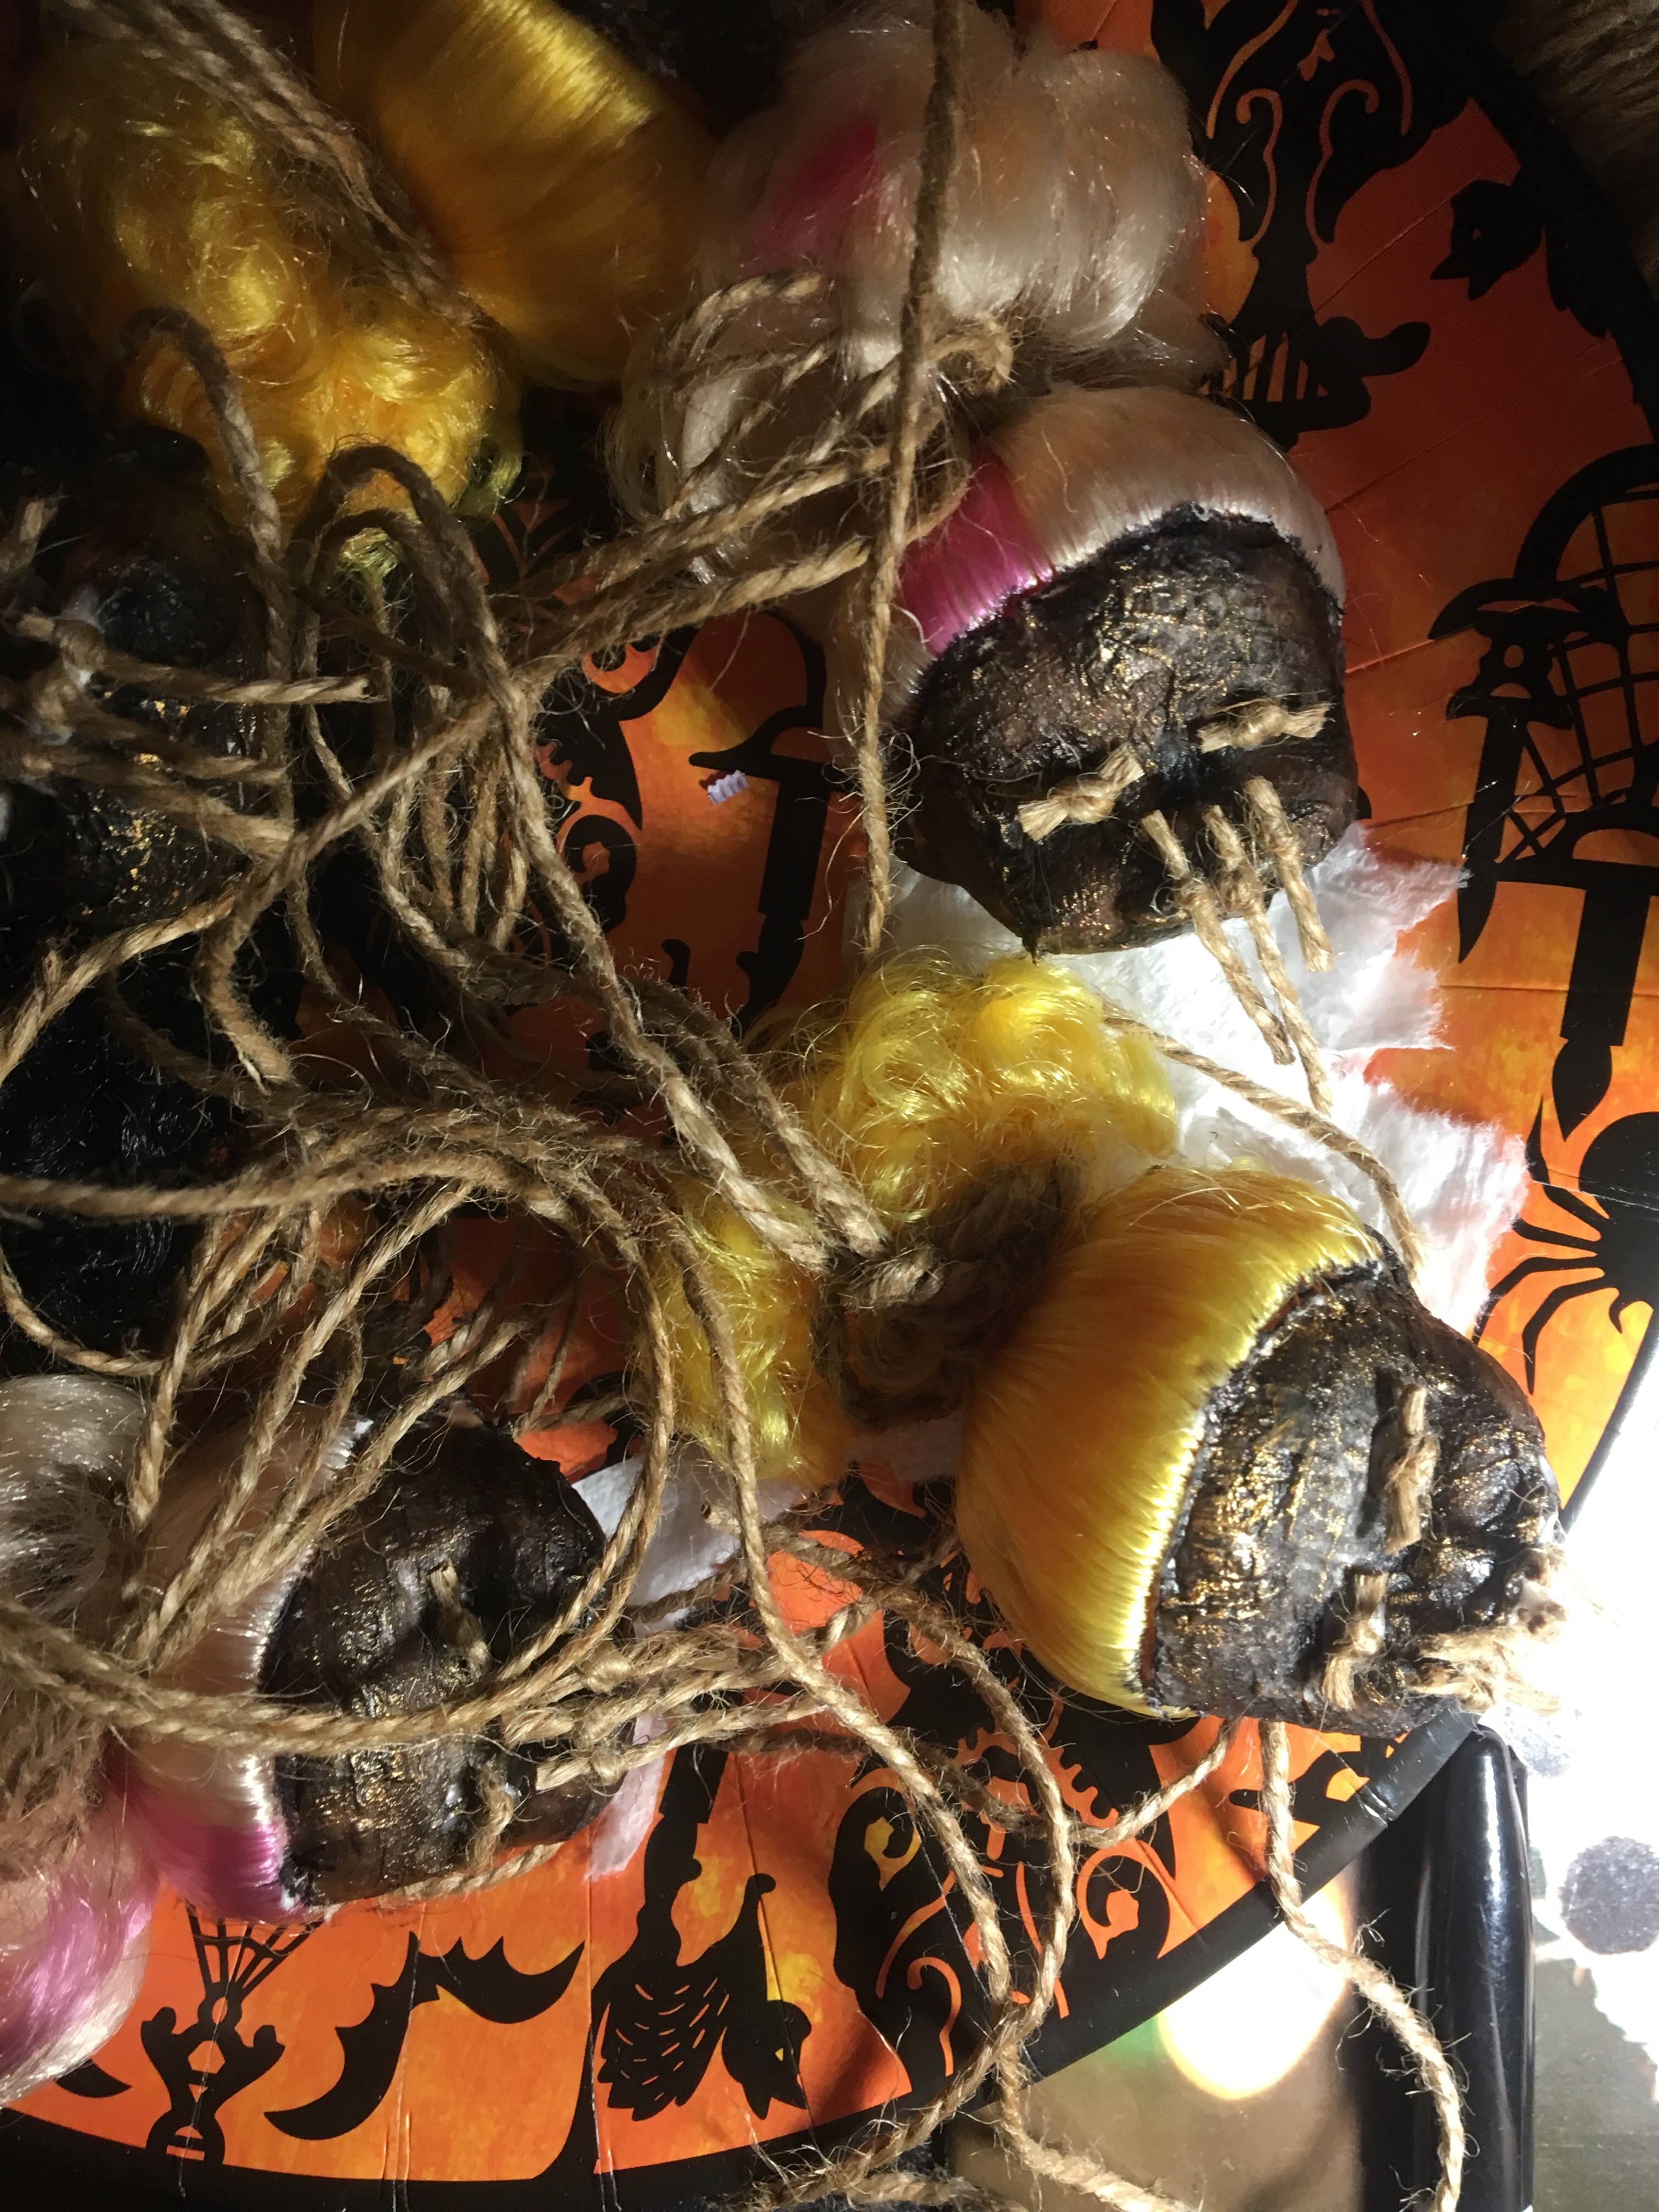
Shrunken Heads
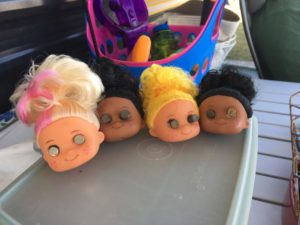
These creepy shrunken heads are made from doll heads found at second hand stores or a dollar store. You should find six (or as many as you want to make) the same size or similar size. They should have enough hair to ponytail at the top of the head and the material should NOT be brittle or ceramic.
Servings: 6 Shrunken Heads
Cost: < $10
Equipment
- Awl or Punch Tool
- Brush for Mod Podge
- Exacto Knife
- Hot Glue Gun
- Sponge Brush
Ingredients
Thrift or Dollar Store
- 6 Doll Heads of same or similar size
Craft Supplies
- 1 Roll Jute Twine
- 1 Stick Hot Glue
- 1 Bottle Mod Podge
- 1 Bottle Mat Black Craft Paint I used chalkboard style
- 1 Bottle Metallic Craft Paint Bronze, Copper, or Gold
- Tacky Glue
Household Items
- Facial Tissue or Toilet Paper White
- Paper Plates
Instructions
Prep Doll Heads
- Break Head from Body. Save the body parts for other projects.
- Clean the grime off the doll head. A little rubbing alcohol will work. If your dolls were extra loved in it's previous life a good scrub with Dawn, then a thorough rinse might work better.
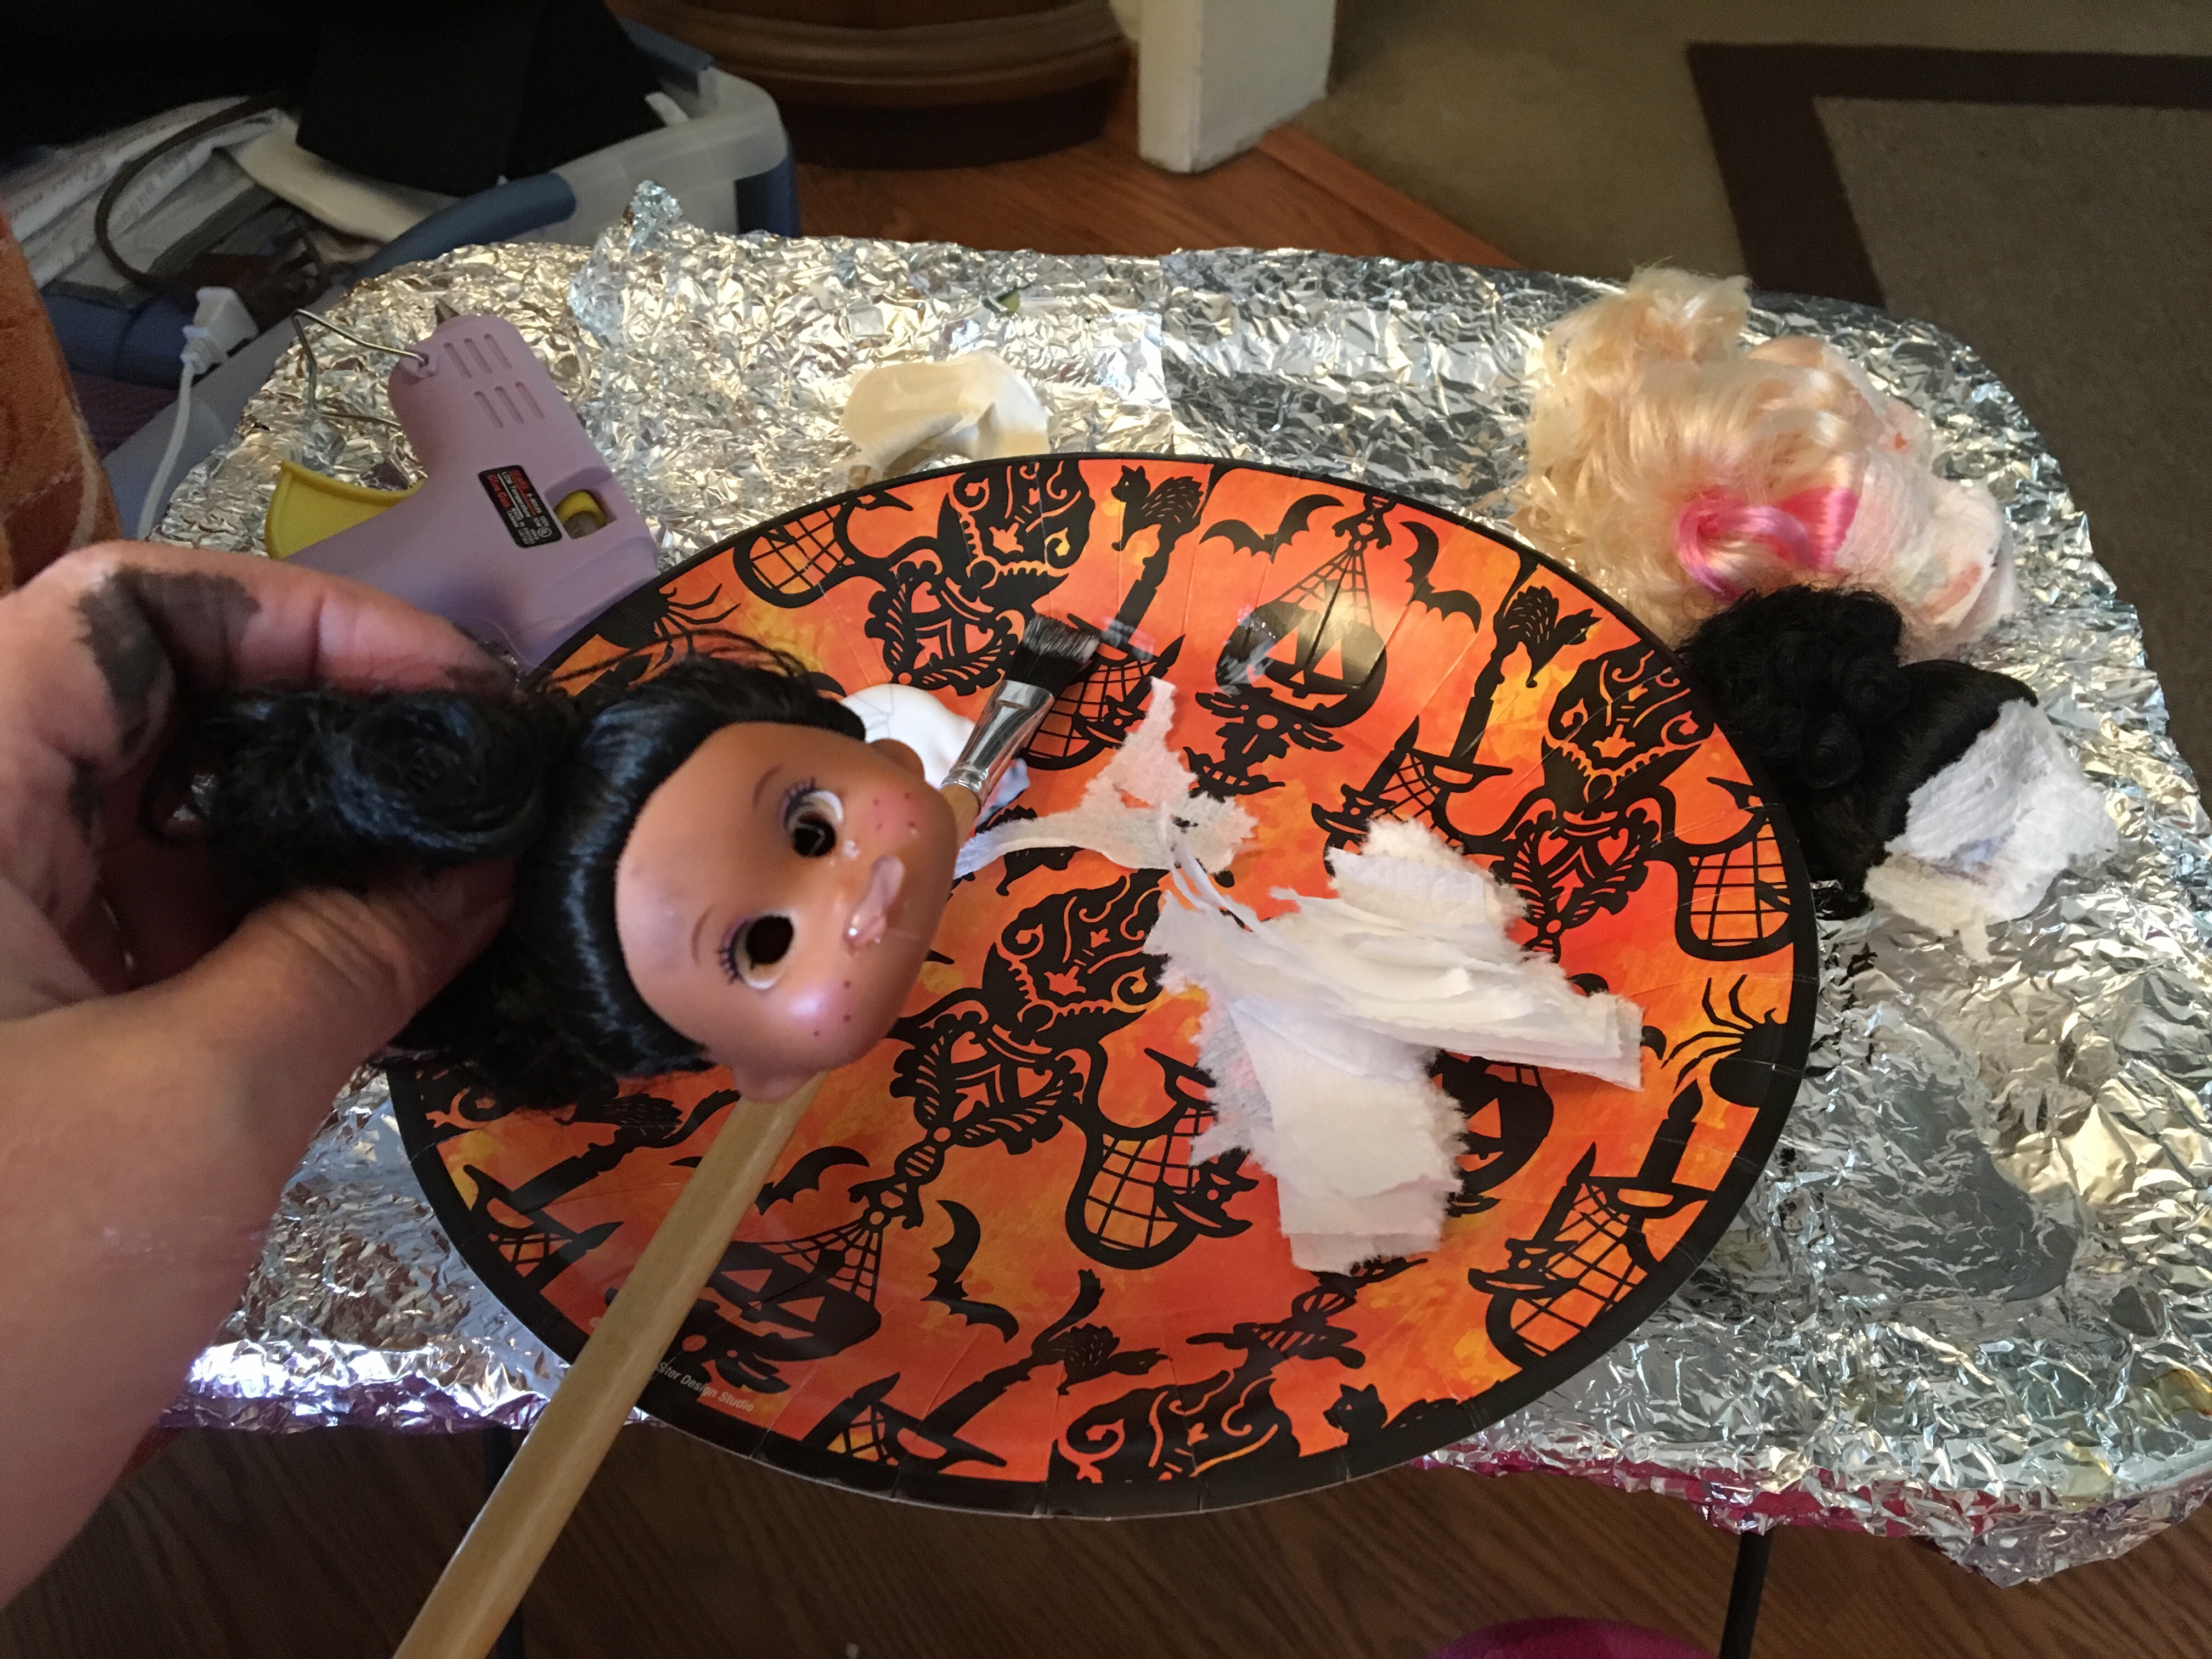
- Hair: Ponytail the dolls hair on top of the head so that when it hangs from the hair, the face looks out not down. Use rubber bands or wire ties, whatever you have handy. It will be covered later. Doing this first gives you something to hold onto for the rest of the project, and keeps the hair out of the Mod Podge and paint.
- The head needs exaggerated eyes, nose, and mouth so when all the goop is added it still has depth.
- Eyes: You will need divots for the eye sockets. If your doll's eyes are separate parts carefully remove them so you can use them for other projects. If the eyes are painted use an awl to poke eye holes into the head.
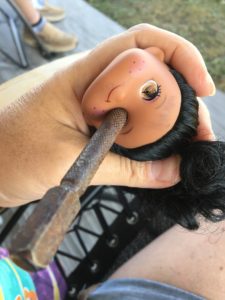
- The plastic will want to return to it's original shape. Find something to put in the holes and set in the sun for a day or two. I used spent 22 shells, leaving my husband questioning my intentions. These will be removed before the Mod Podge steps.
- Mouth: If your doll has painted or small mouth, use the hot glue gun and add a single line of glue to shape the lips. Don't worry about detail, they just need to stick out from the head so when all the goop is applied there is a protruding line where the mouth should be.


"Shrink" the Heads
- Tear up the tissue or TP into random shapes between quarter and half dollar size. and set aside.
- If you trained the plastic by leaving something poked in the eyes, remove them now.
- Put some Mod Podge on a paper plate, Brush the doll head with the Mod Podge and press in the tissue pieces, working in sections and overlapping tissue. Cover the whole head, being careful not to get any goop in the hair. Be sure to press in the eyes so that they are covered but are sunken in. (there sould not be a hole showing, just an indent.)
- Once the doll head is covered in tissue brush another layer of Mod Podge over all the tissue is there are no dry areas. Hang from hair to dry, or set on edge of plate resting on hair so wet Mod Podge does not stick to other things.

- When the heads are completely dry use an Exacto Knife to trim any excess tissue around the hair line.
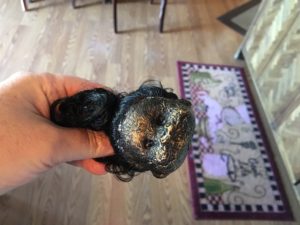
- Mix some Mod Podge and black craft paint at a 50/50 ratio on a paper plate. Paint the doll heads covering all the white tissue. Let dry.

- The dry head should not have any "white" showing but should also not be heavy black. Touch up and trim where needed.
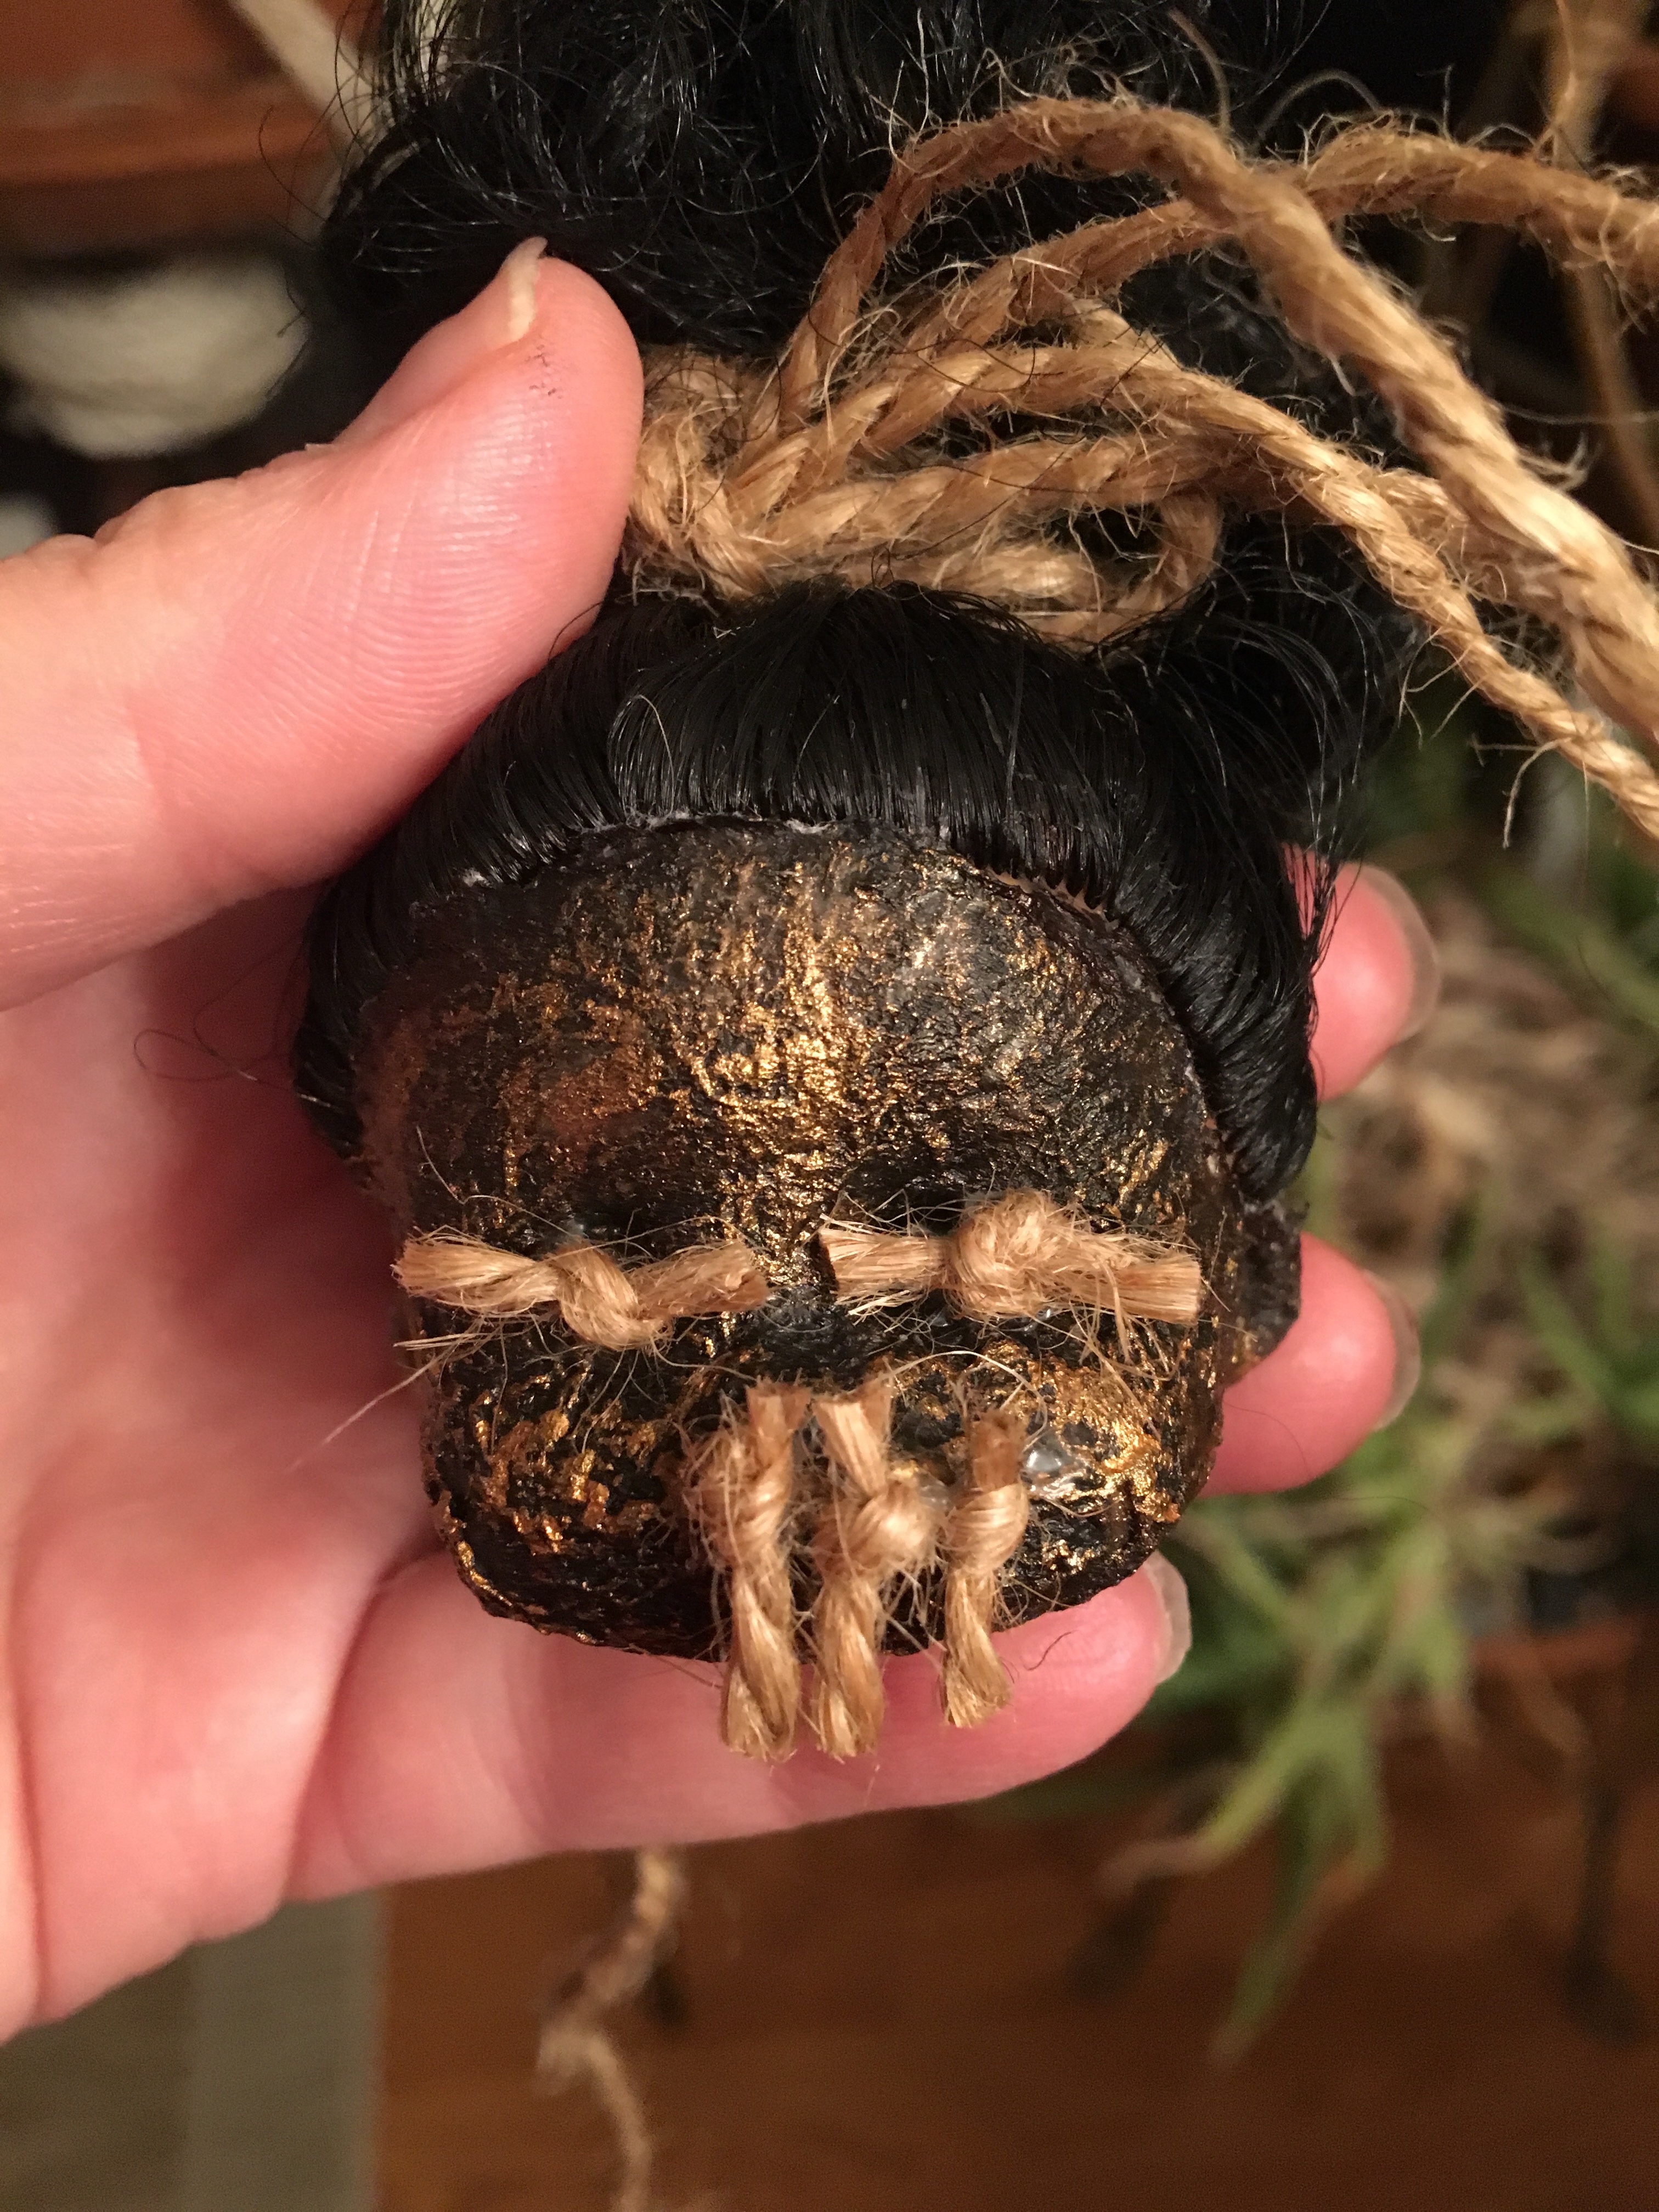
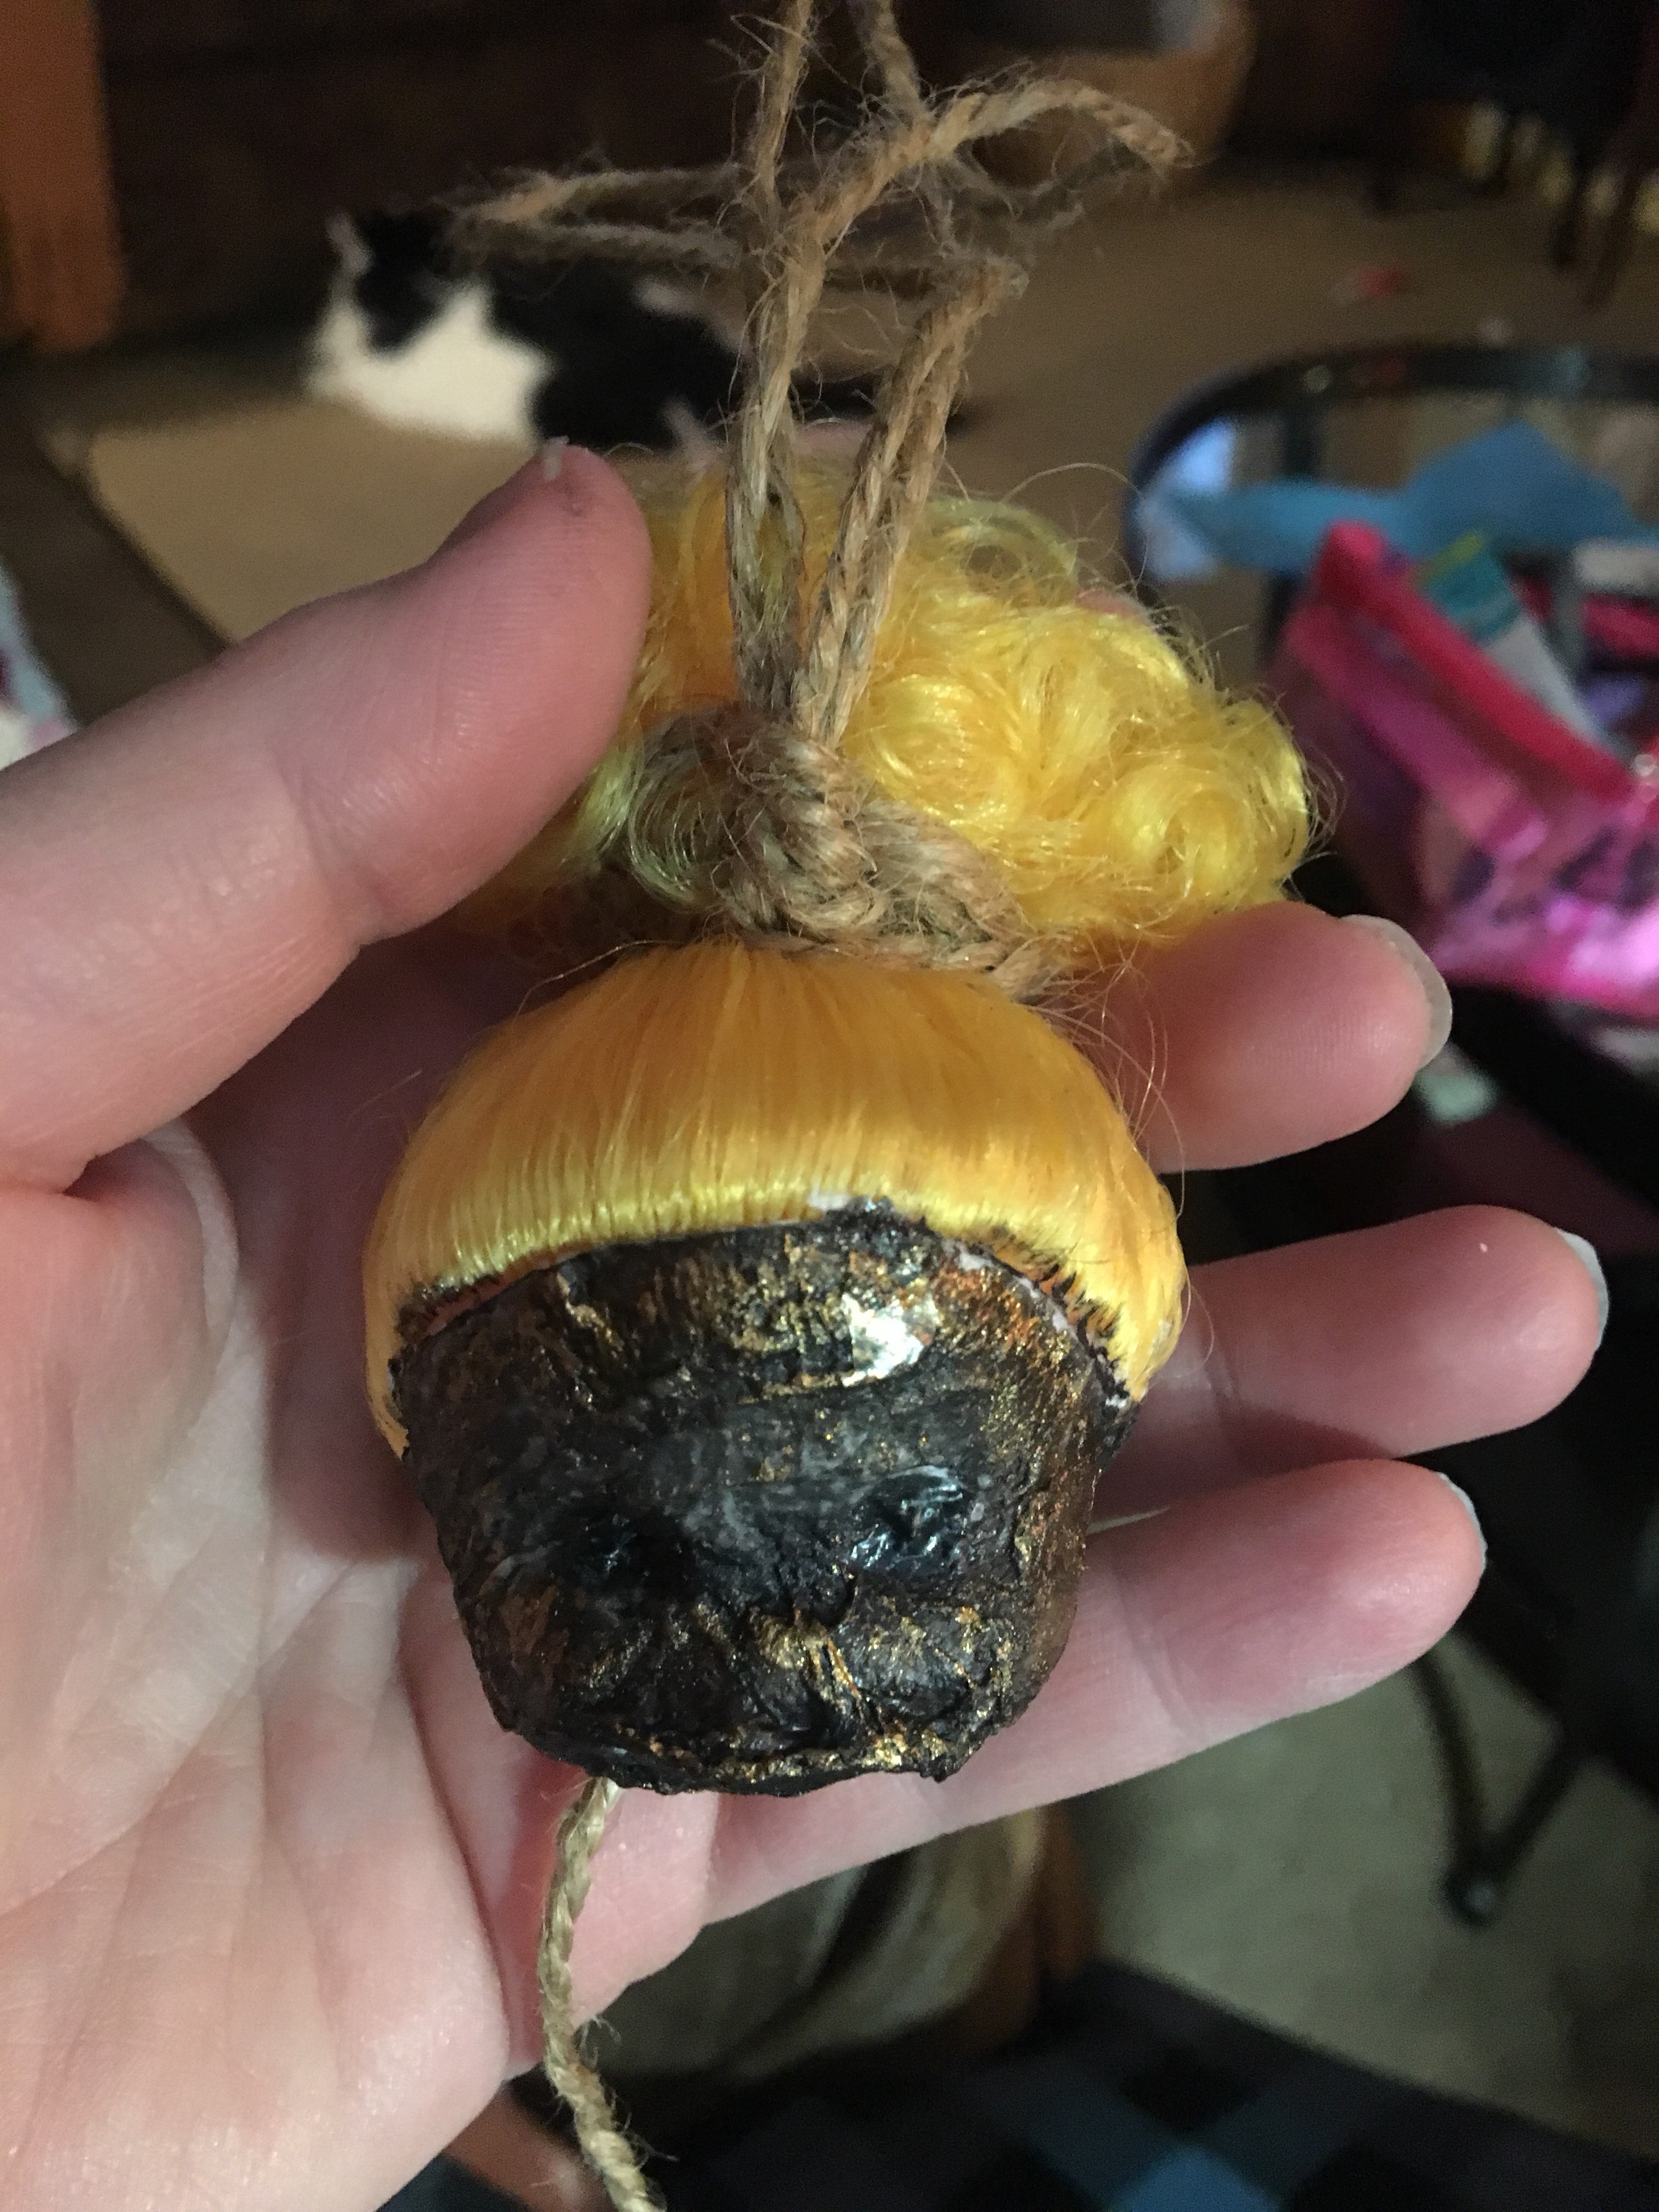
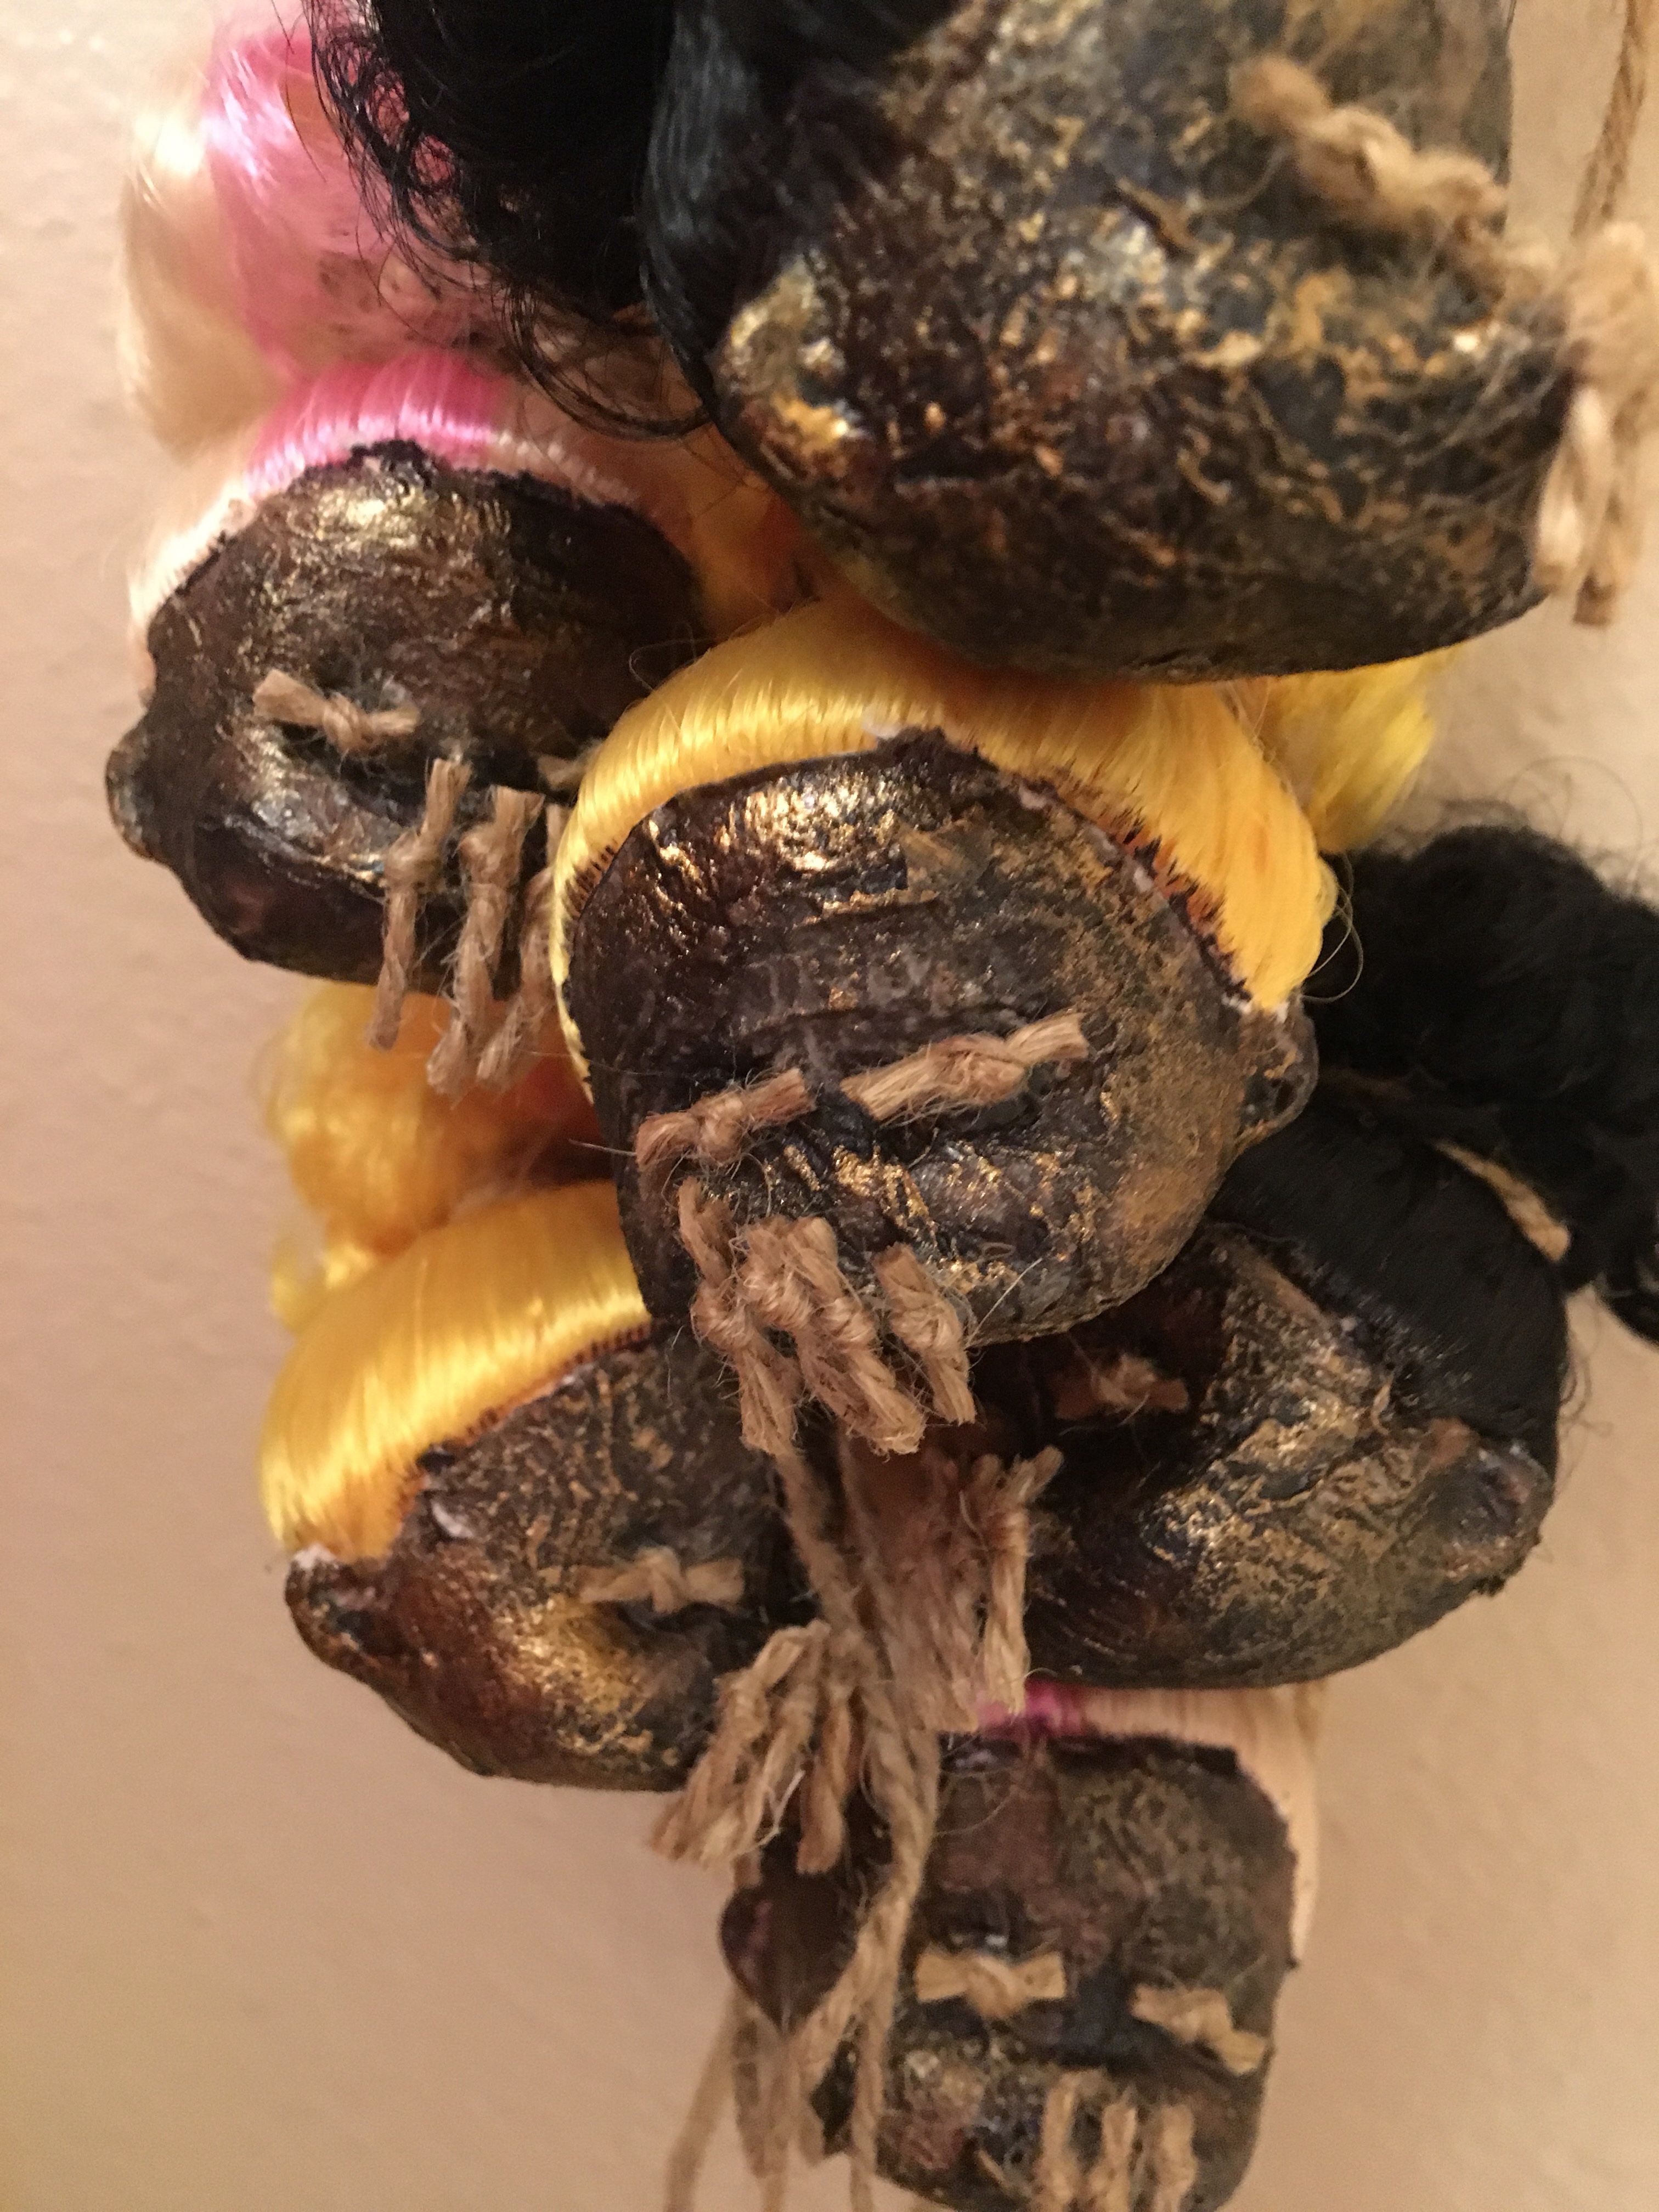
- Using a dry sponge brush lightly brush some metallic paint over the black areas so the black is still showing and the metallic is just highlighting the details to give your dead head some life.
- Tie enough jute twine to each pony tail so that the knot looks rustic and there is enough twine hanging to tie the group together later. About 18" of twine works but don't worry about making them all match.

- Unravel a section of jute twine to make 5 thin pieces of jute with a knot for each head. I cut long sections and tied several knots then cut them appart. Leaving a little extra on each piece to trim to size later.
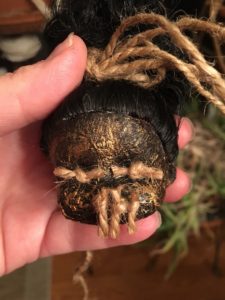
- Tacky glue a knot to each eye socket, and 3 knots to each doll's lips. Set asside to dry completely.
- Trim the eye and lip knots to desired lengths.
- Tie all the heads into a group with a simple knot so they can be untied if decorating needs change.


Notes
I covered a TV tray with foil to do this project without making a big mess.